Again with another DIY journey of mine. This time its still the same car as before which is my wife's 7 year old Myvi. During the absorber change previously (Myvi Absorber Change), I see that the brake pads were worn and should be around time to change as it has been used for around 7 years and 110k km. Light braking returns a judder feel which tells me that this car is also inheriting the common warp disc problem along with many Myvi. Long story short.... lets get on with it.
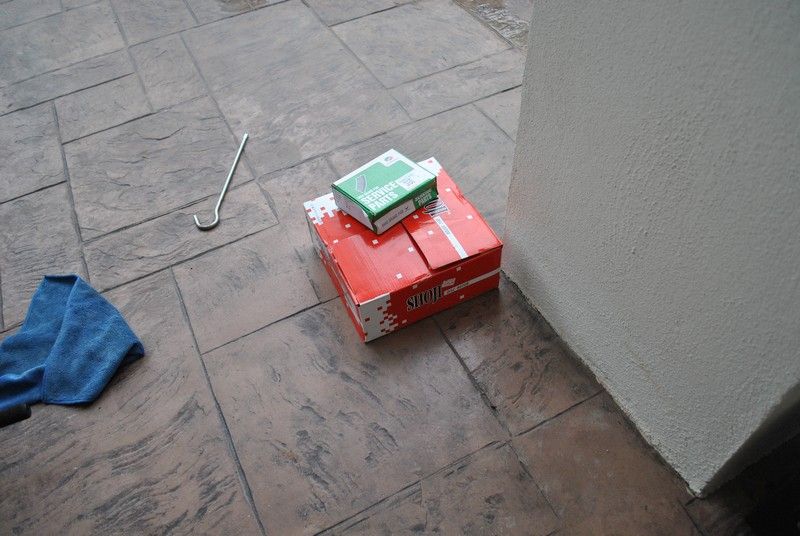
Parts you will need.... a pair of new brake pads and a new pair of disc rotor.
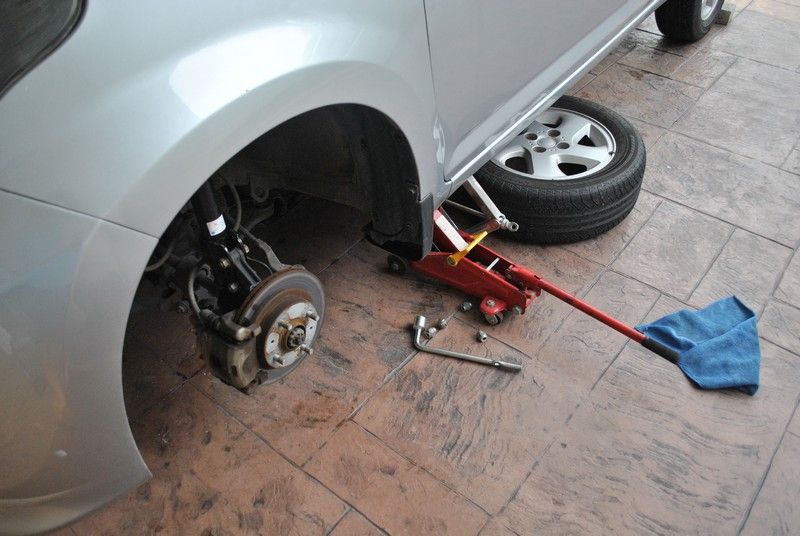
Again... jack up the car and remove wheels.... you will notice that I am using a 2 tonne hydraulic jack along with a scissor jack for added safety here as well as I put the tyre under the car. Having a jack failure while being under the car is no joke and should not be taken lightly.
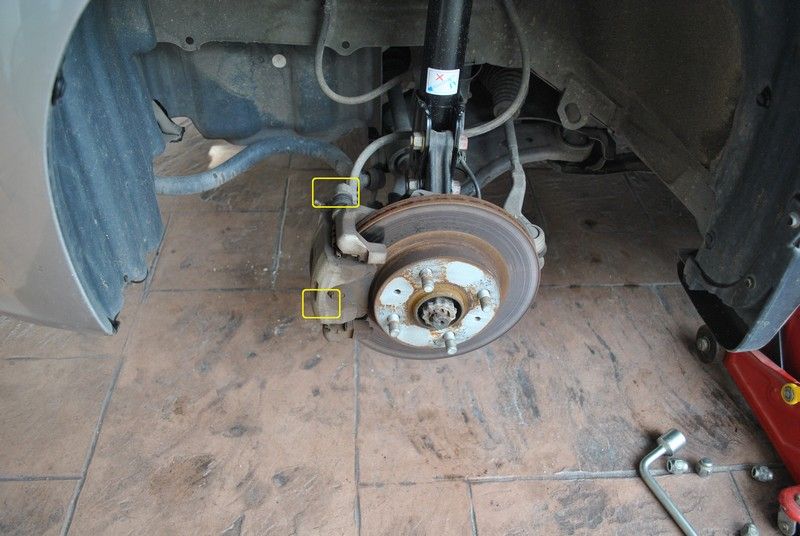
Ok, 1 bolt is visible and another is not..... but you get the idea on where to remove. If I remembered correctly, it is a size 14mm bolt. These two needs to be remove in order to remove the caliper holding the brake pads.
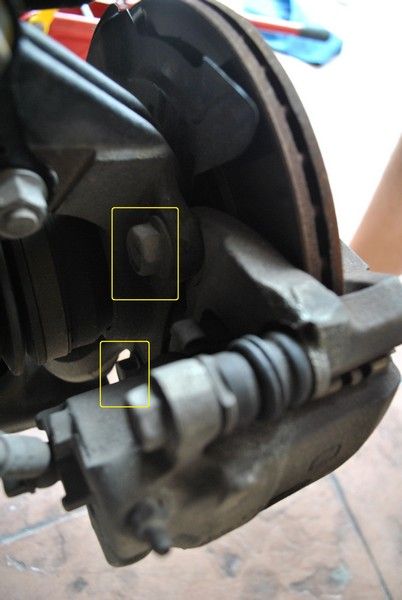
Now.... these two bolts behind the disc is holding the caliper bracket. These are size 17mm bolts and are pretty hard to take out.... careful not to spoil the head else.... its gonna be hell a lot of work to remove these bolts.
Once you have the brake calipers removed, I suggest tying it up higher so that it does not hinder with the rest of the work.
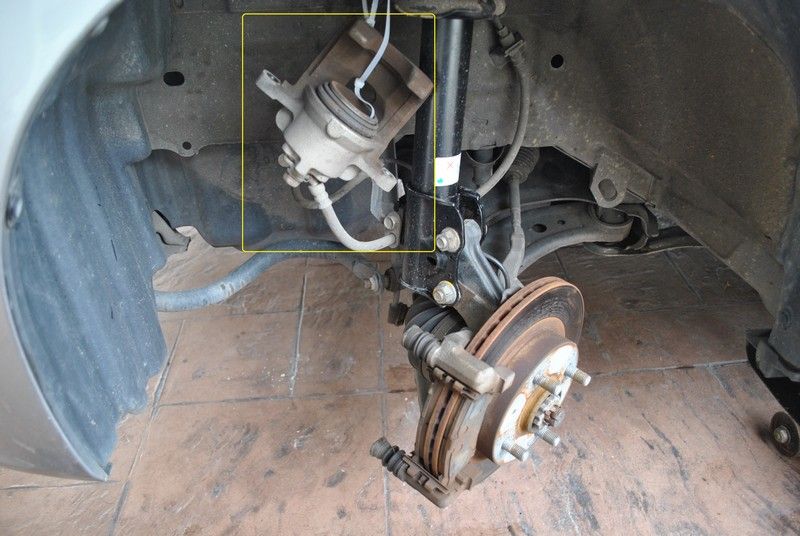
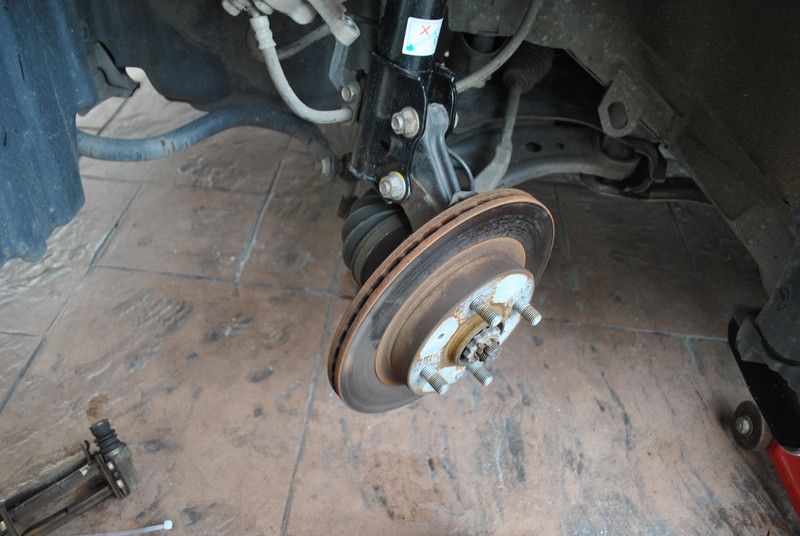
Now.... with the caliper bracket removed.... this is what you will see......
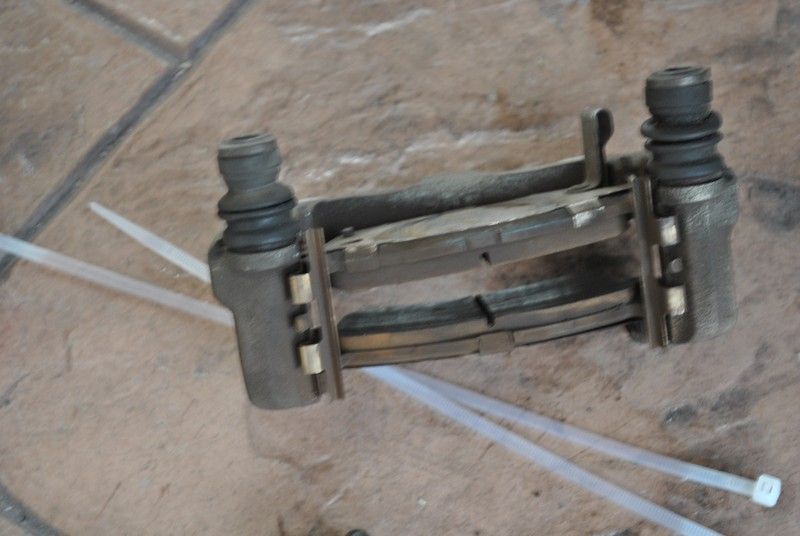
Removed caliper and the brake pads...
Ok..... to remove the disc rotor..... use a mallet and whack the crap out of it.... WILL NOT WORK (cause I tried). To easily and safely remove the rotor.... notice the two highlighted yellow boxes.... just tighten a bolt into it and it will pop out. For easier removal, shoot some WD40 into it before driving the bolt in.
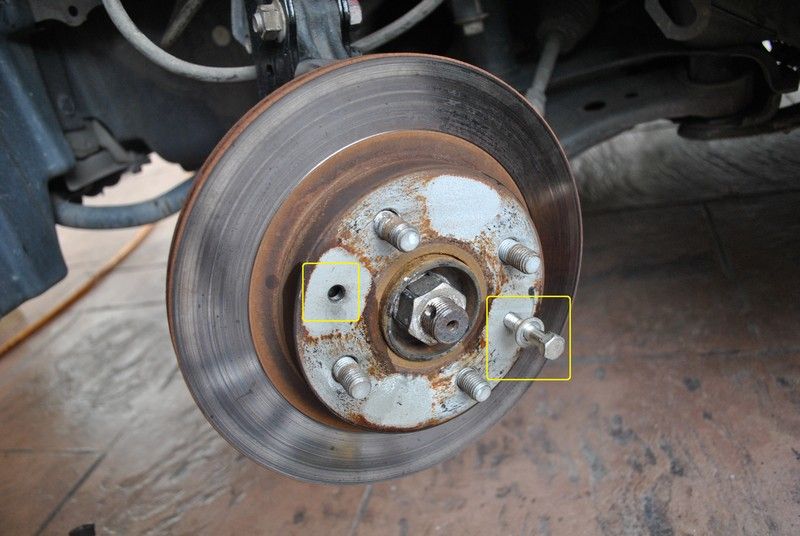
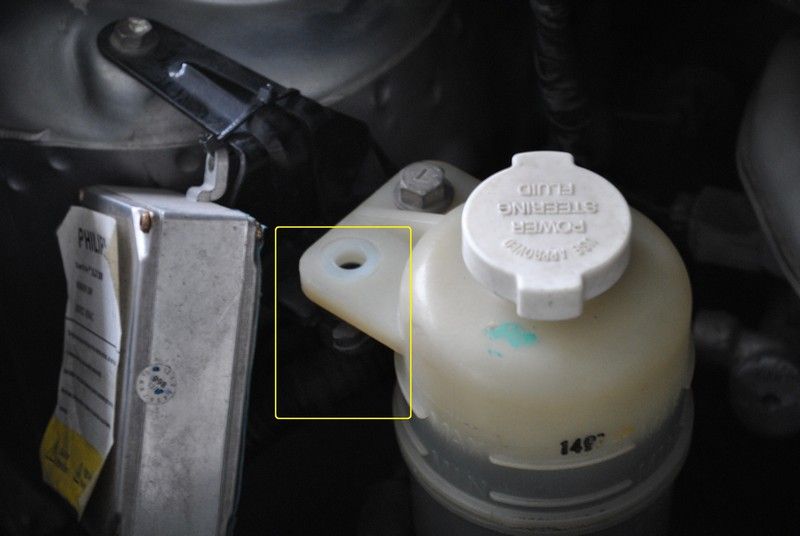
But.... WHAT IF I DO NOT HAVE A BOLT TO REMOVE THE DISC ROTOR...no worries, I did not have any spare bolts as well so..... I stole it from here.... this is the bolt holding the power steering reservoir
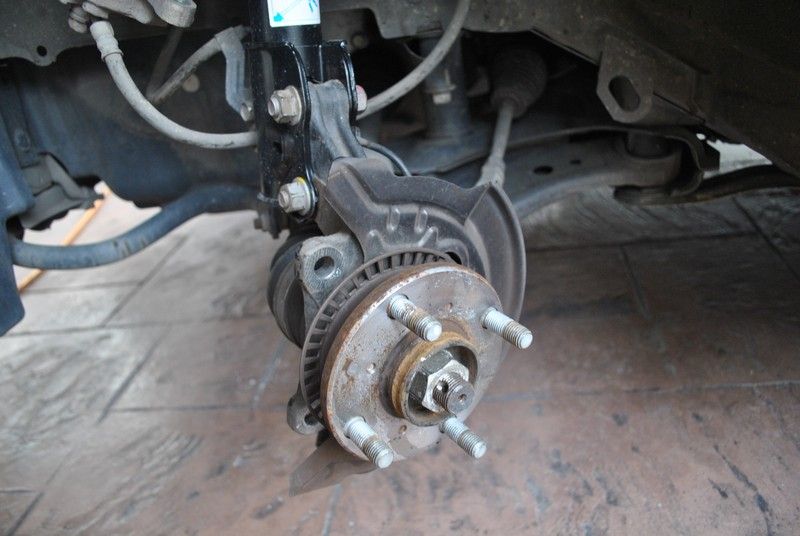
Once the disc rotor is removed, you will see the hub. Make sure not to damage the metal piece behind the hub as that is very important for your ABS.
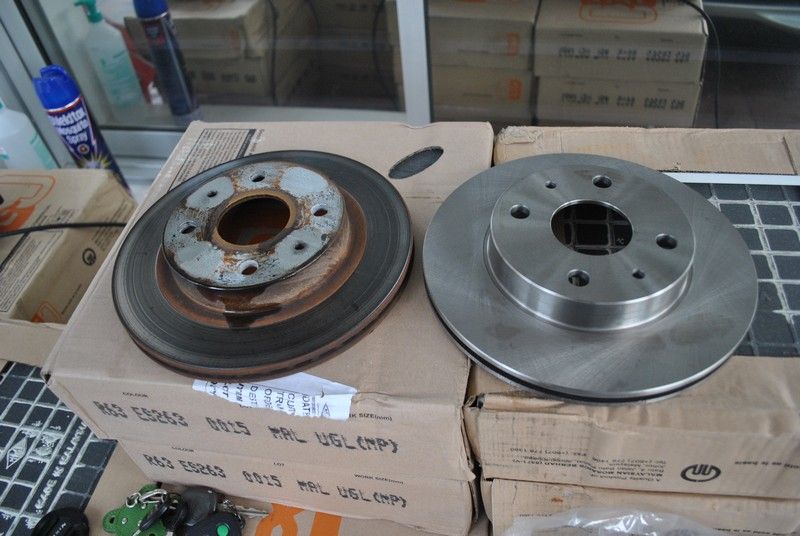
Comparison between the old rotor and the new.....nothing much to see and even if the old rotor is warp... I highly doubt we could see it with our naked eyes.
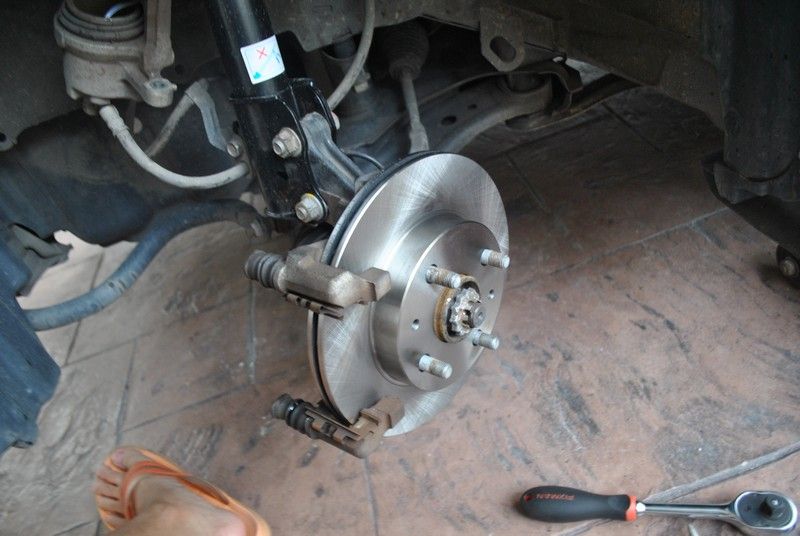
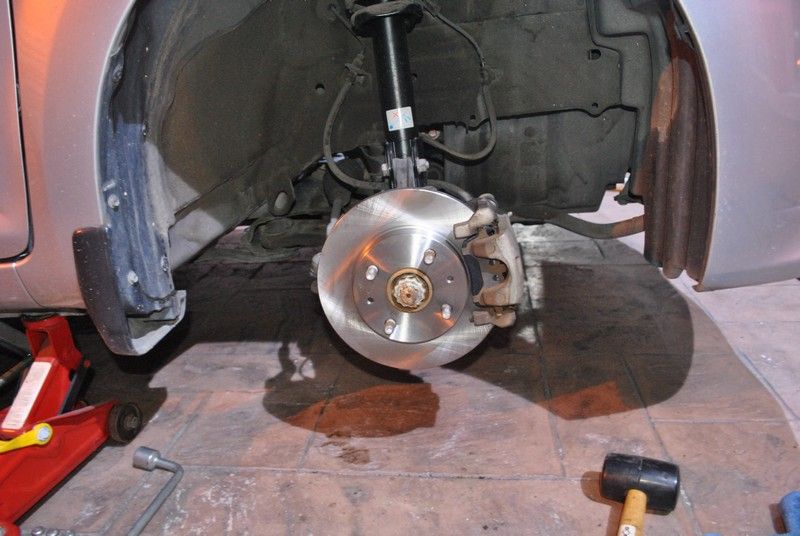
New disc rotor installed and caliper bracket installed as well.
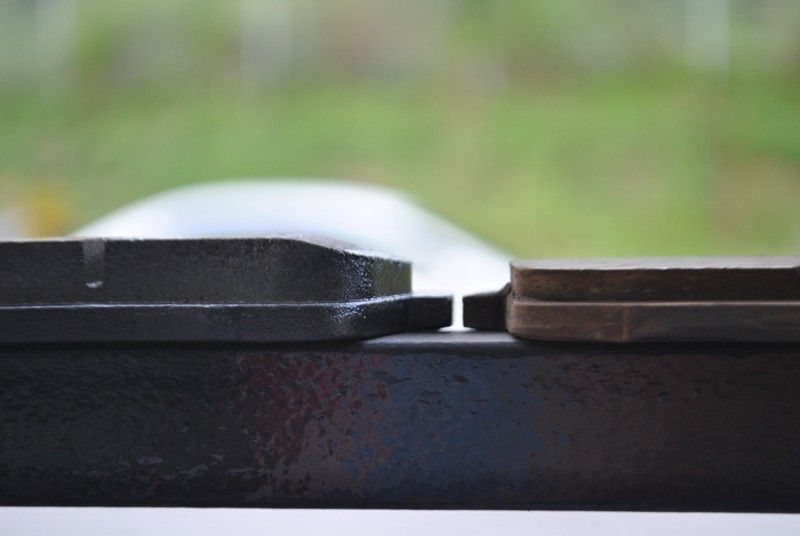
The thickness difference between a new brake pad and the old,...
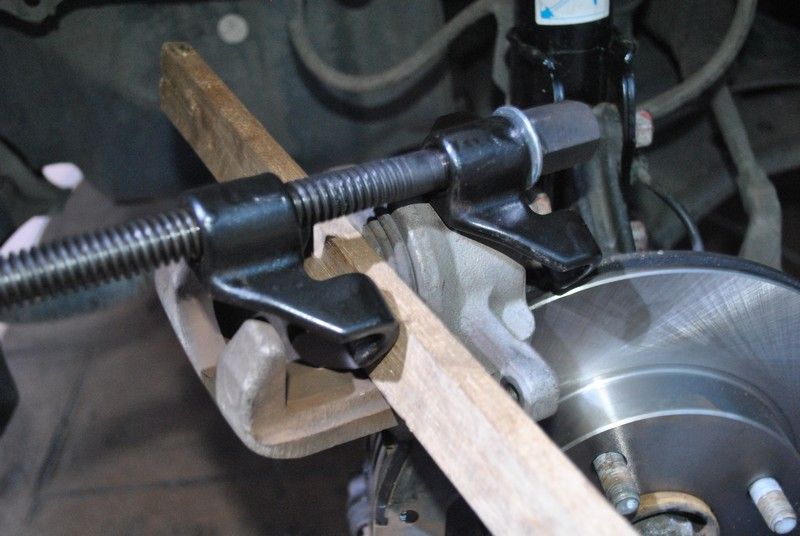
Ah yes... compressing back the brakes as it will now not fit in since the new brake pads are way thicker than the old..... I am not going to spend any extra money just to get a brake compressor (which btw cost about RM 2++). So I makeshift one with a piece of wood and also the coil spring compressor that I have.
Once done, install back everything the same way you remove them. This is actually the other side of the car.
Time spend: About 3 hours.
Tools used: Coil spring compressor, cheap RM2 for 20 feet wood, spanners of various sizes, jacks, muscle, water, sweat.
Satisfaction level: Neh.... just routine wear and tear maintenance.
Note:
- A lot of cases documented on the tragedy of failed jacks, be it hydraulic or scissor jacks. Please take extra precaution when working underneath a car,
- Wife driving style does not require performance parts hence the cheaper alternatives was chosen. OEM replacement parts.
- Controversial statement: Brake pads were run in during the test drive by several hard braking and basically torture testing.
- This DIY took a lot longer than I expected cause I forgot how to remove the disc rotor..... then searched youtube and realized what a dumbass I was trying to hammer it out with a mallet.
- WD40 is awesome
- When you install back the wheels, make sure to tighten the nuts properly as this will ensure the disc rotor is installed and hold in place.
So, any feedback/comments are welcome be it good, bad or plain gibberish.
Awesome and helpful.
ReplyDeleteAwesome and helpful.
ReplyDelete