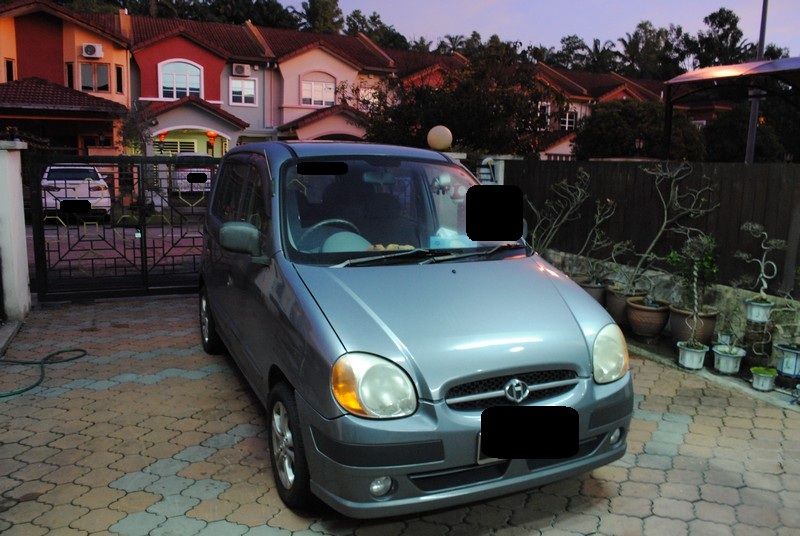
The Atos is no exception as it has been purchased by the owner brand new bout 8 or 9 years ago. I think the car has gone thru probably less than 50 car washes in its entire lifetime.
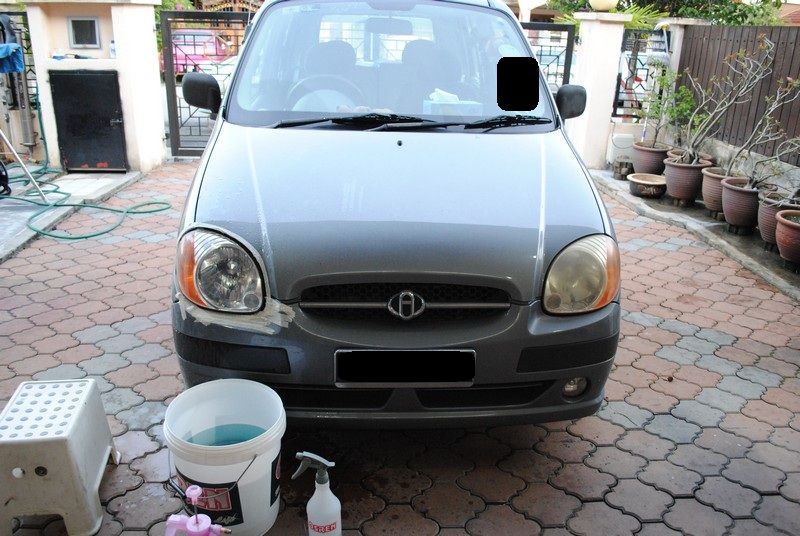
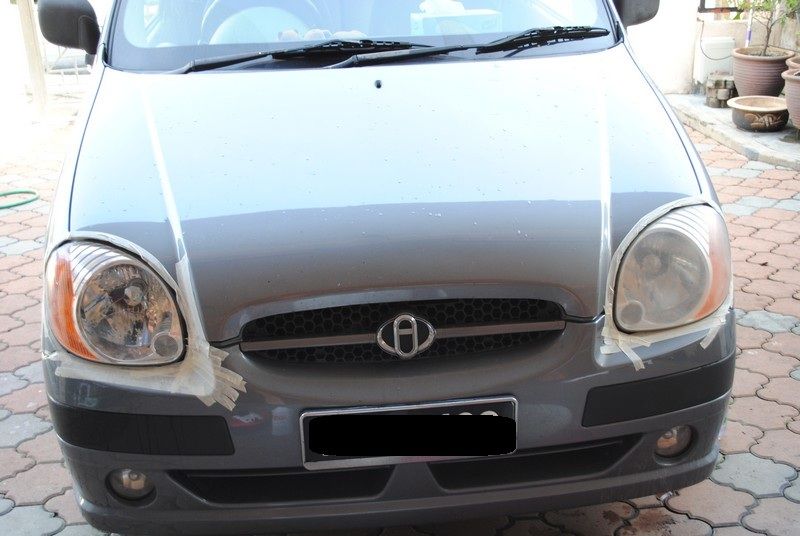
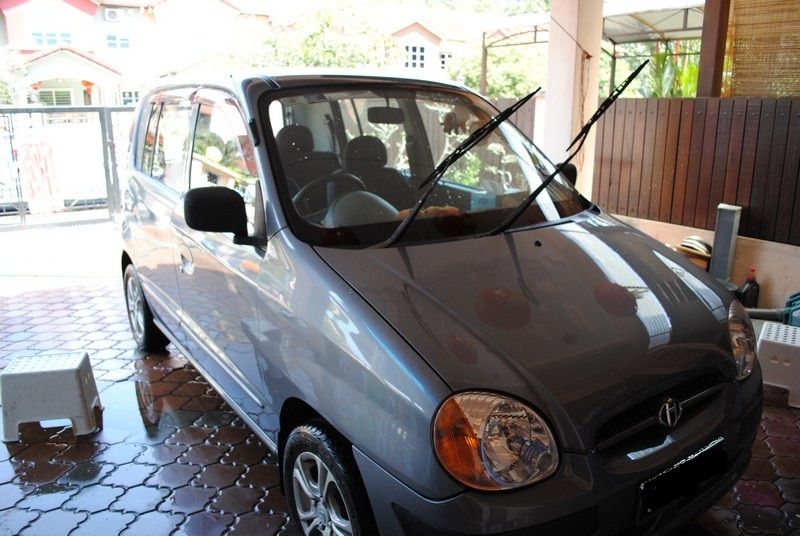
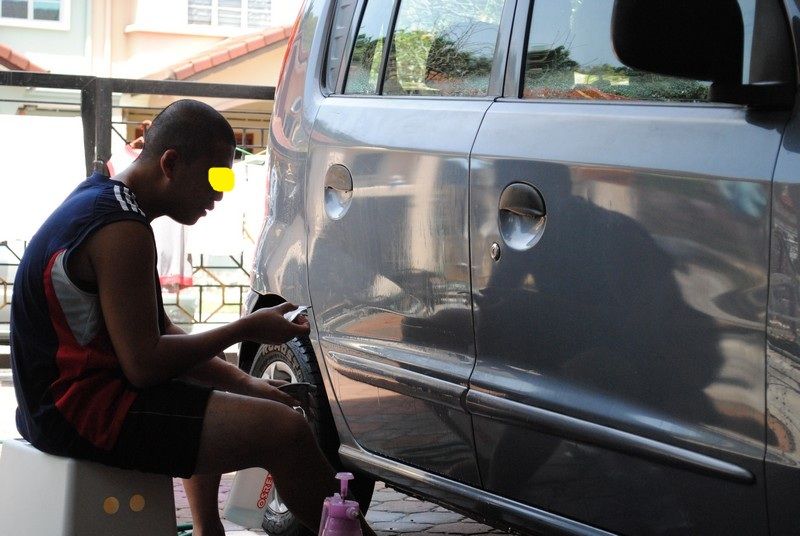
So, car was delivered to me on a Friday evening and below is the condition of the car upon arrival.
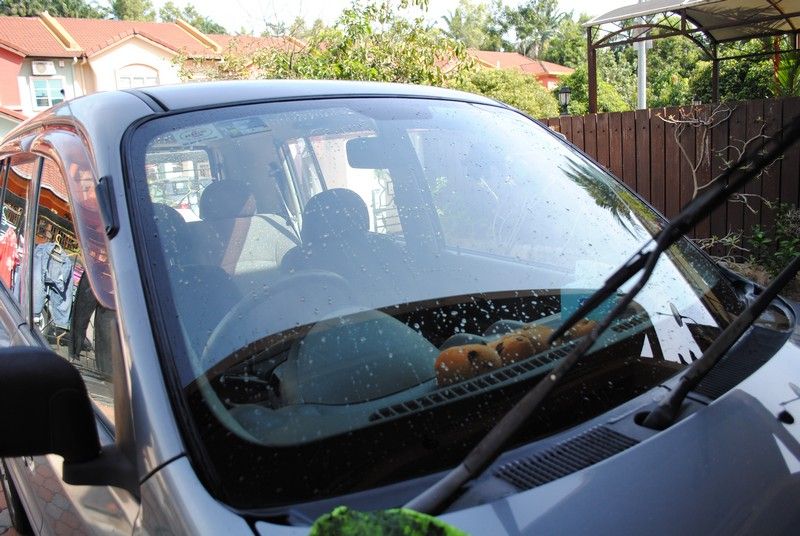
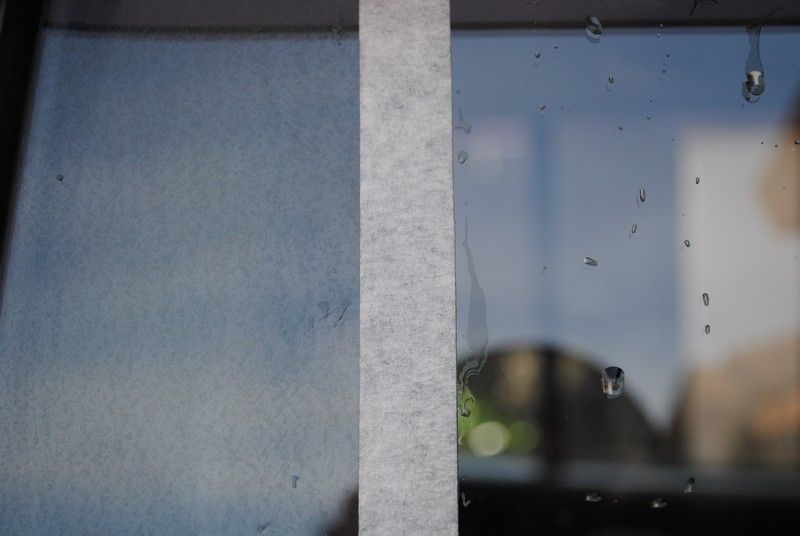
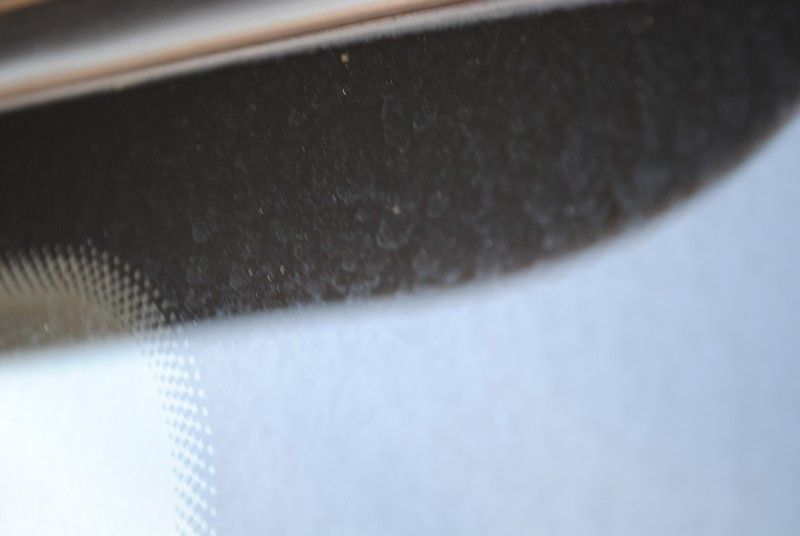
Glass definitely needs some work on it. Pretty......... lets say I wun wanna try driving this in heavy rain.
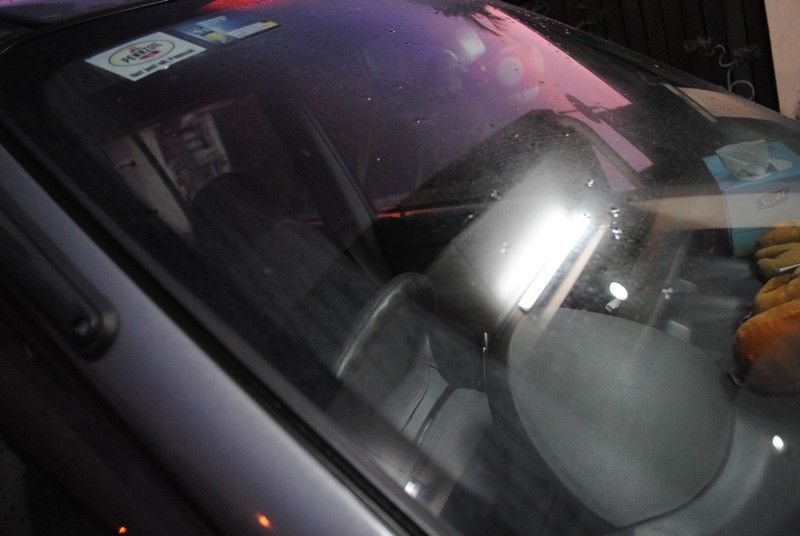
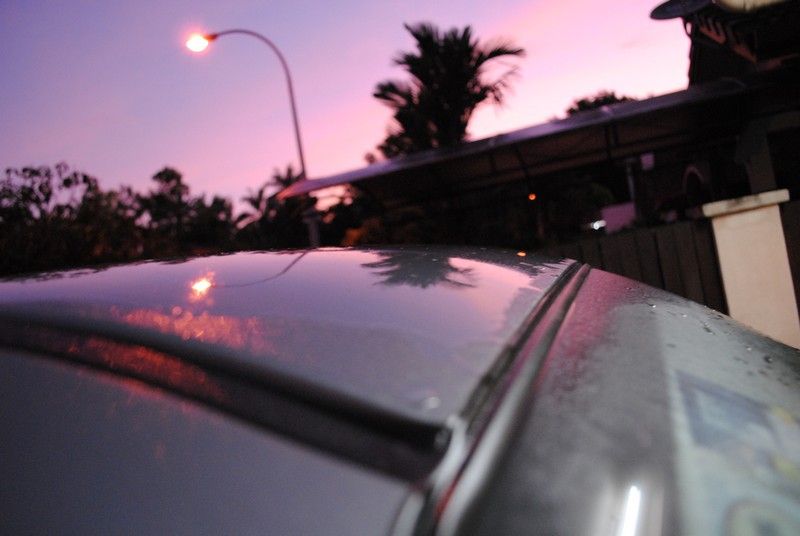
Totally no water beading and roof can even be seen as rough. This is one of the extreme cases where you do not need to feel if the car needs to be clayed.... you instantly know it needs to be clayed.
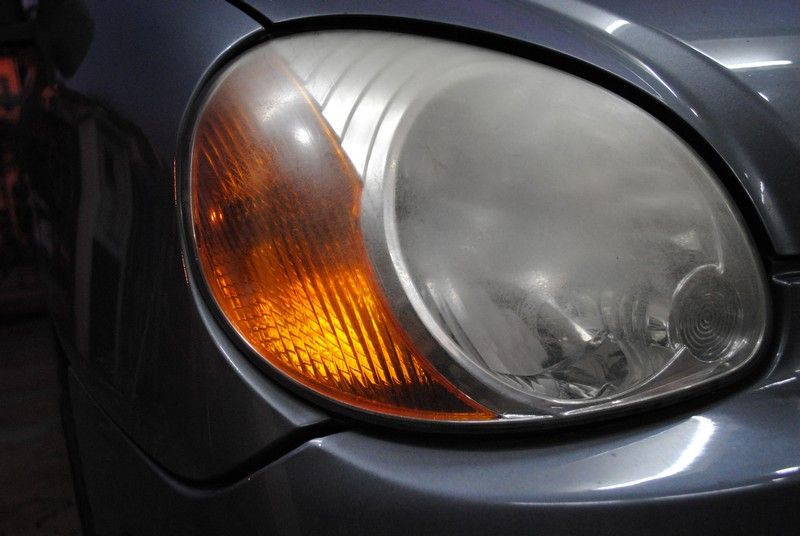
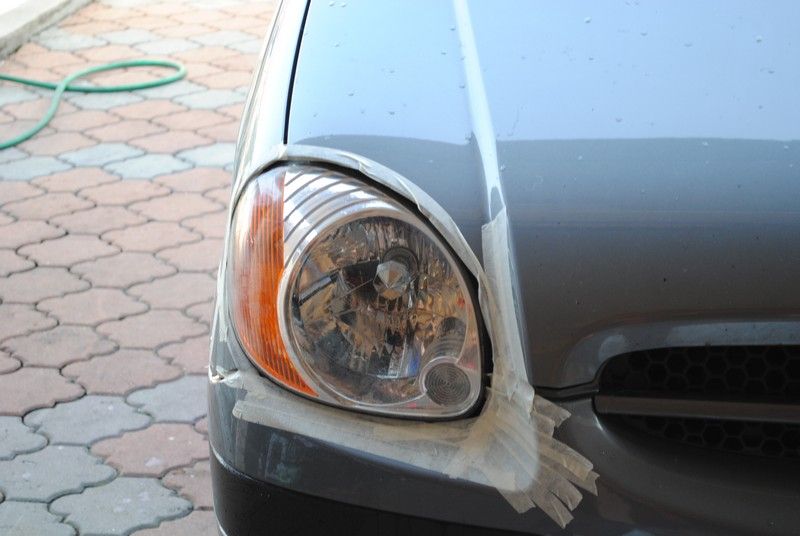
Headlights are........ as the owner says, hardly visible and dim when driving at night.
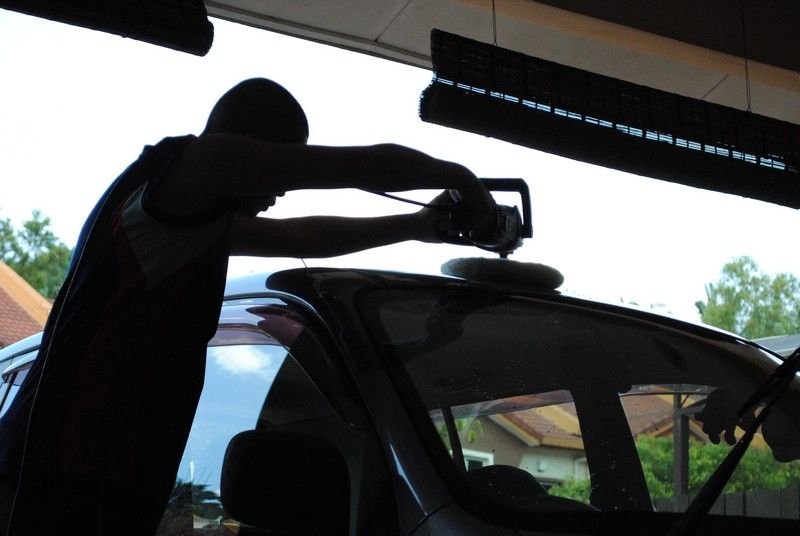
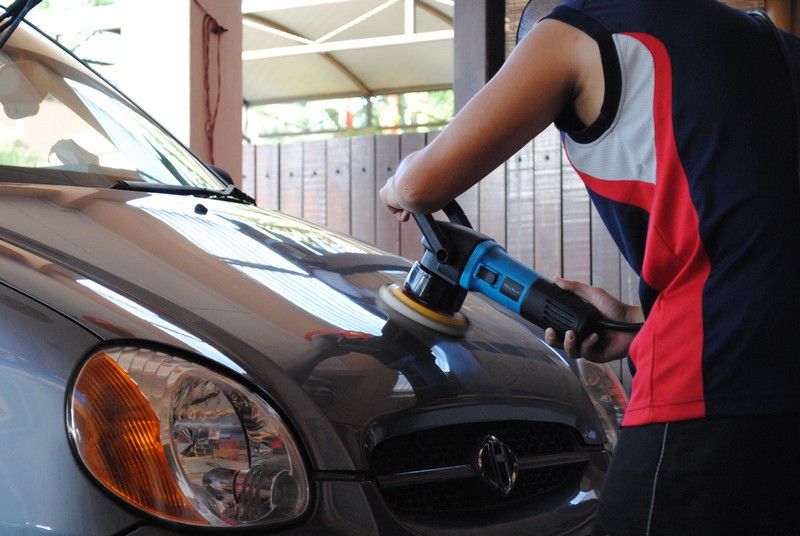
SOOOOOOOOOOOOOOOOOOO, we fast forward to the next day which is Saturday morning. Did nothing as Friday evening was late and it was sleep time. Woke up at 6am and started working on the Atos.
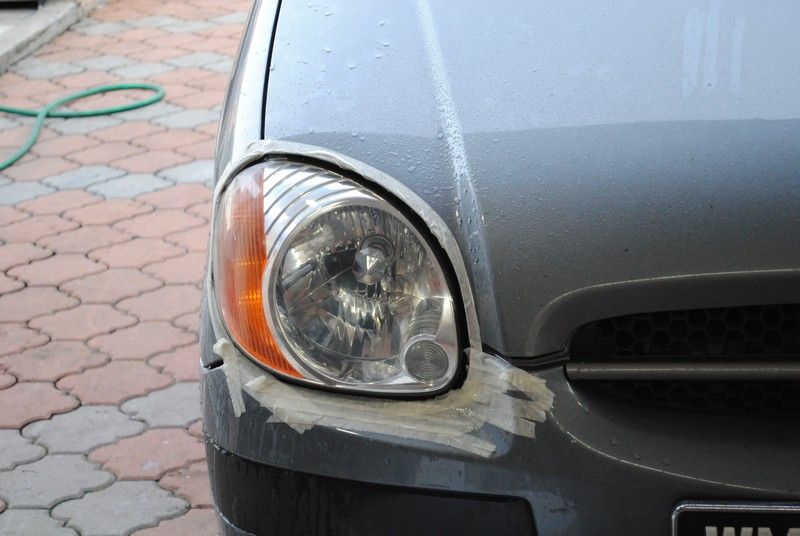
"Sanded and compounded" VS "Untouchables". I don't think I need to elaborate on the difference.
Looks pretty good already rite.... actually far from over, this is not polished yet.
Let's take a look at the other headlamps....

What is this brownish liquid flowing down like Klang River.
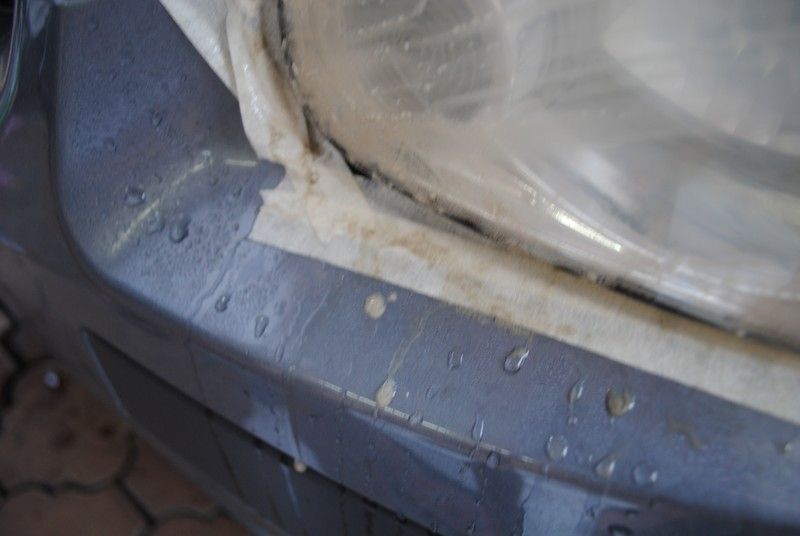
OMG-ish........ yeah, I am taking away the top layer via sanding of 1500 followed up by 2000 grid sandpaper. From here you can see amount of oxidation and plastic is being removed.
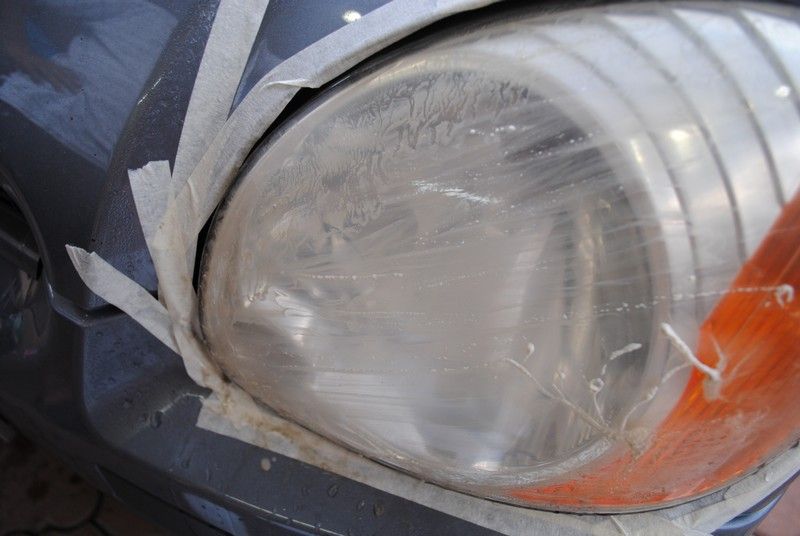
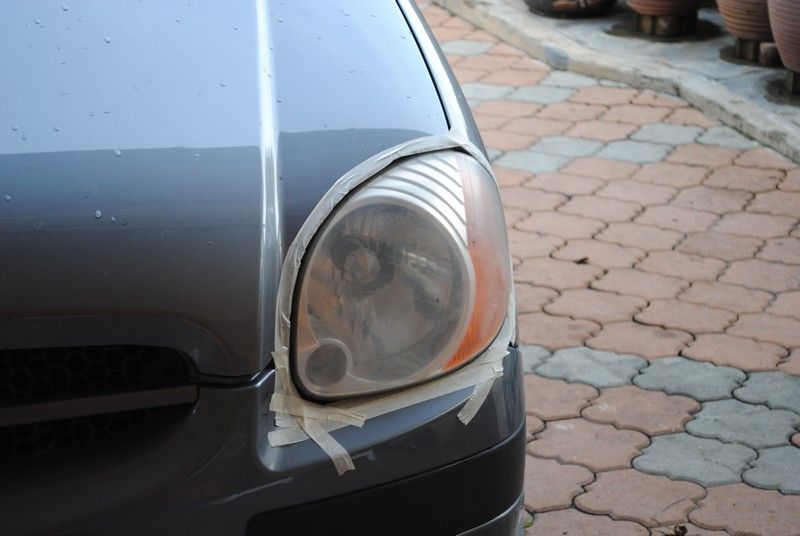
Now, another comparision of Sanded +Compounded + Polished VS Sanded only.
Closer look.... nice....
You know this will be later compounded and polished to near perfection.
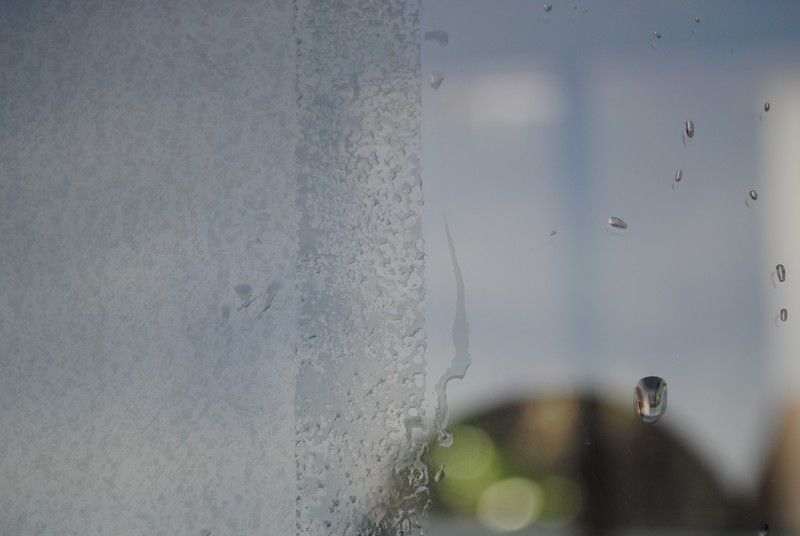
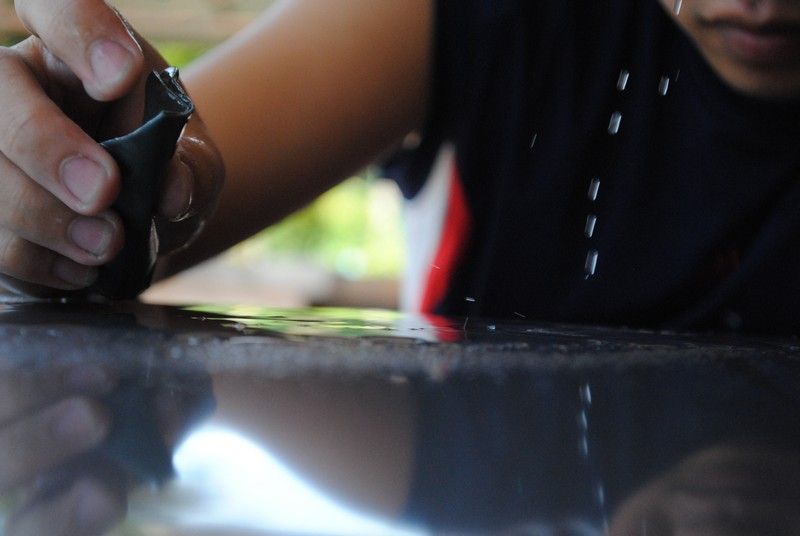
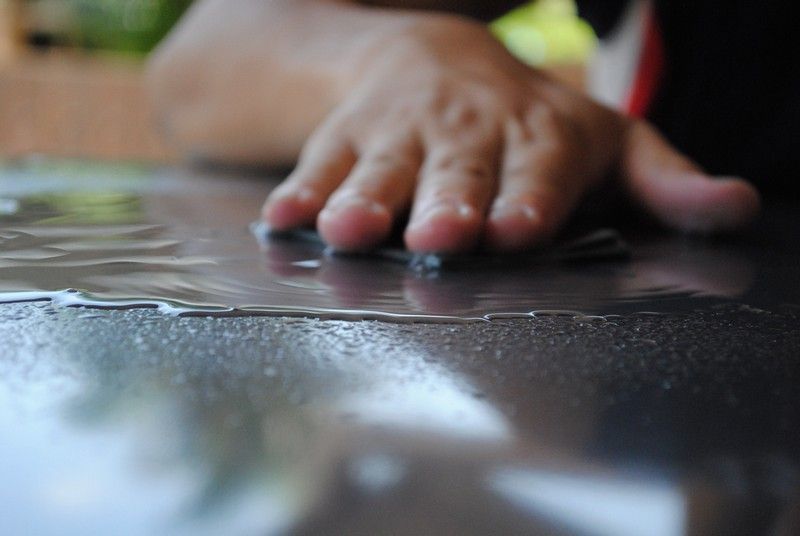
The glass is now given a quick ONR wipe.... water starts beading but this is not what I am after.
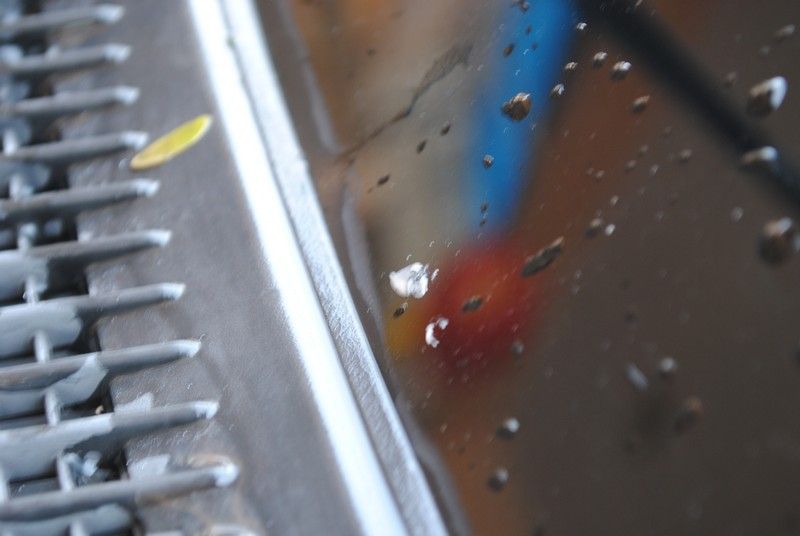
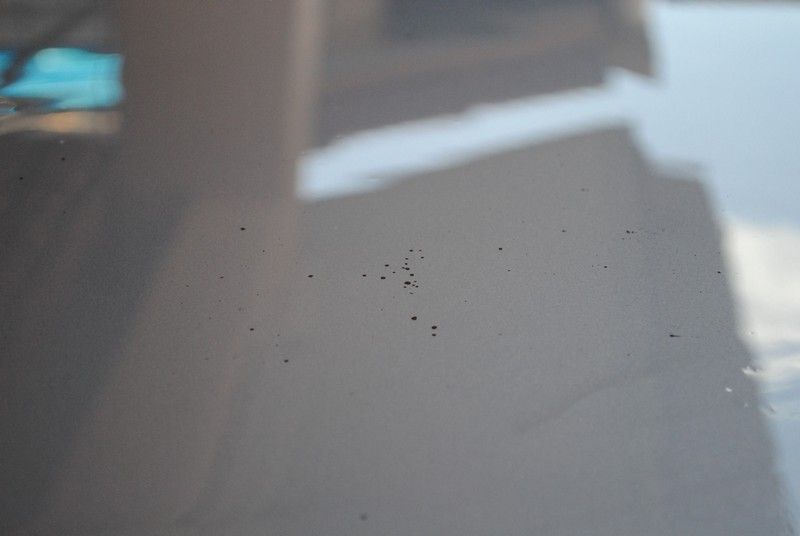
Was cleaning the glass to discover all the funny funny things on the glass... such as CEMENT splatters...
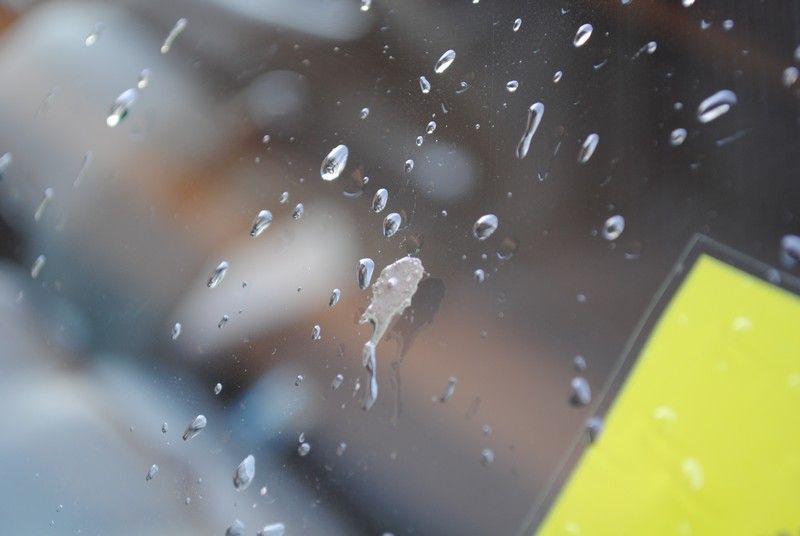
Not just one spot but multiple spots...
Even certain parts won't bead water with just ONR.
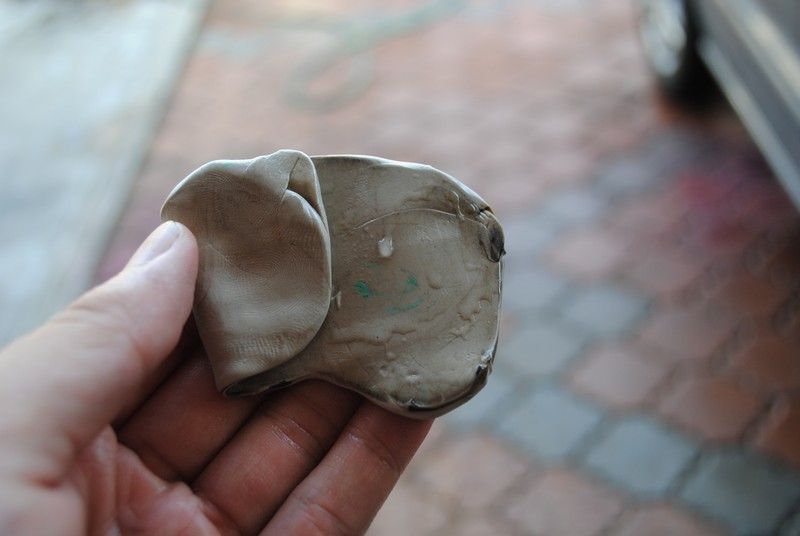
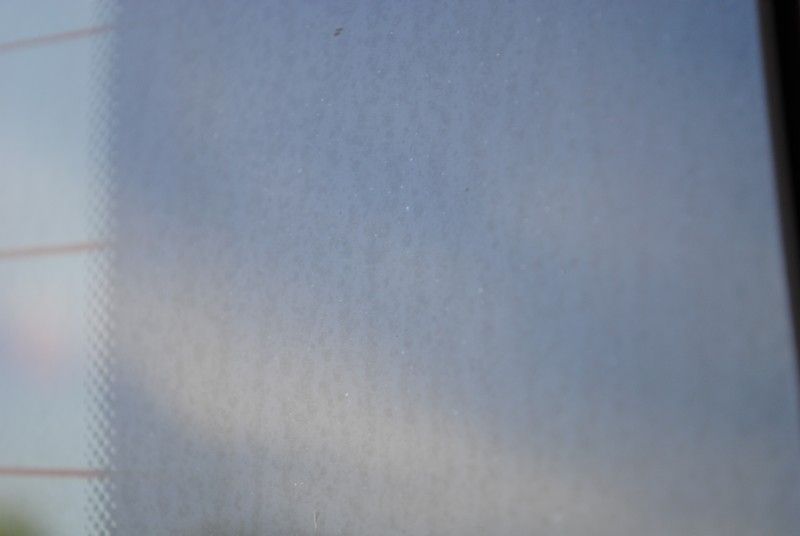
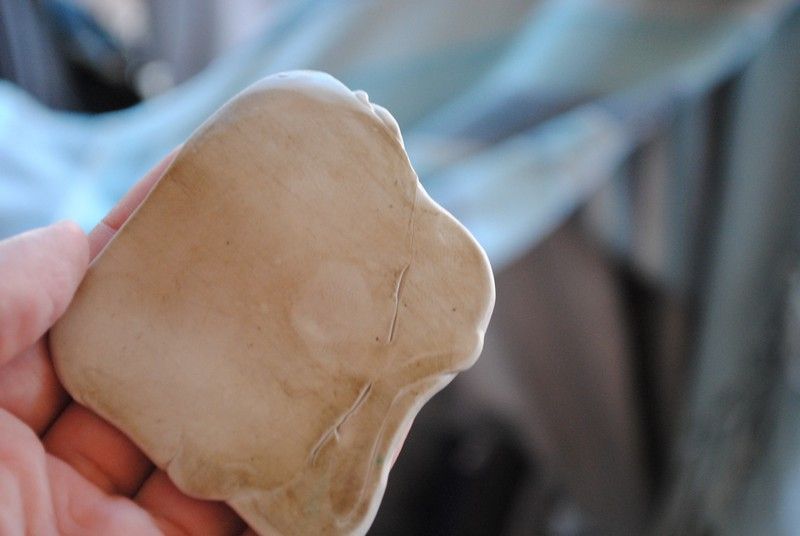
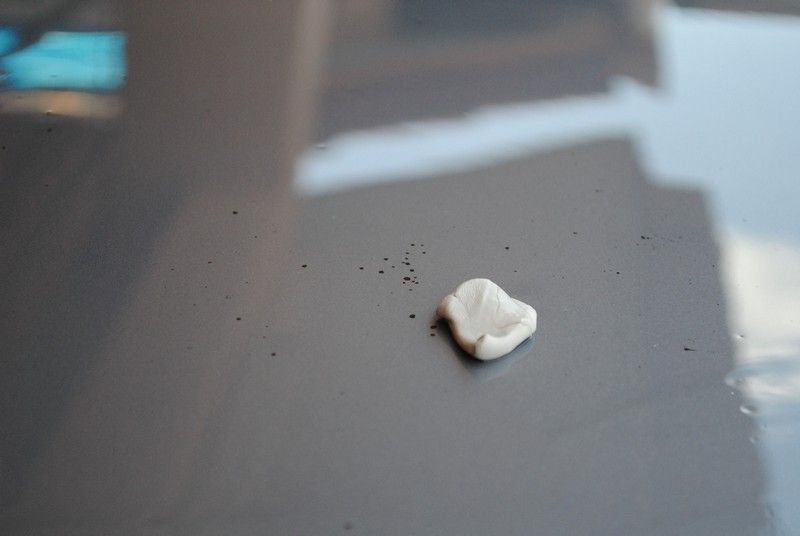
This is how dirty the FRONT windscreen only....

Can you see the difference in color on the clay bar after claying the windscreen only.
Now I move on to the side mirrors which is heavily waterspotted.
Tell me..... who is the king glass now... hohoho.
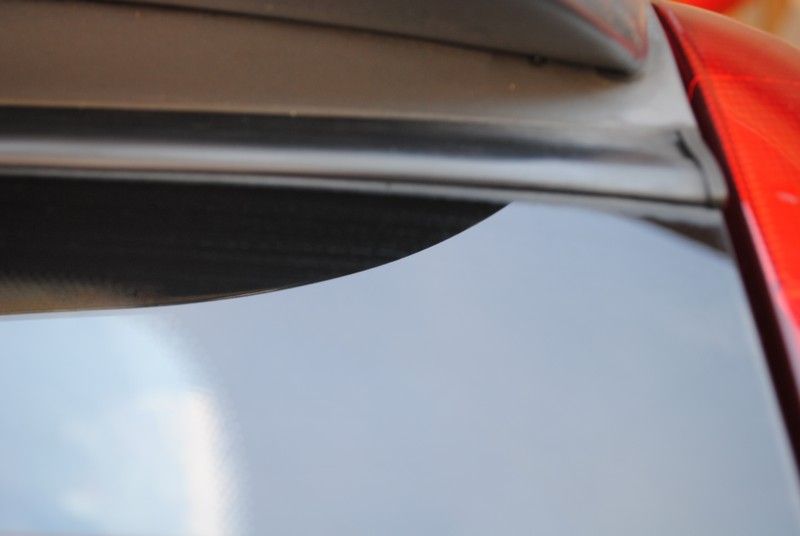
Rear glass...... water spots detected....
Water spots gone...... this was after I polished the glass with glass polishing pad + glass polishing compound + Ultramate Dual Action Polisher.
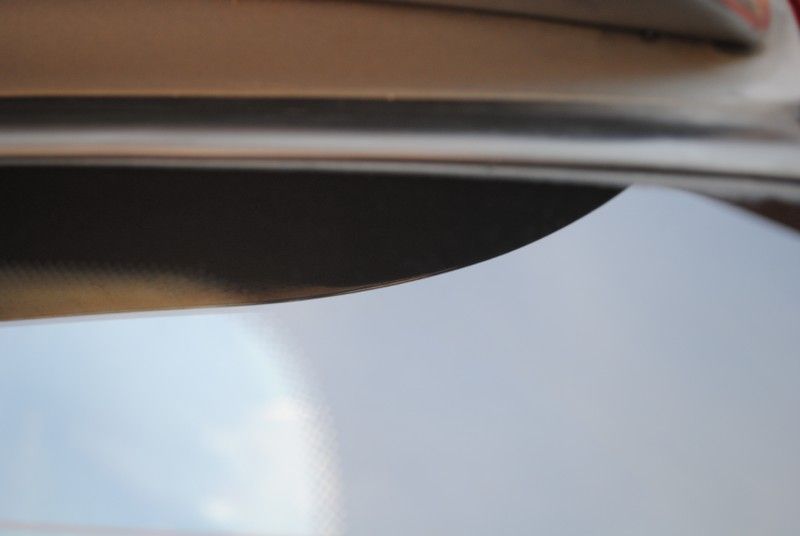
More water spots detected on the upper side of the rear glass.
Gone... again with the same combo.
Another angle..... yeap, IT IS GONE, not some camera trick and I honestly suck at photoshopping anything so that is out of the question.
Overview of the rear glass.... took me more than an hour working on this one glass alone....
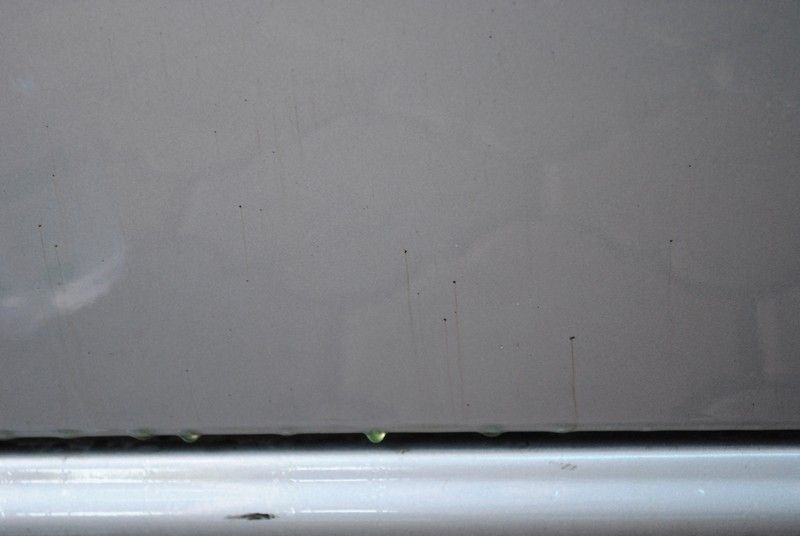
Front glass was also polished. After all those are done, the entire car was given a quick wash with Osren Bubble & Wax. You can see that water is still sticking to the paintwork like glue at this point of time.
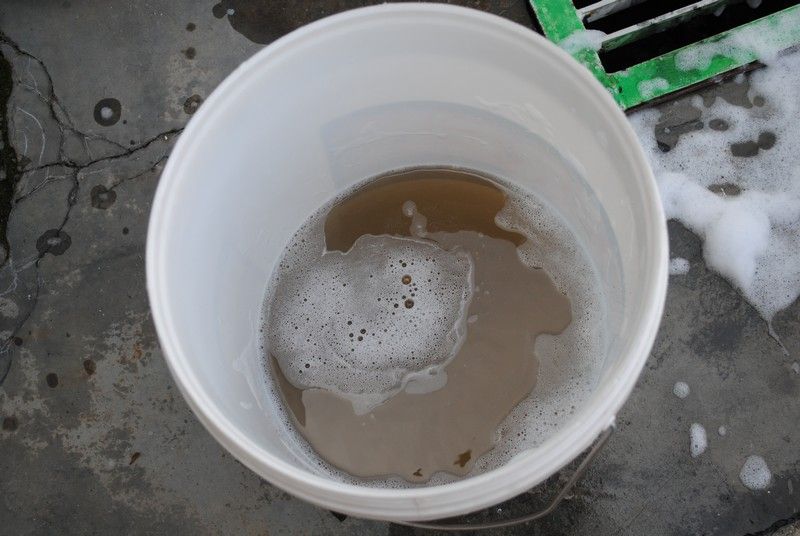
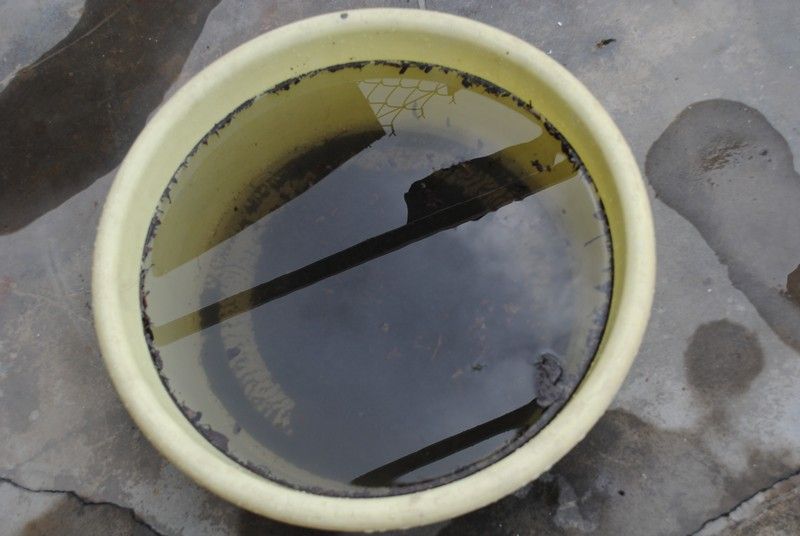
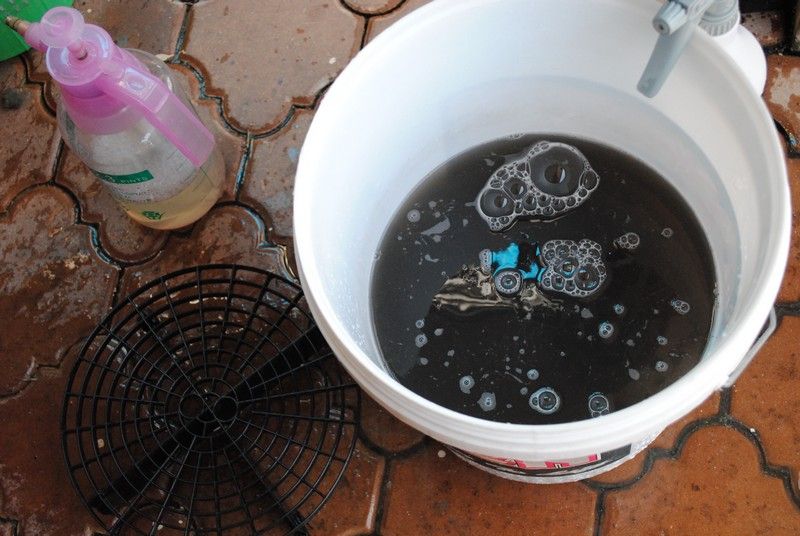
The bucket of shampoo.... not that dirty rite....?
Amount of tea leaves I managed to spray out of the gap between the front door and the fender......... THIS IS NOT ALL.
I call them tea leaves cause it is seriously like tea leaves.
I tried using a bucket to contain them but proves futile as I had to use a lot of water to flush them out.
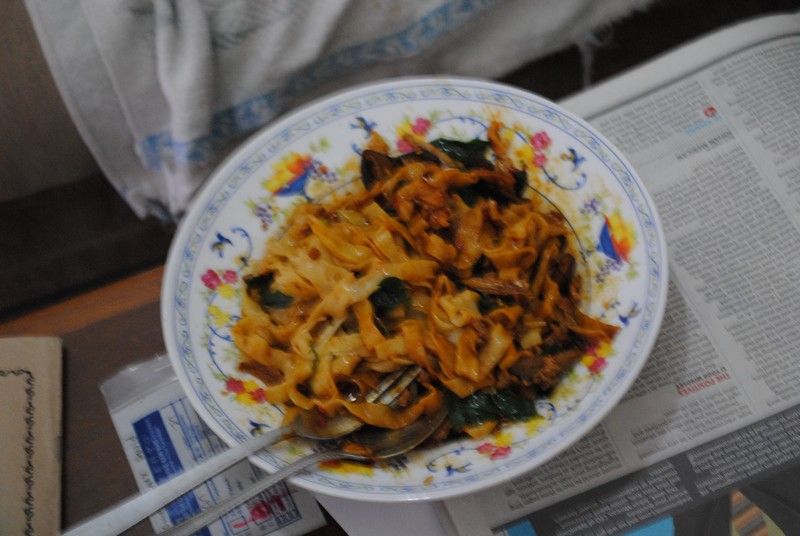
OK, time for lunch as my lovely wife bought me my favourite USJ16 Pan Mee.
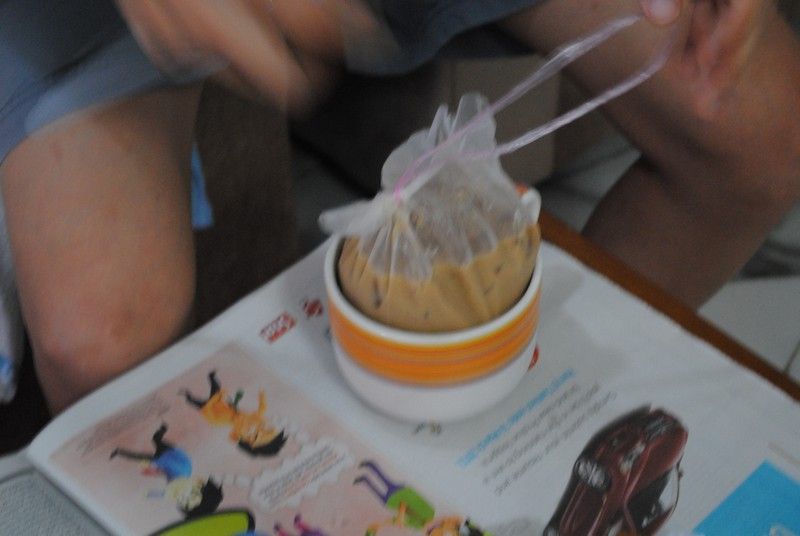
Along with White Coffee.
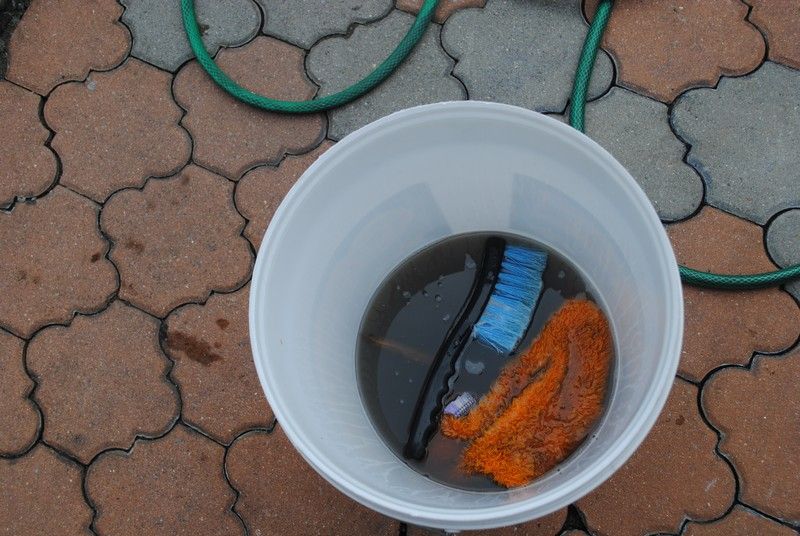
After food.... time to ............... dafug is that black water?
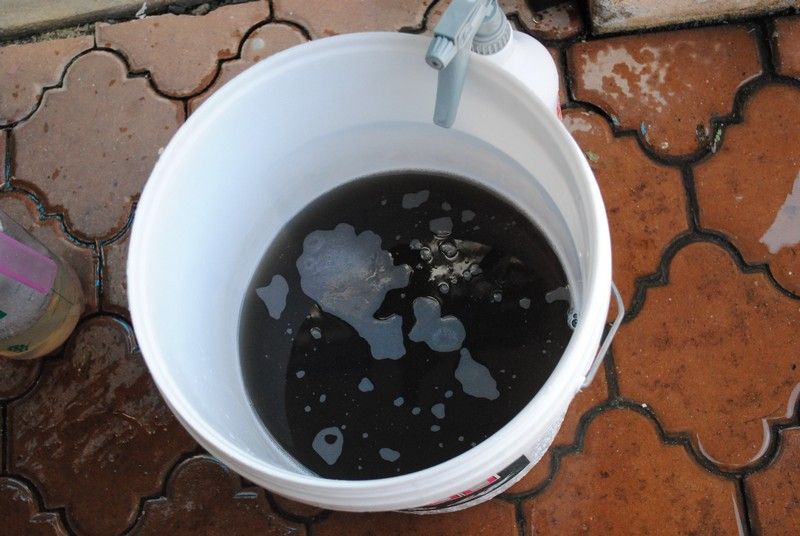
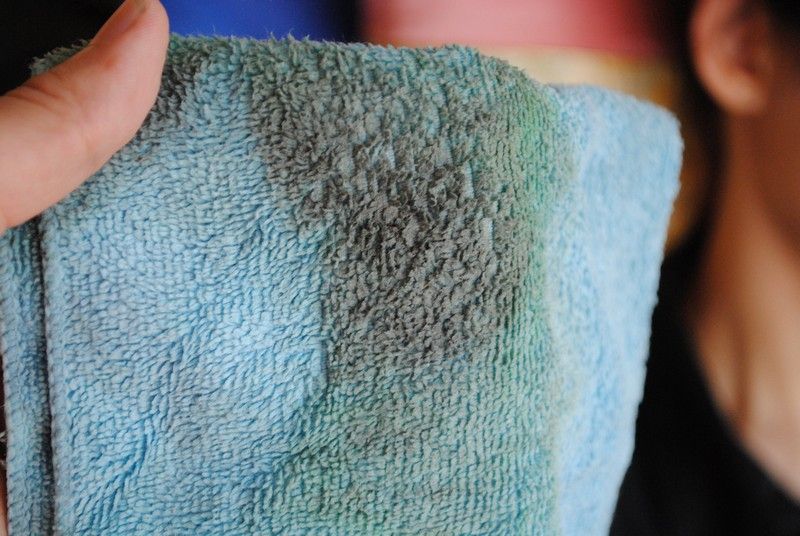
Gridguard taken out to show that the water is indeed black. Actually this is the water I used to rinse the cloth for OPC-ing the car.
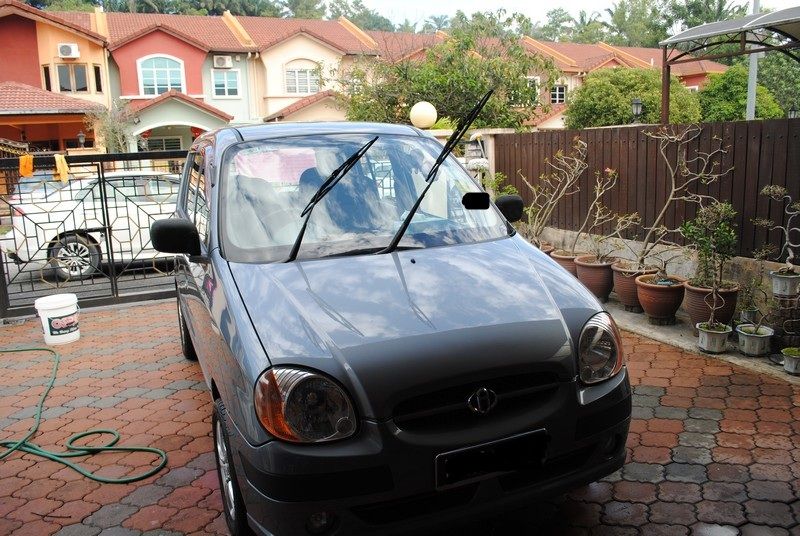
Now the car is starting to look like a car...
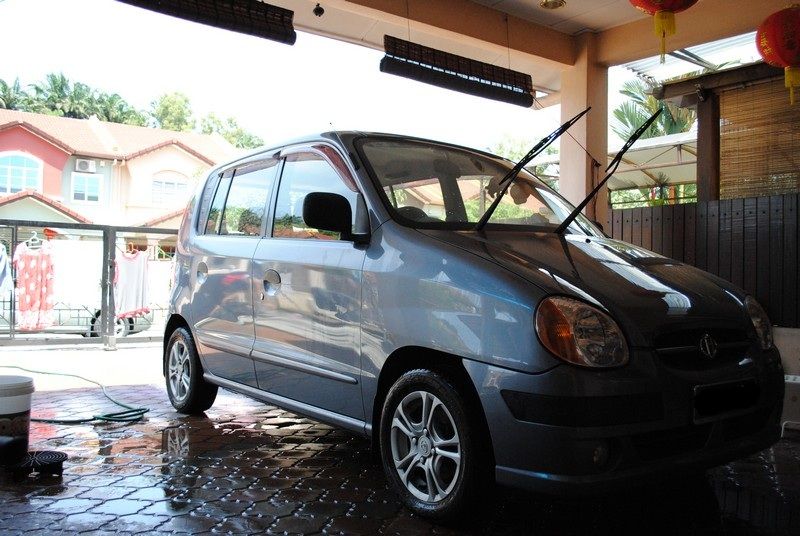
Still lack definition but that is probably cause camera man...woman is lousy. Can see me washing something in the reflection so this is not taken by me.

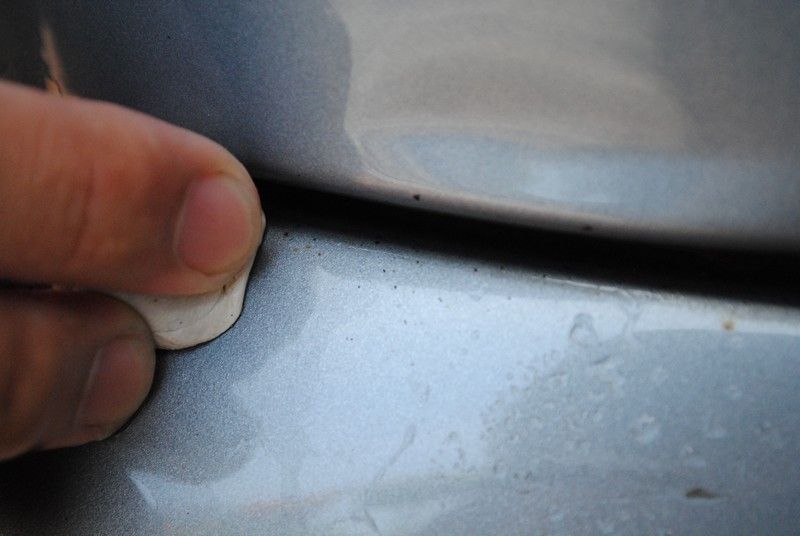
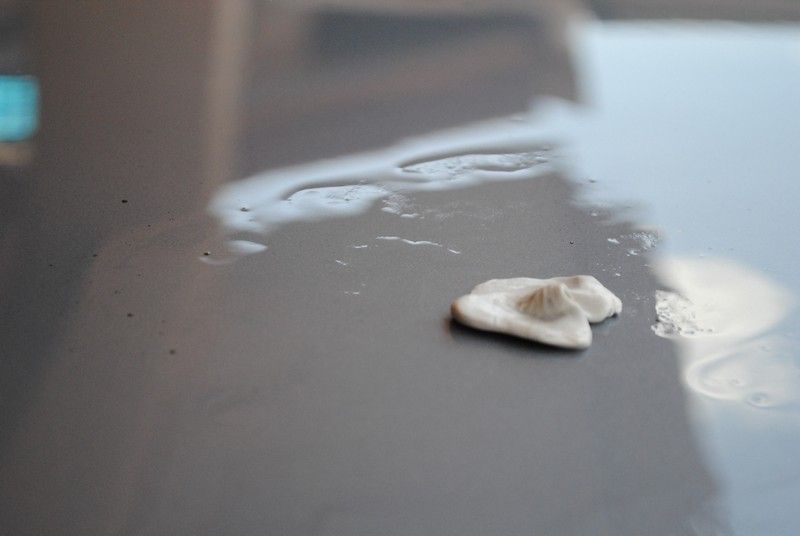
The devil with yellow eyes and red pointy tail decided to clay the entire car...
Amount clayed from quarter of the bonnet..... WOW...
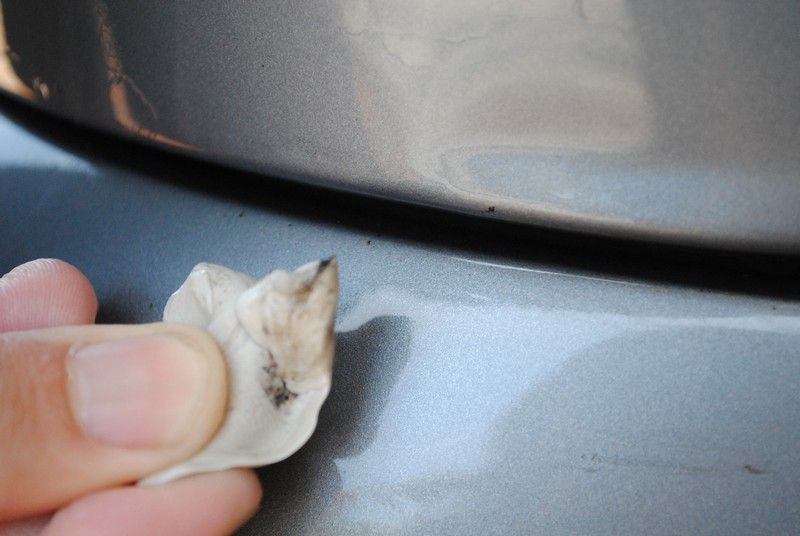
Then this yellow eyed MONK decides to clay the side as well.
The very lower region of the door.... I used TarC instead to save my clay.
This one is on the upper part of the car... dunno how a big chunk of tar can get so high up..... but no tar can withstand the might of TarX (lemon scented liquid from heaven)
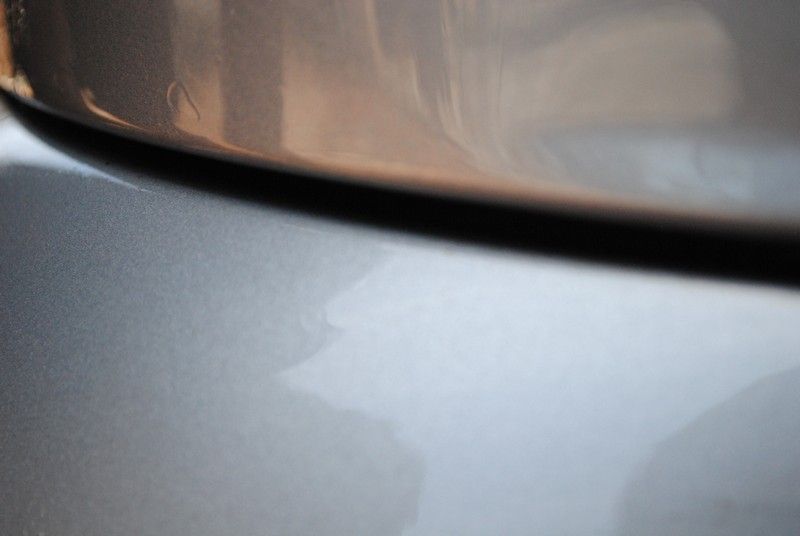
Lower part after being sprayed with TarX and dwelled for a few minutes, was then wiped off.
The rear bumper and it is gap... plenty of spots...
I tore a part of my main clay to use on this spot, so that once I am done, I can just throw away that small portion of clay.
After claying is done..... you try to find for anymore spots.
More nightmare.... cement on the paint... right in the middle of the roof.....
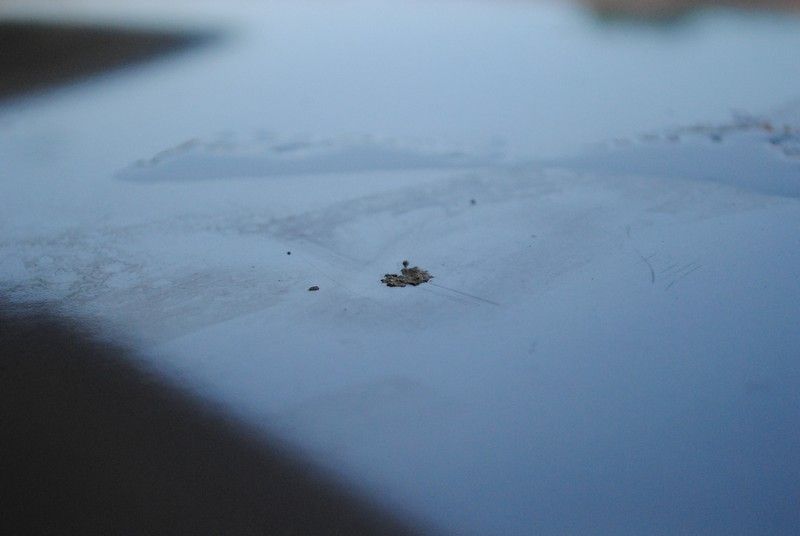
Trying to sand it off with water running....
Still trying to sand....... in the end it was a failure.... the cement has eaten into the paint and it would be better to leave it alone there.
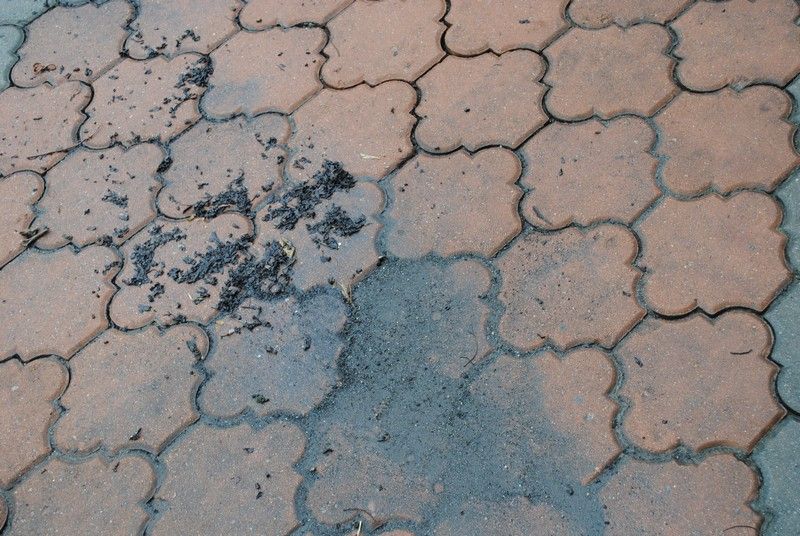
Some tar spots on the roof..... I myself cannot figure out why the tar spots are so....... dotted at such a high area.
Tar spots..... meet another small clay bar.
Bye bye tar spots....
Botak ini manyak shiny....
This is during compounding of half the roof.... plenty of dust...
Compounded but lack reflection as it is wet now...
Compounded the other side of the roof now with Makita 9227C + Optimum Double Sided Wool Pad + Hyper Compound.
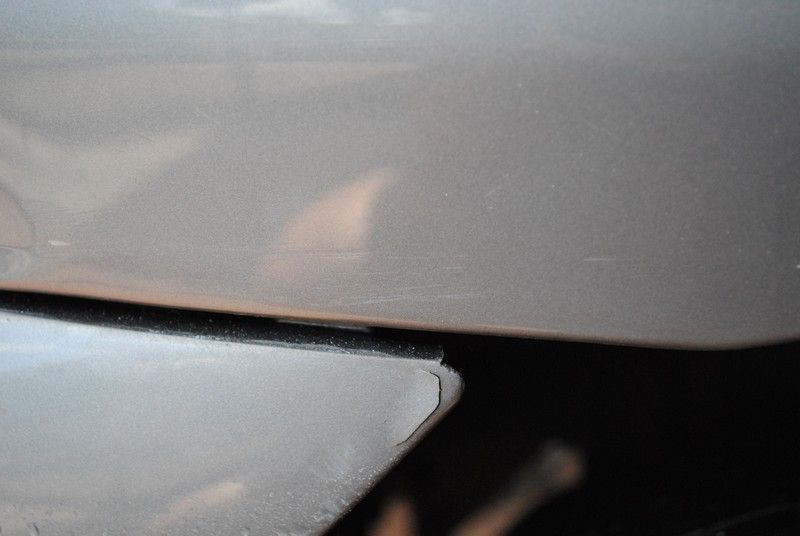
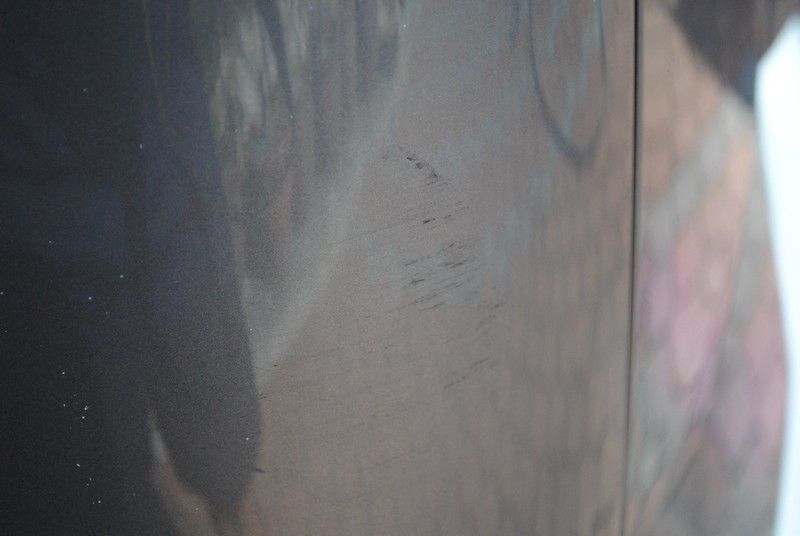
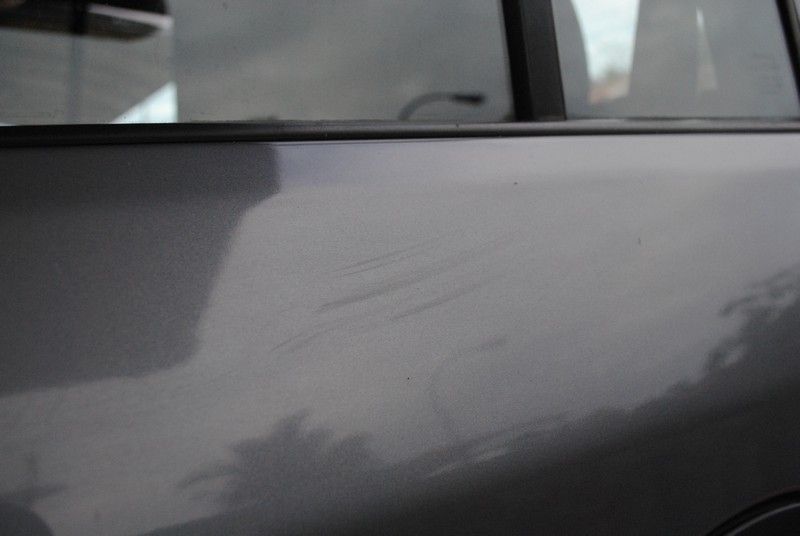
This mark is probably from other car doors opening and slamming into this door..... hate those people that open their door as if their life depends on it.
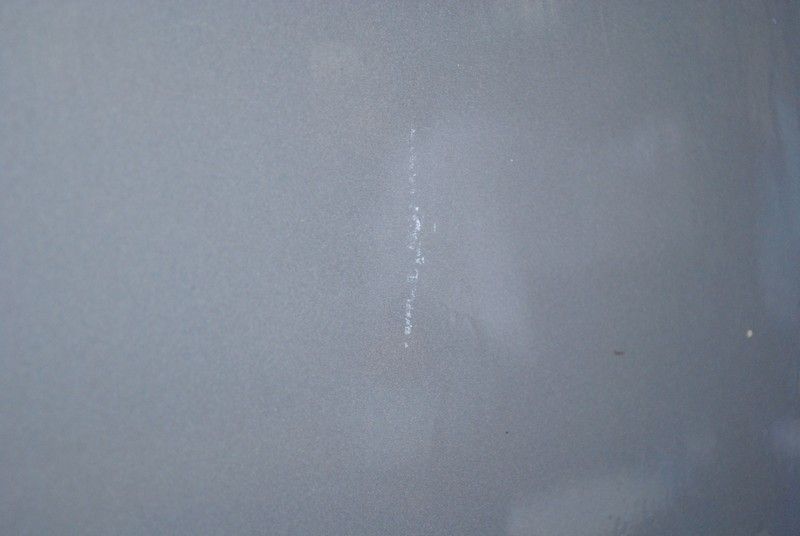
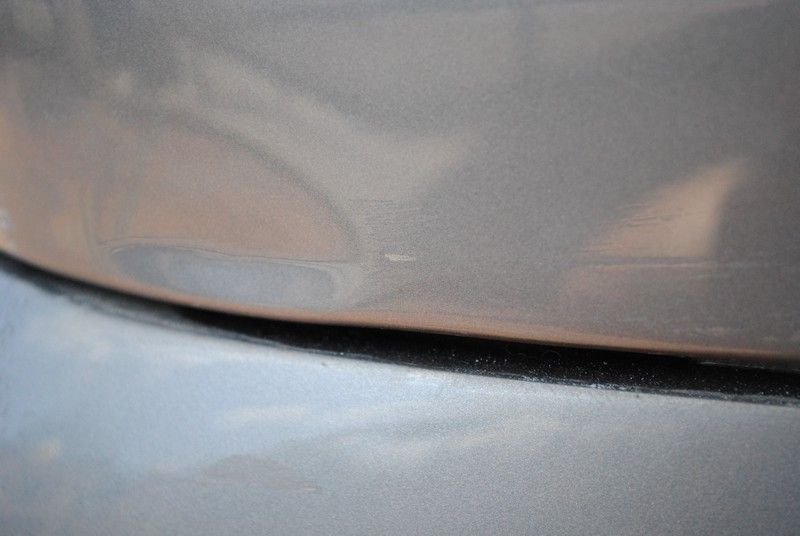
After compounding.... mostly gone.... you won't see it unless you really really go hunting for it..
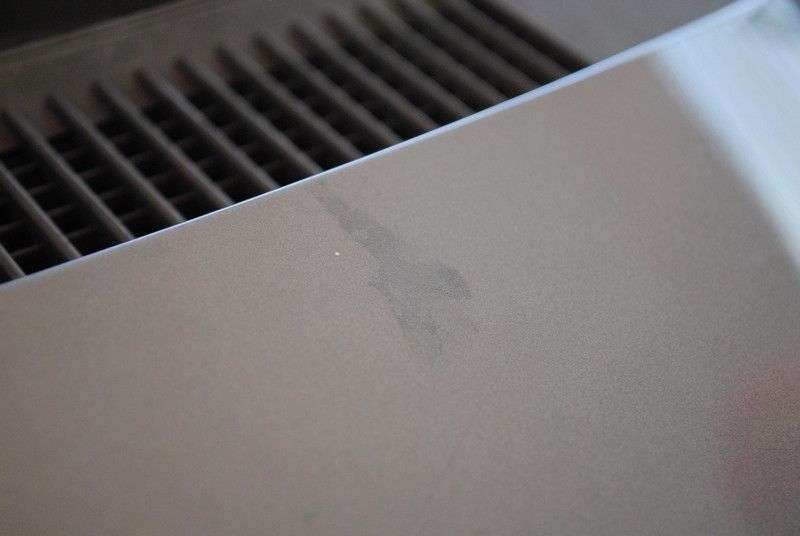
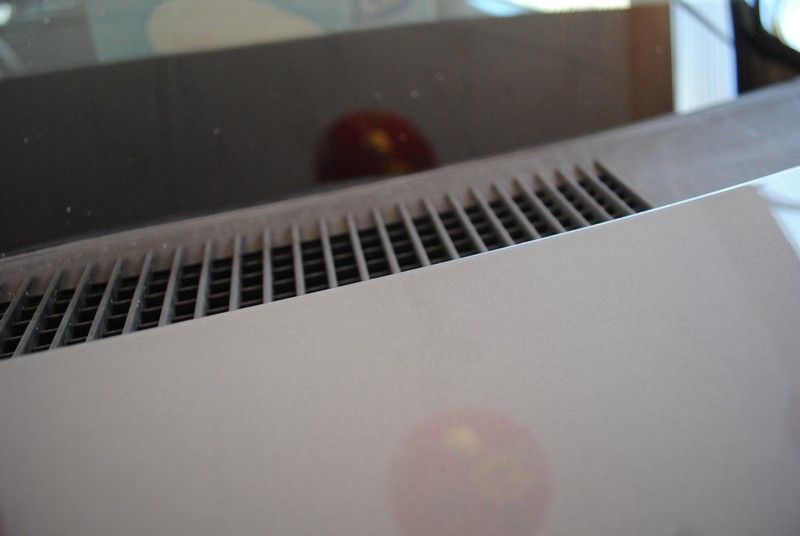
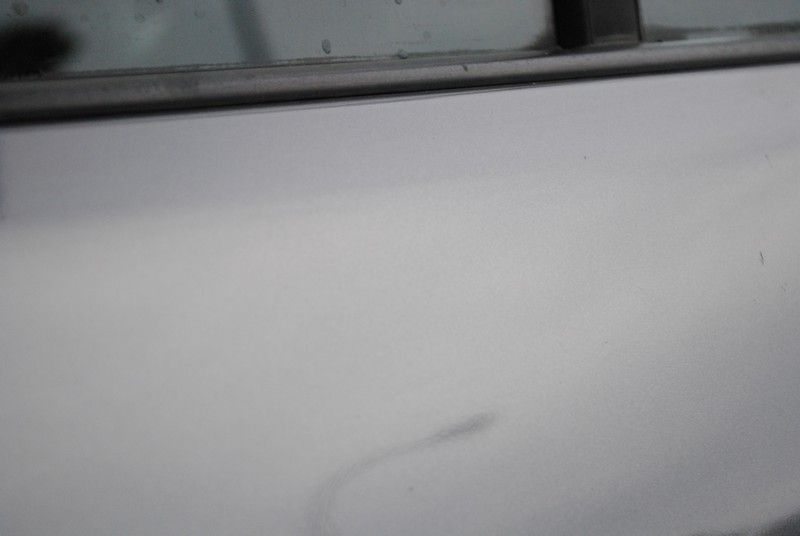
Some transfer from other cars along with scratches.
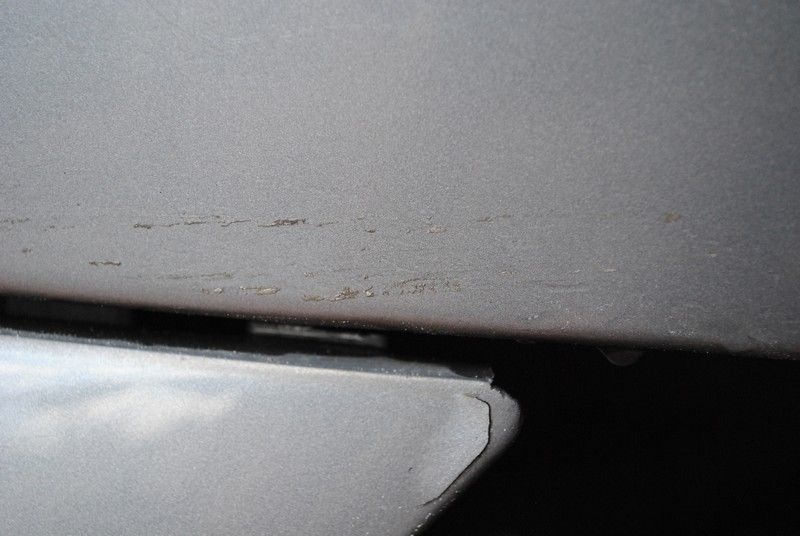
Wet sanded a bit and left with a bit more mark. Leaving it as it is better to maintain the clearcoat than to continue sanding it to perfection. Less is more as I was told. Imagine if I restore it perfectly and thin the clear coat. Next collision will prove to be the last for this part of the car.
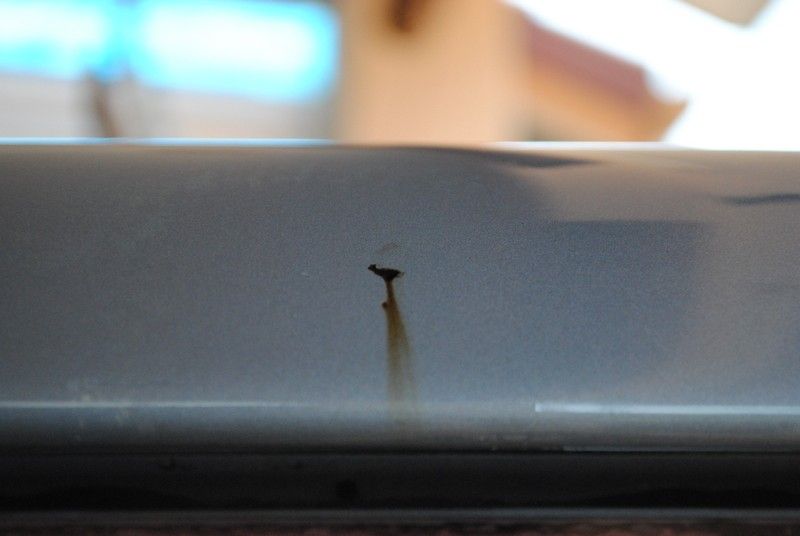
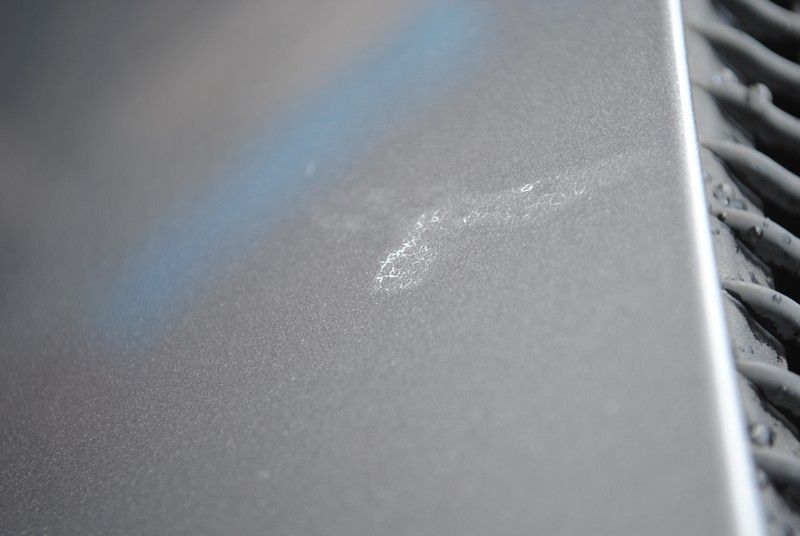
Along with the scratches.... Dents and paint chips can be found.
Here is a good example on why I say bird droppings needs to be cleaned off as soon as possible... ASAP.
After wet sanding, compounding, polishing..... this is the best I could do.... from this angle, it looks ok.
BUT, from another angle and zoomed in..... you can see that the bird poo has etched its way into the clearcoat. Cracking appear on the clear coat and if it has reached this state.... it is beyond a detailer to safe it anymore.
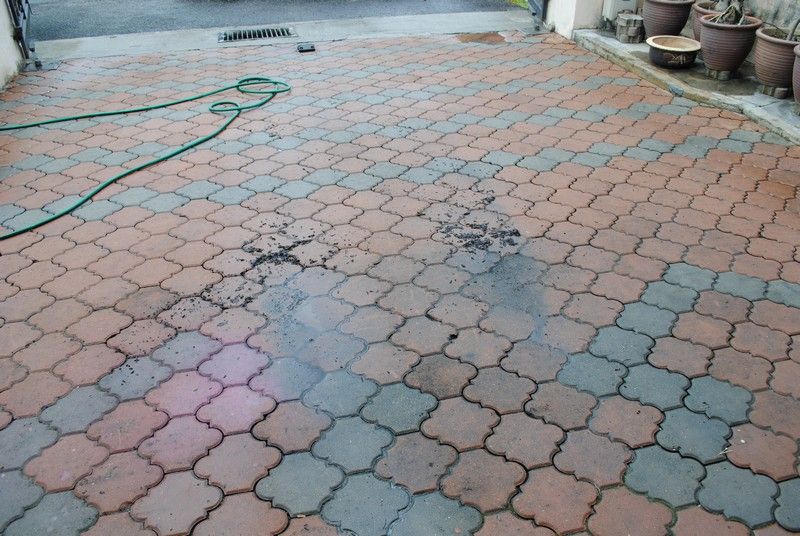
Hmm... who can see what flaw is detected here...... besides the pink floor as a result of me spraying my putra pink few years ago.
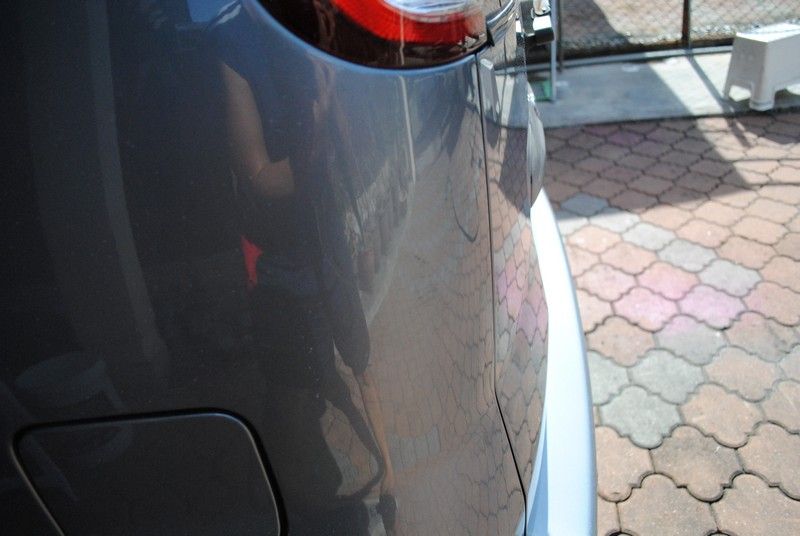
Zoomed in and you see what the problem is...
Zoomed out and the flaw is...... GONE... actually this was taken later. I have compounded the spot.
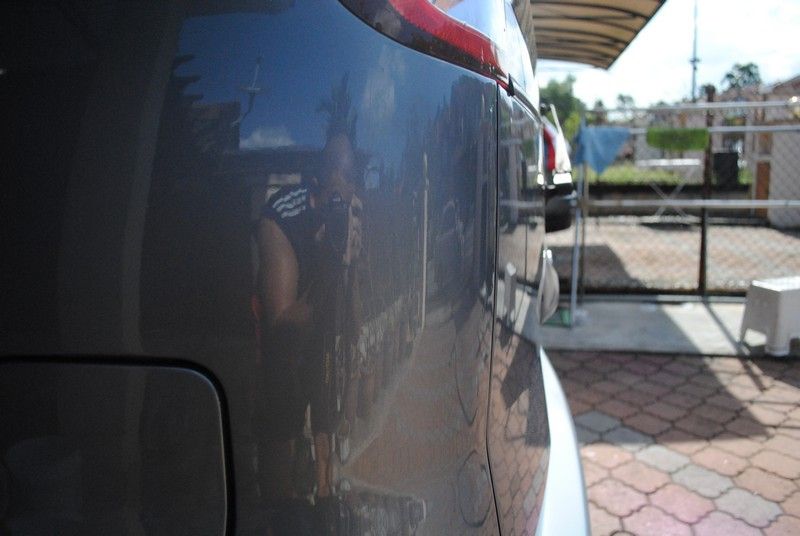
Hmm.... wonder if this is from bicycle or motorbike....

After compounding.... 99% gone. Later completed with a round of polishing.

Some... dunno what kinda mark...
After compounding, mark gone
Yeah, its gone....
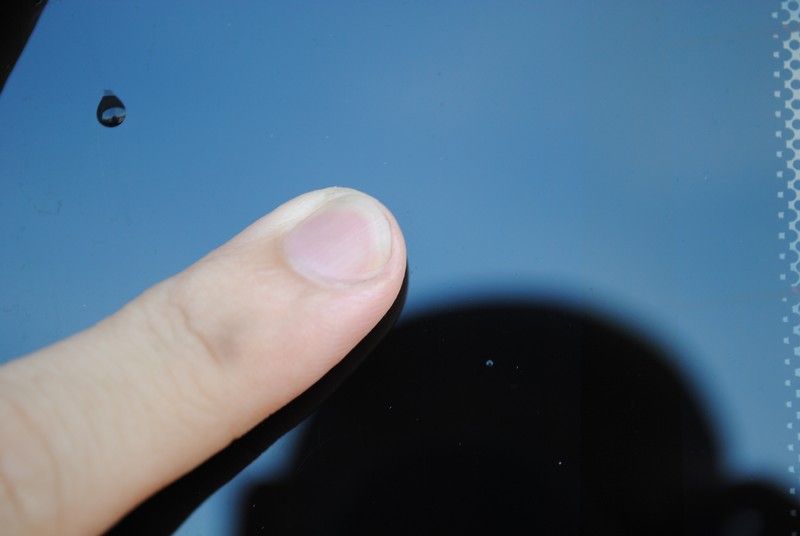
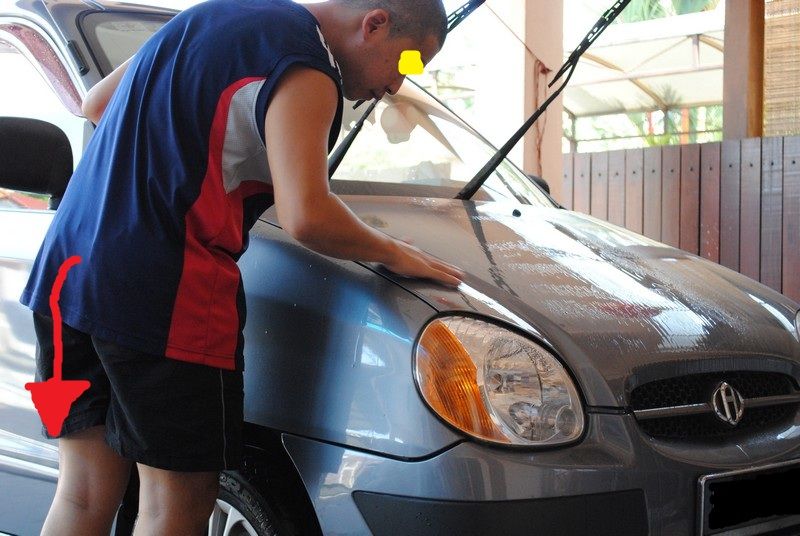
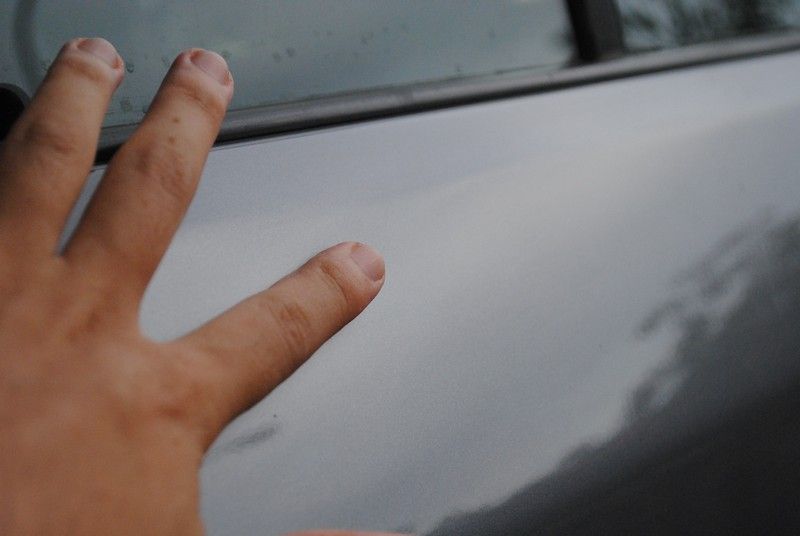
Me trying the finger technique........
Car was then polished with Dual Action Polisher + LC White Pad + Osren Polish 2.0 (i forgot if it is called crystal cut or perfect cut.)
OK, As you can see from these photo, it is getting a bit dark.....
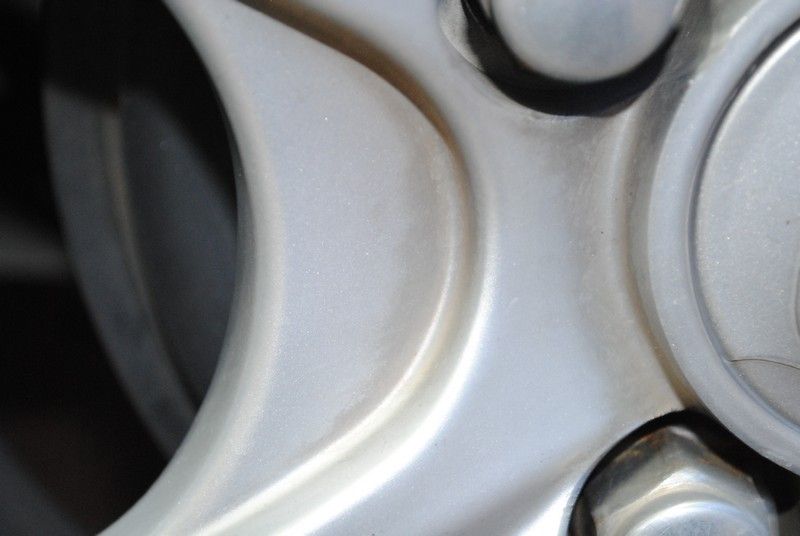
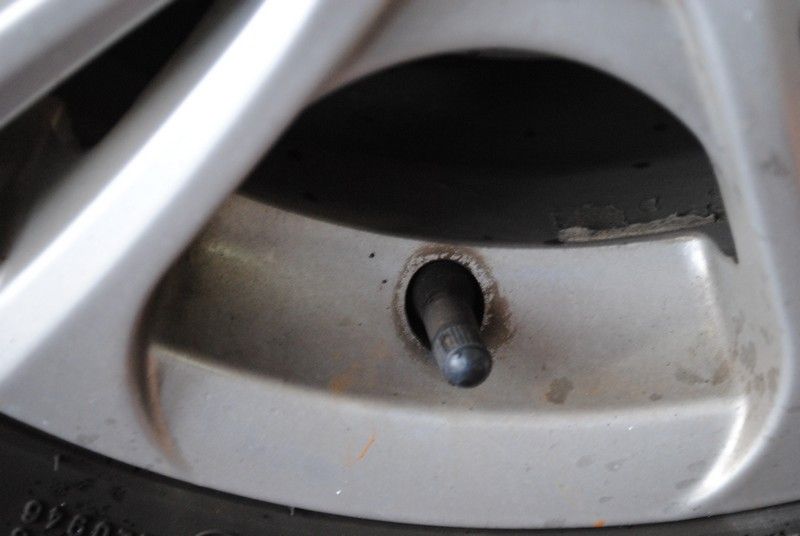
Rims.... looks... dull.

Some caked in old stains...... these are difficult to remove.
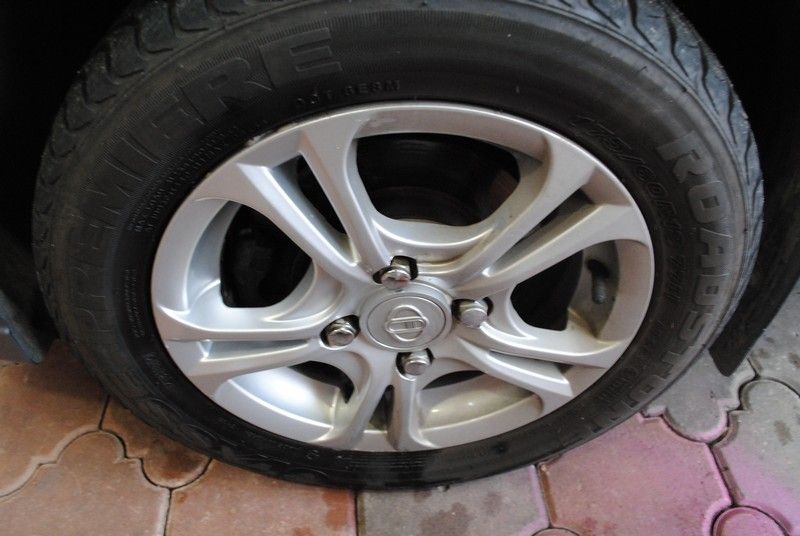
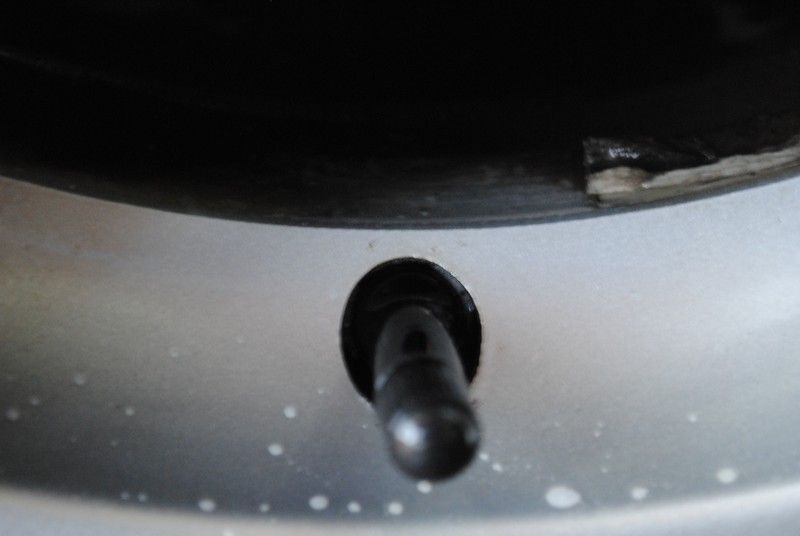
This is after being awesomely washed....
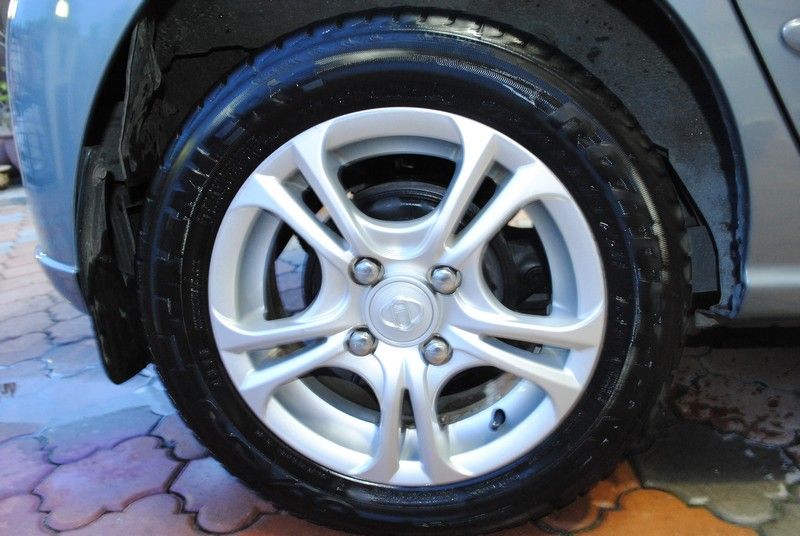
Caked in dirt gone.........
Washed with............ car shampoo, OPC 1:3, 1:5 and 1:0 combined. I had to use the stool as I am spending around 20 minutes or more on each wheel. Cause it is being D.E.T.A.I.L.E.D. Not being washed only. Detailing takes a long time.
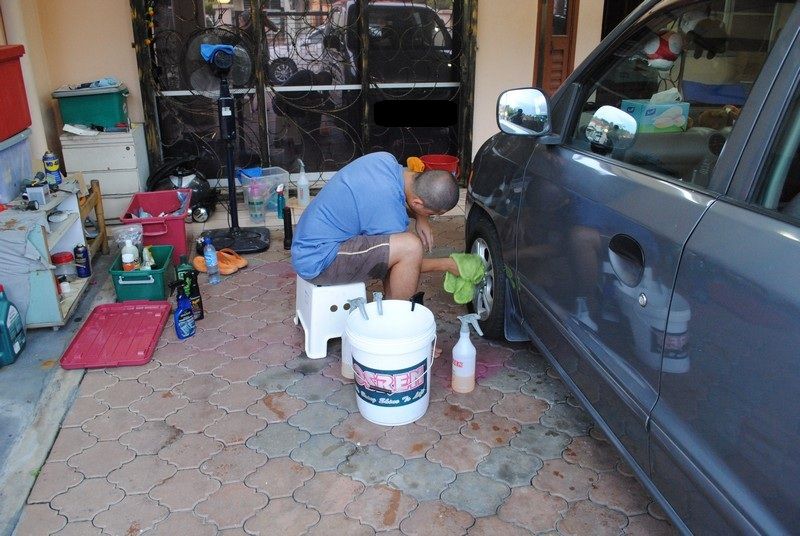
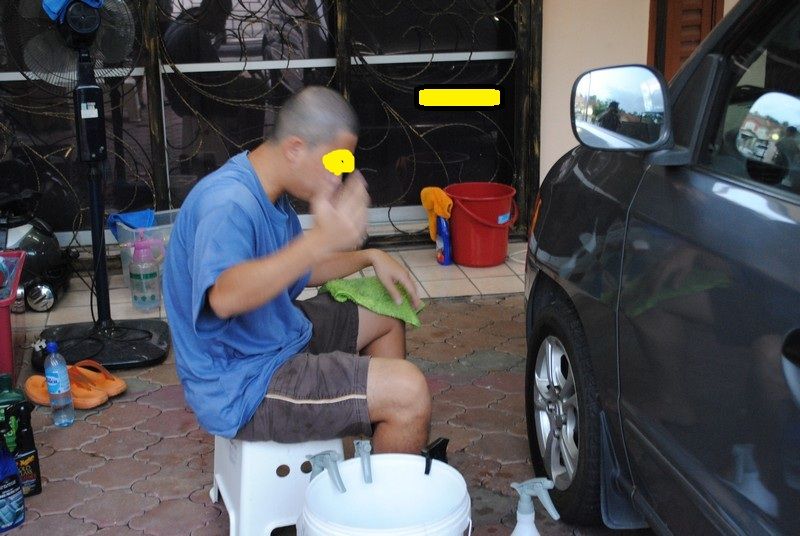
This is me saying and gesturing "HELL YEAH, LOOK AT THAT SHINY RIMS NOW". Actually I was just signalling my camera woman to give me the camera.
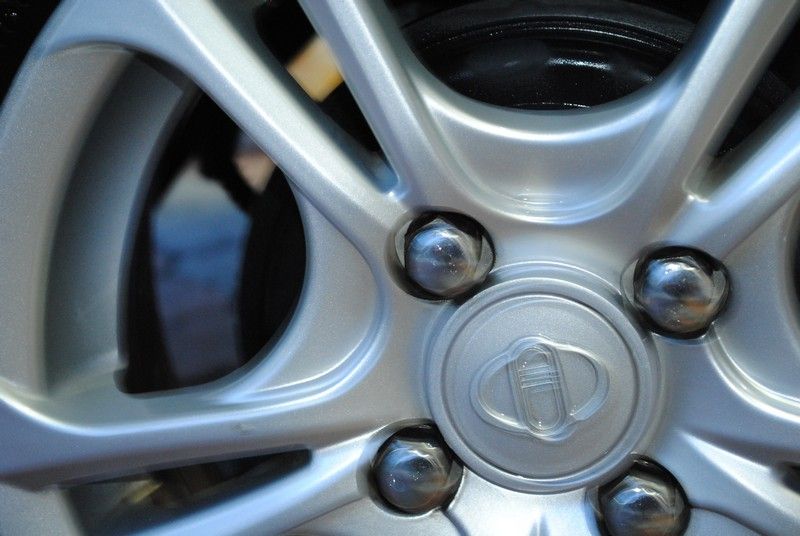
A 50/50 on the rims.... pretty sweet ehhh
Closer look at the cake up portions...
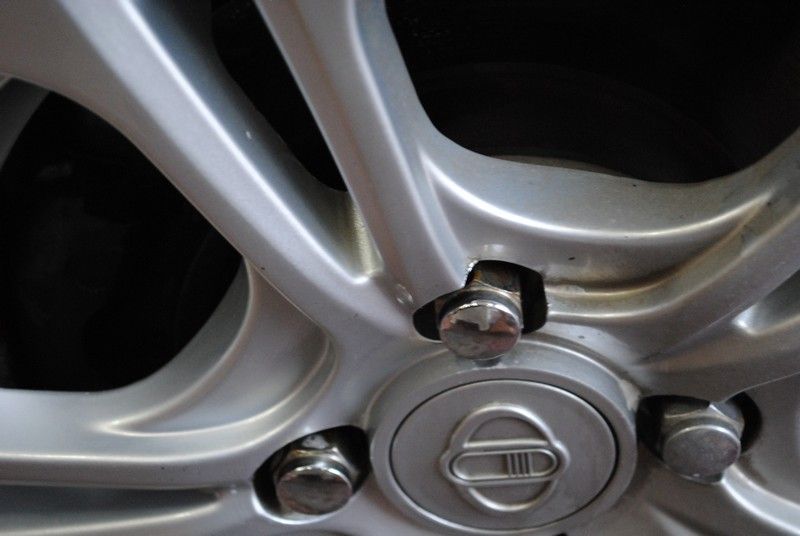
Hmmm....... wonder how many years is this dirt...
Ah well.... say byebye to the dirt
This is how dirty all 4 rims were...... disastrous...
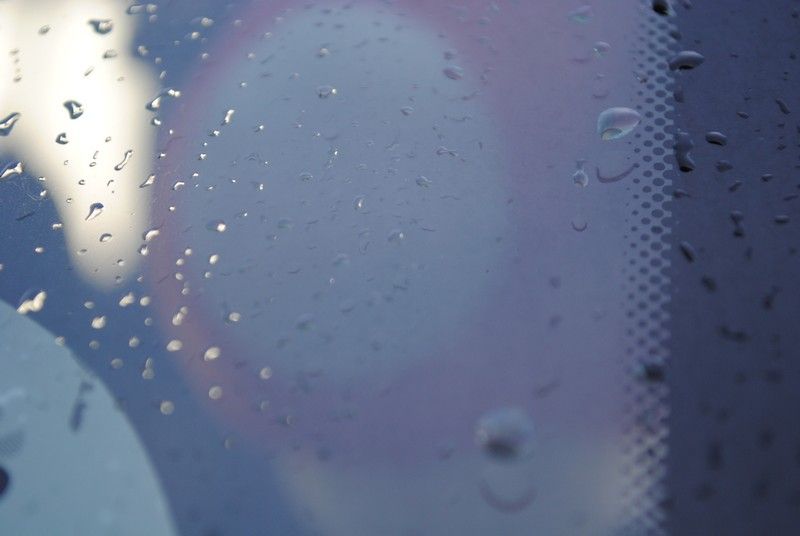
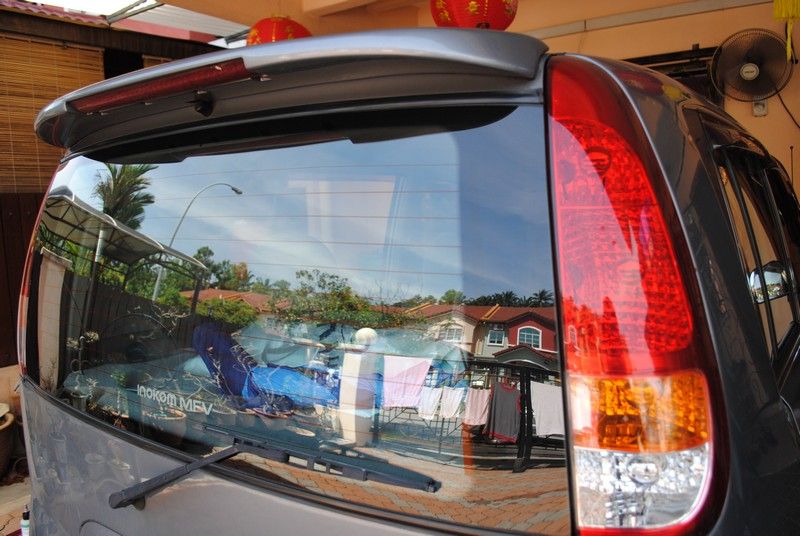
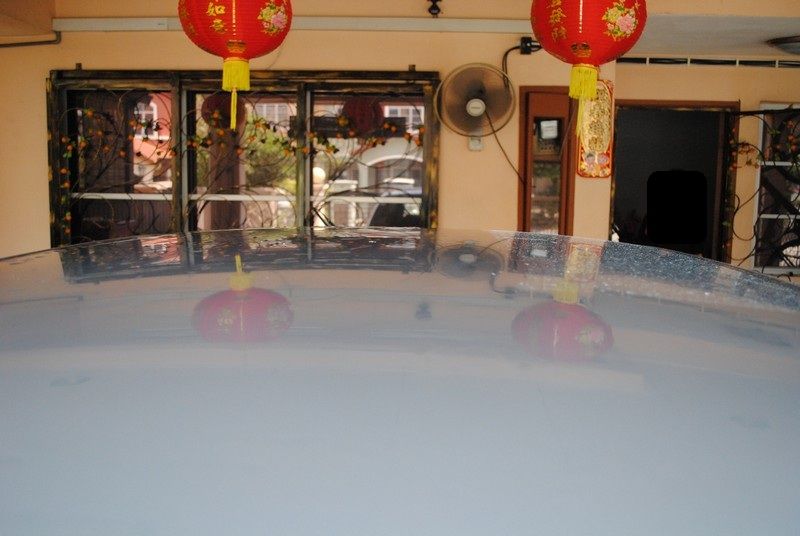
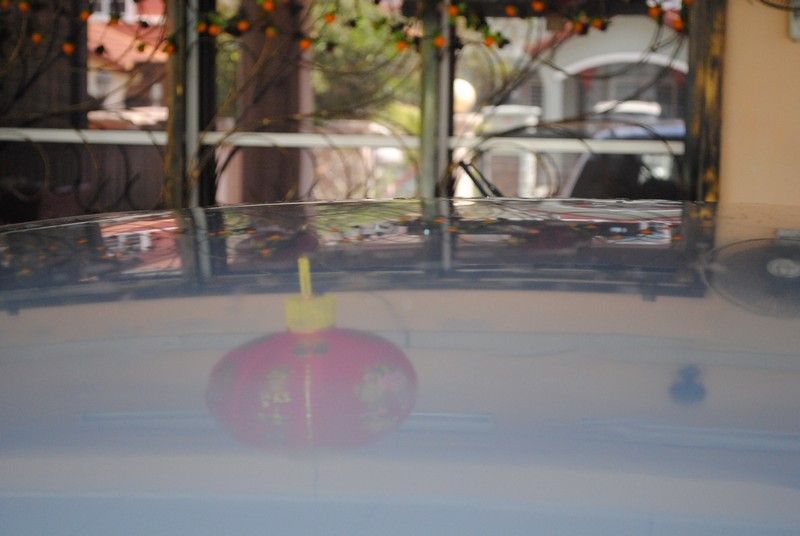
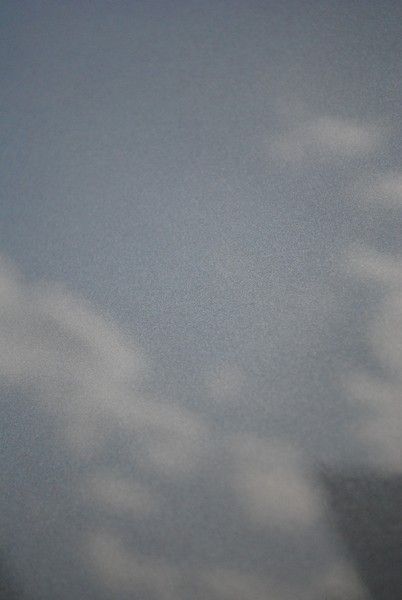
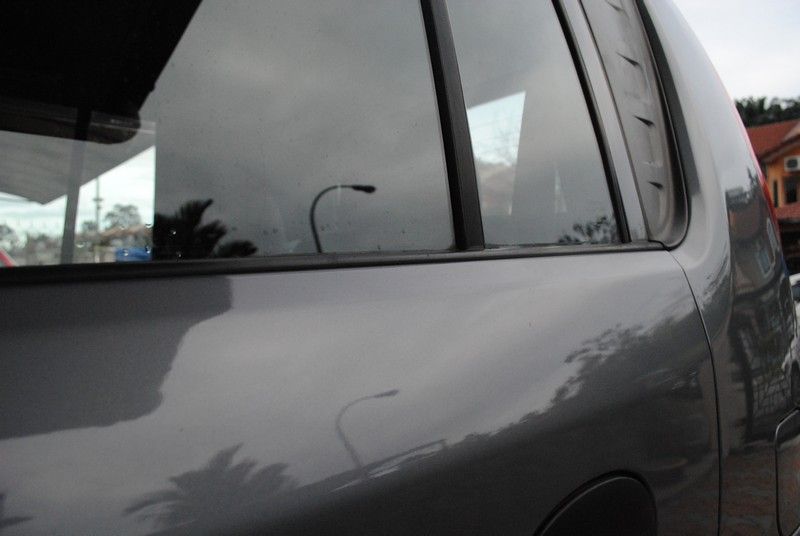
OK, all done and protected with a layer of Opti-Seal. Given few hours to cure and then one layer of Optimum Car Wax. How is the gloss... especially on the glass.
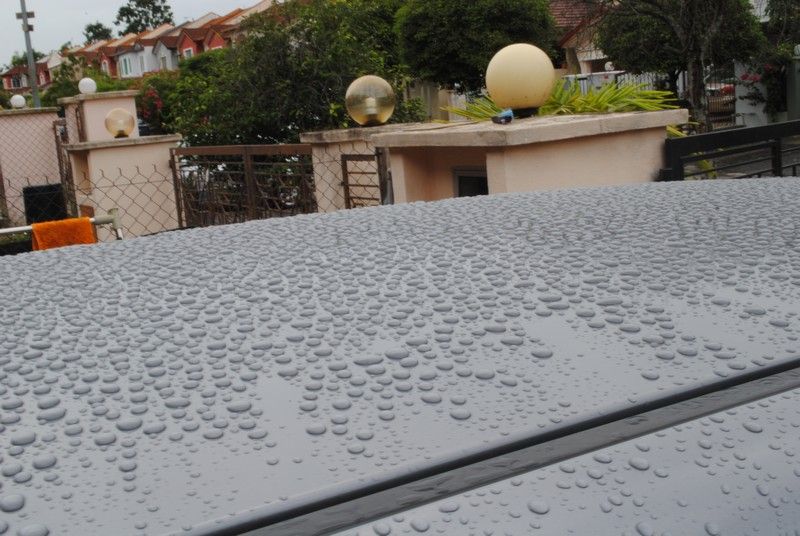
Prior to delivery to the owner.... it rained.... and I get to see... nice beading... so took the opportunity to snap a photo or two.
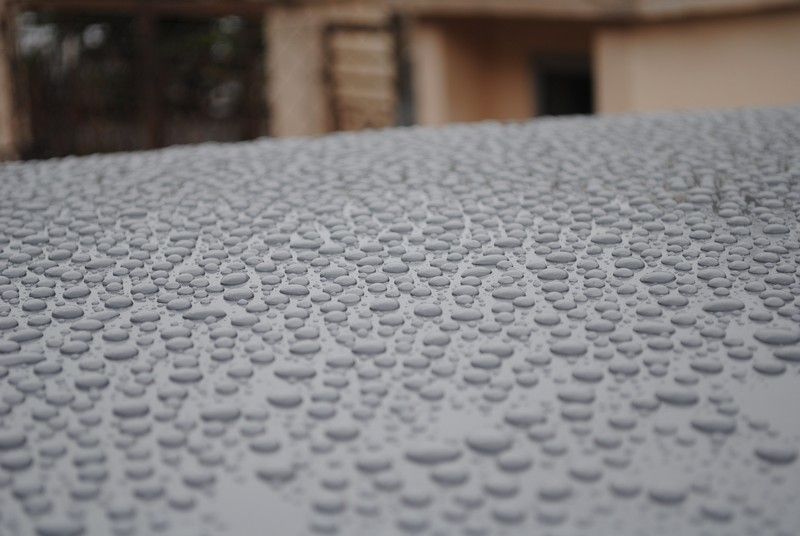
Nice nice........ Whole roof is nice.
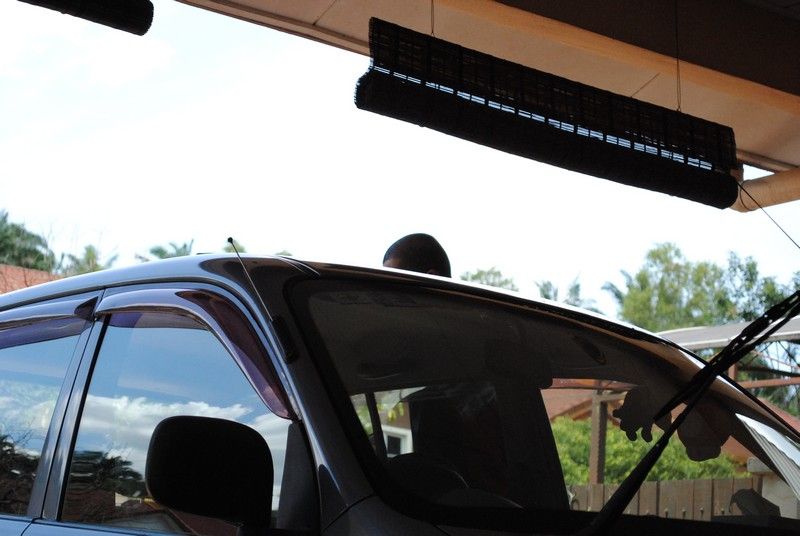
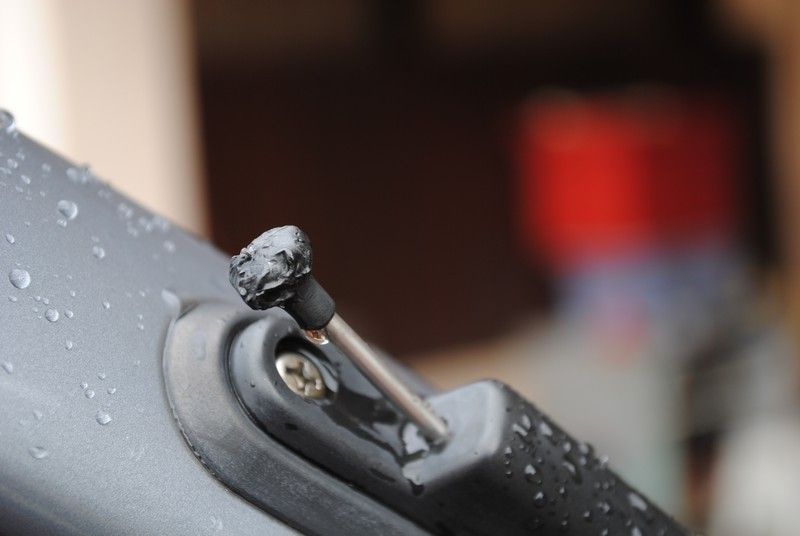
Why is the antenna so damaged.... to be revealed at the bottom of the note.
Time Spend: bout 16 hours?
Product used: Osren Bubble & Wax, Optimum No Rinse, 1500 and 200 grid sandpaper, Opti Seal, Optimum Car Wax, Osren Polish 2.0, Optimum Double Sided Wool Pad and Foam Pad, LC White Pad and a lot more weird weird things I cannot remember d.
Satisfaction Level: Given the amount of detailing done, personally I rate it a 7.5 out of 10. But owner saw the car and went..... (OHHHH, the car is shiny..... OMG......... THE HEADLIGHTS)
Note:
I actually sorta detailed 3 cars on that Saturday. So this Atos was actually done on Saturday and Sunday. Delivered back to the owner on Sunday evening.
If you get cement on your car.... wash it fast....
If you get bird poo on your car.... wash it fast....
If you get tar on your car..... call DarkAccoon.
The antenna was actually...... chewed by.....monkeys. Owner stays near a forest where monkeys are very.....much the boss around.
My next detailing.... after CNY.... wait for it...
