- Brings Me Women
- Banish My Workers
- Bullied My Way
- Bought Me Wishes
The car was acquired by the owner roughly 1 and half week back. Has not been sent for detailing nor a polish job before (as far as owner knows). Being a proud owner of this mean machine, he wants only the best protection for his lovely ride. Owner is a family man whom spends time with his family over the weekend and like me, washing the car is a passion. He washes all 3 of his car himself. Not allowing the maid to do it.
I can ramble on and on about this as I had the opportunity to chat with the owner over nasi lemak and a home made awesome sandwich. Good host indeed. He made sure my stomach was filled and my thirst is quench above all else.
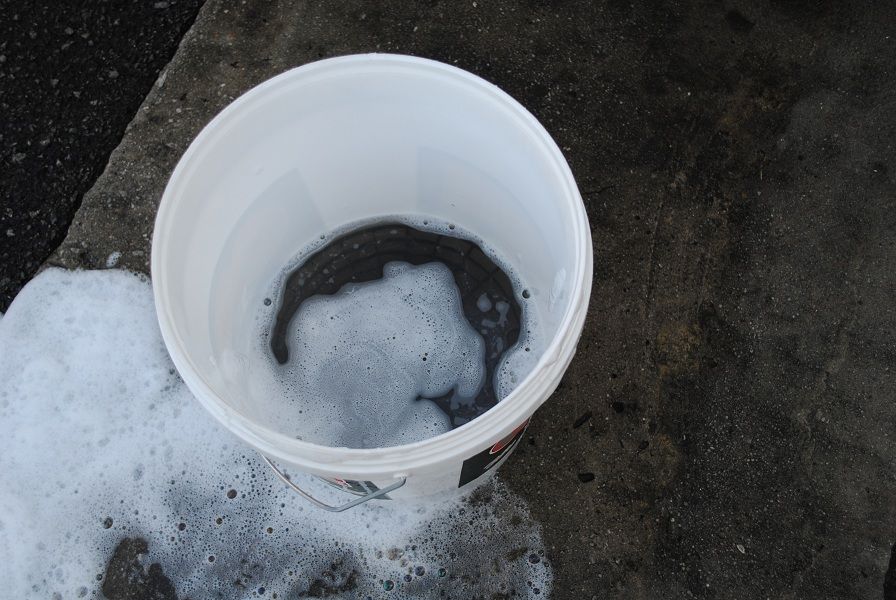
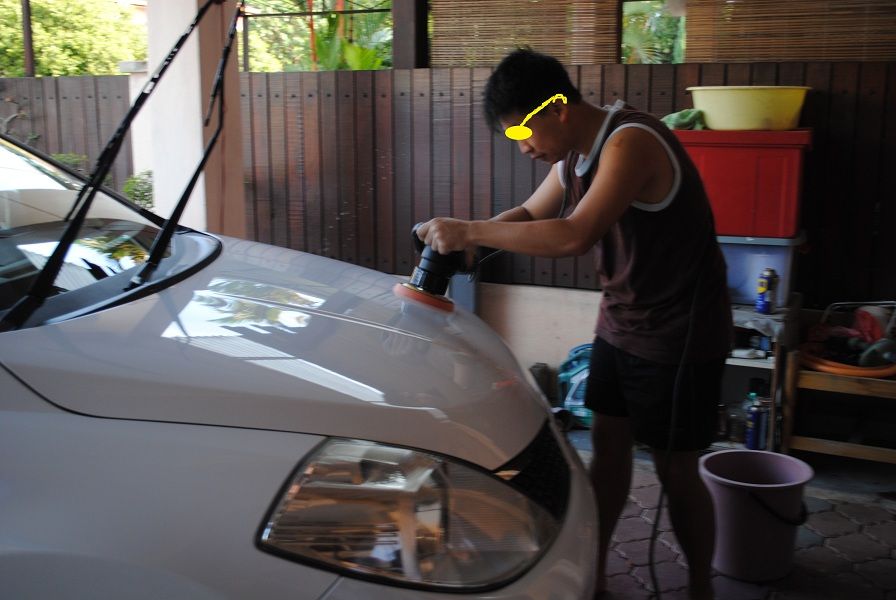
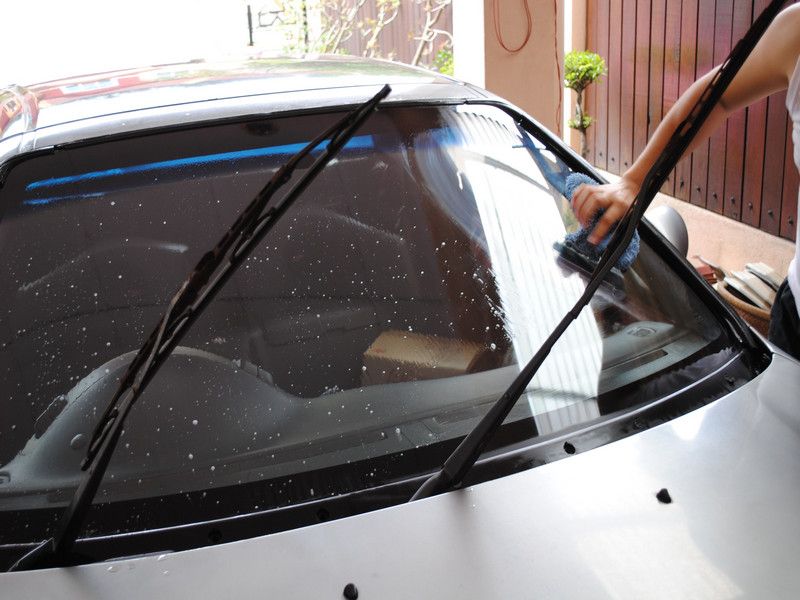
So on with the car. Upon arrival, I instantly jump at giving the car a wash with Osren Bubble & Wax.
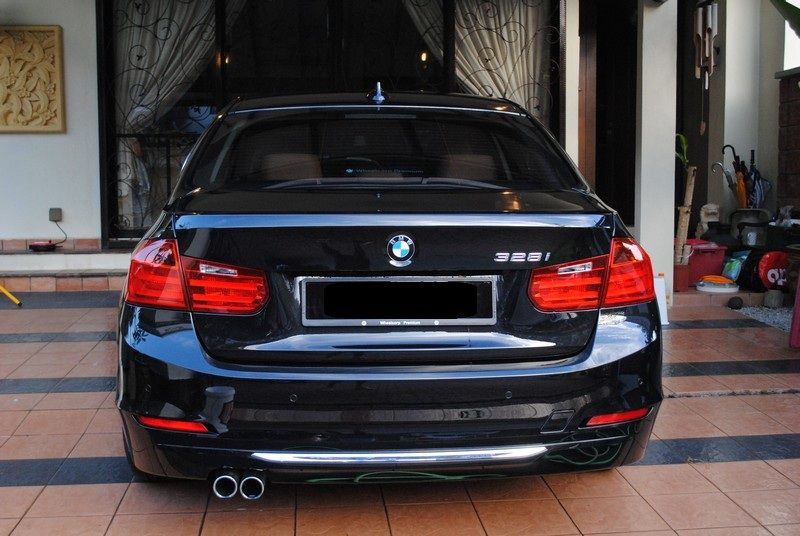
From a slightly different view so you can see the nice 328i badge.
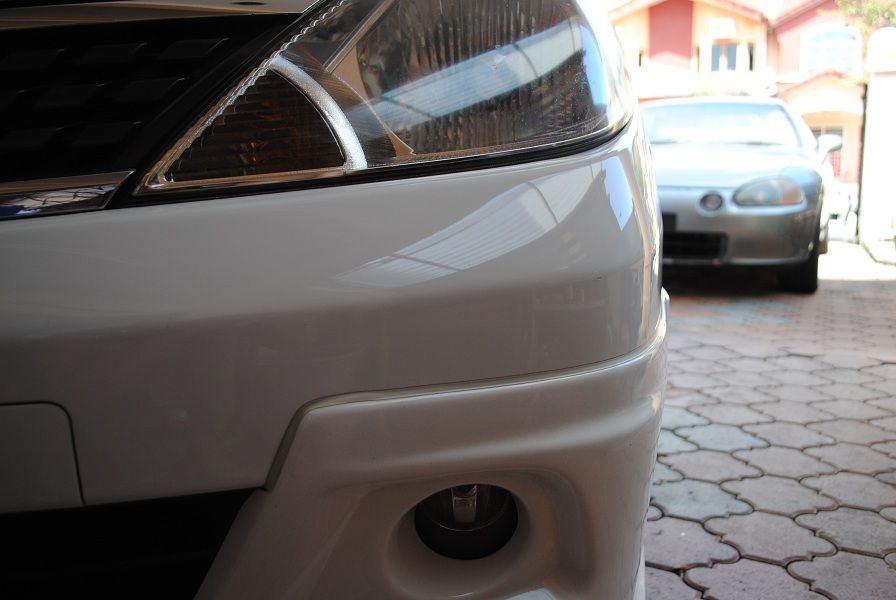
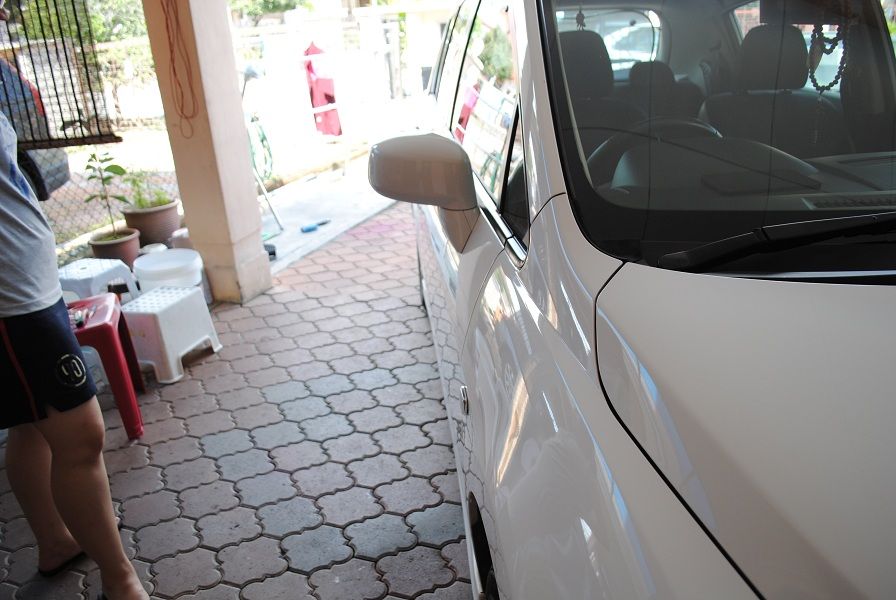
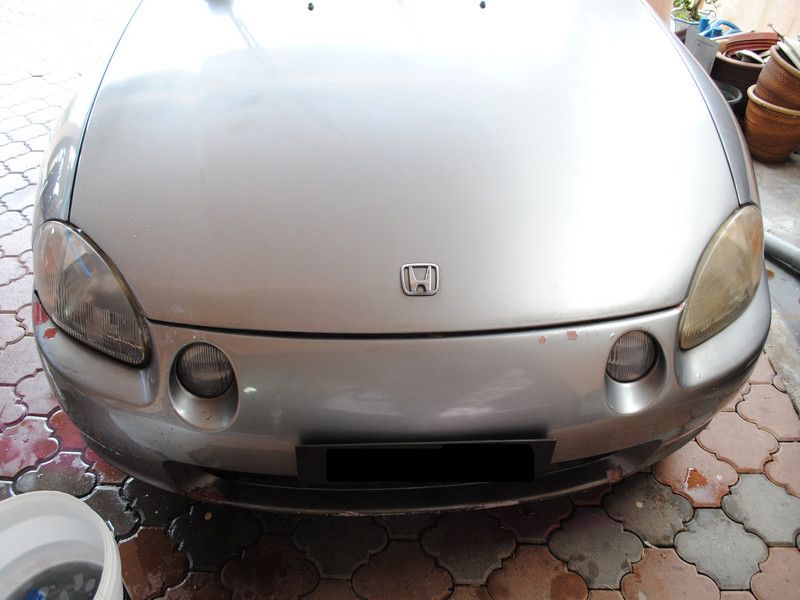
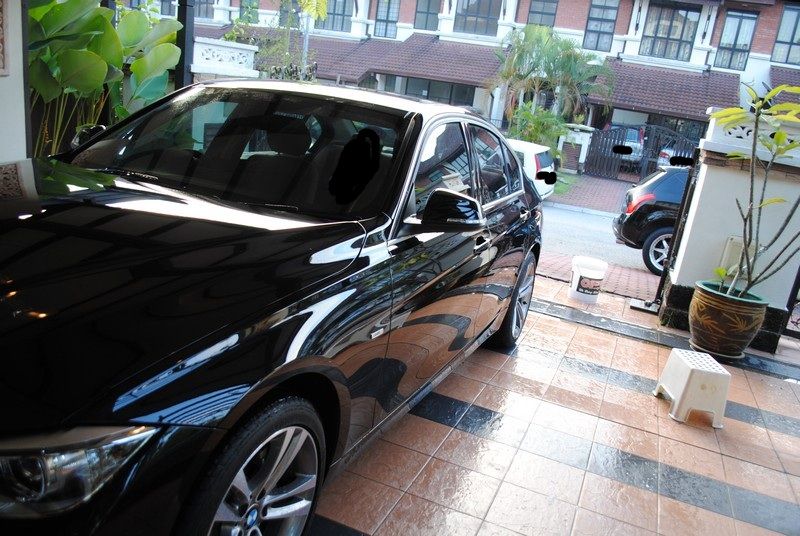
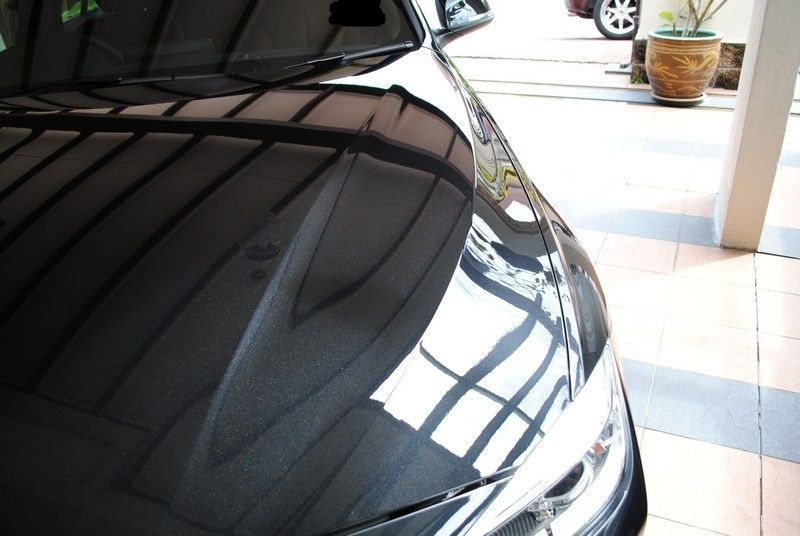
Side view shows that it is nice and glossy enough already......
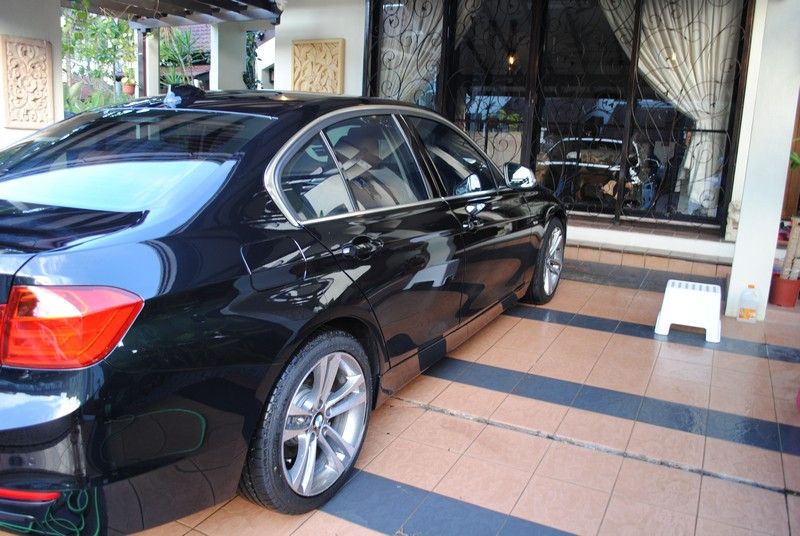
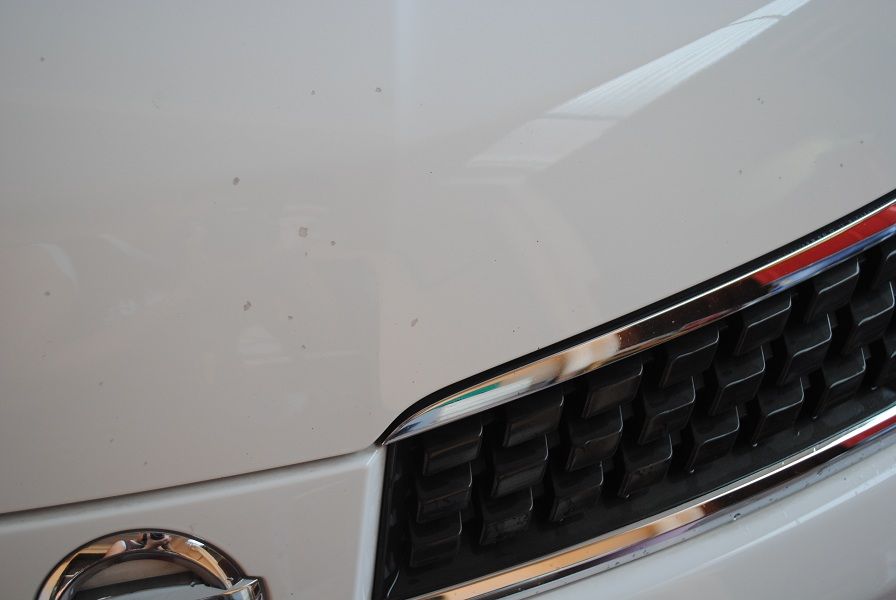
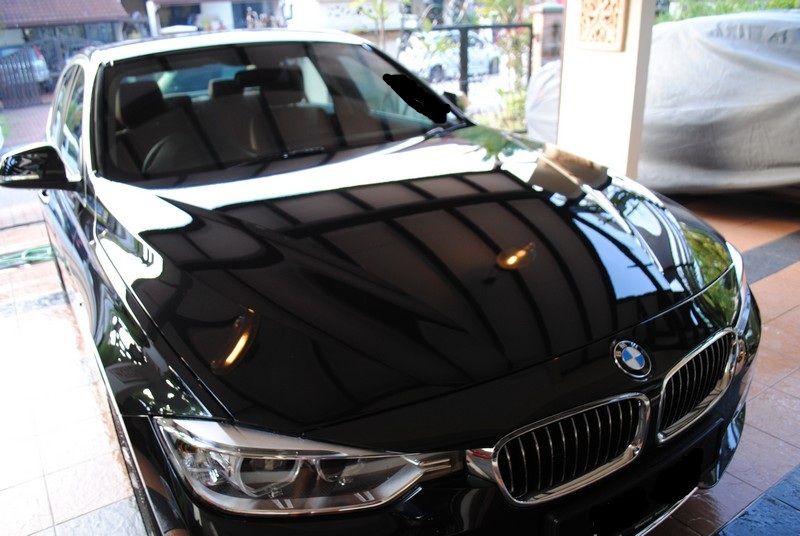
The front bonnet seems OK and no problems.......
The passenger side also looks OK and no problems......
Or IS IT!!!!!!
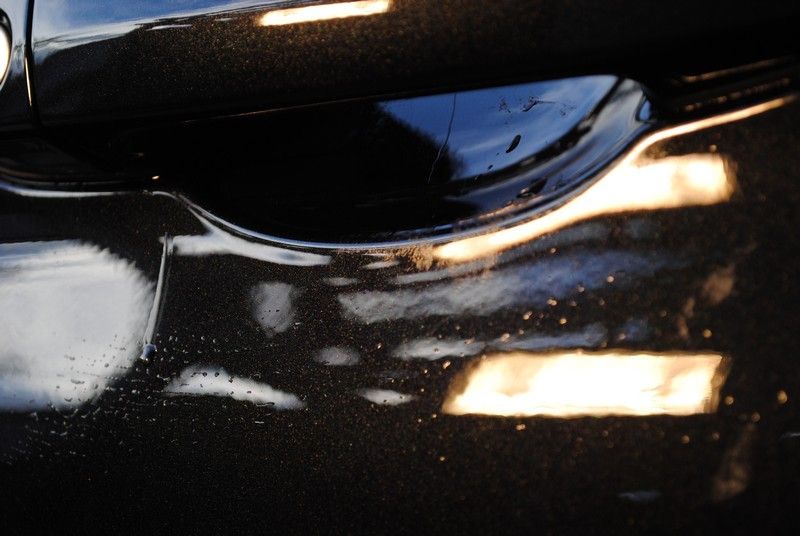
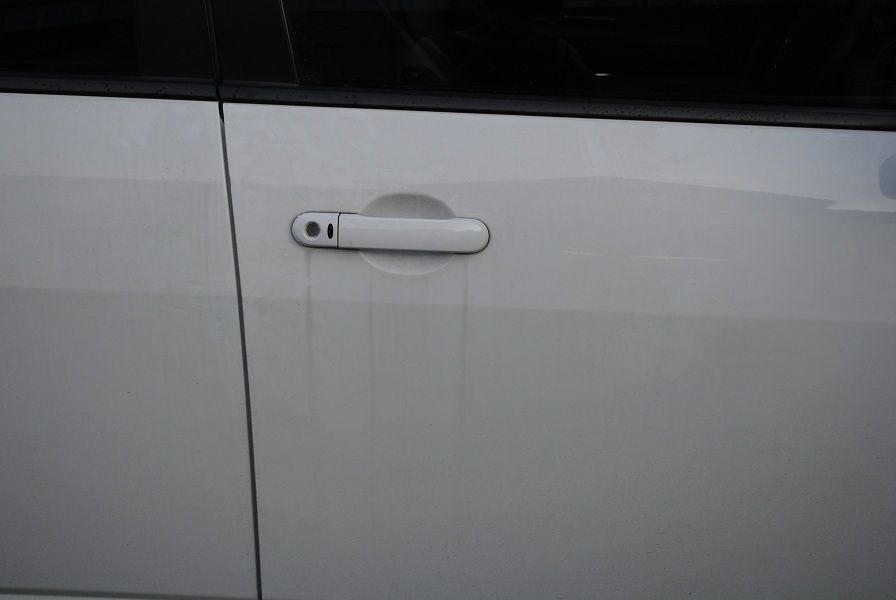
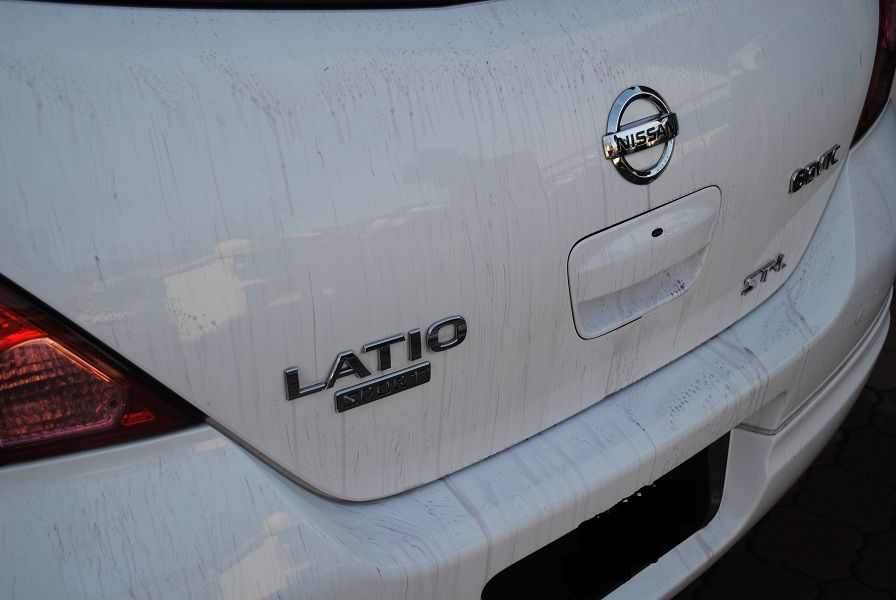
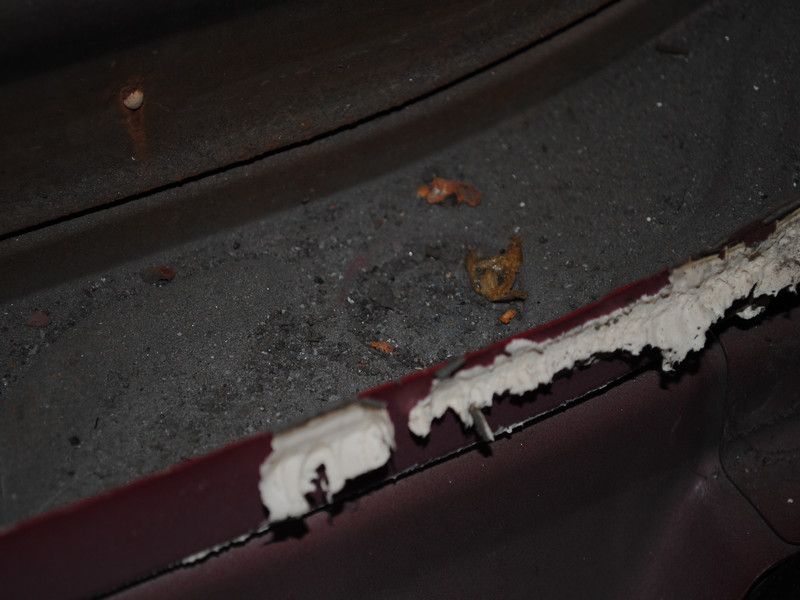
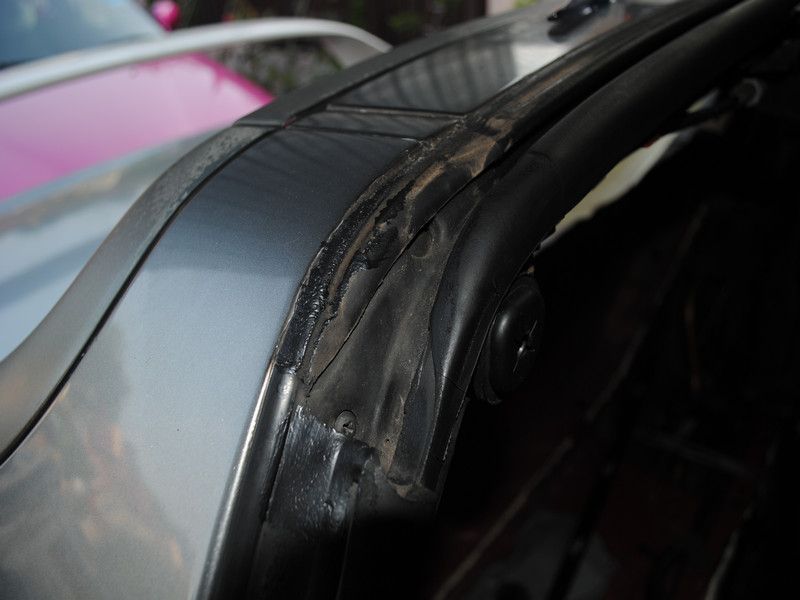
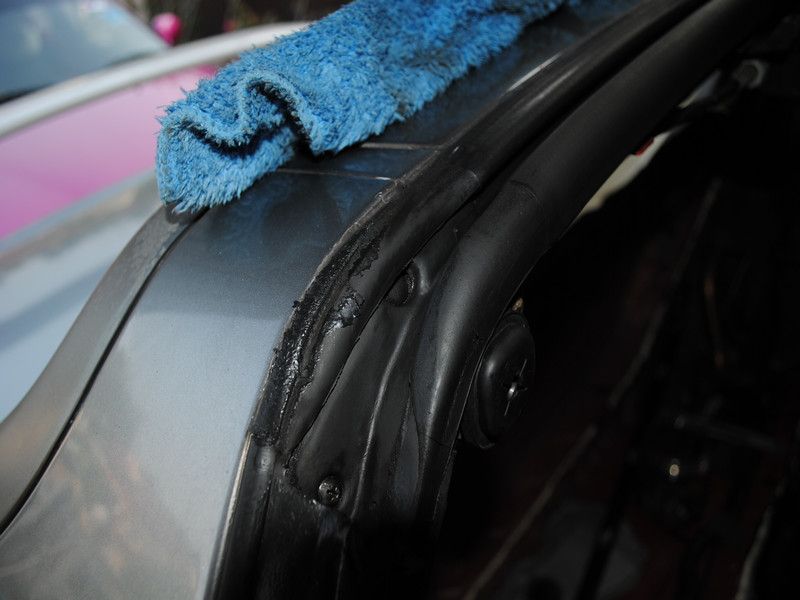
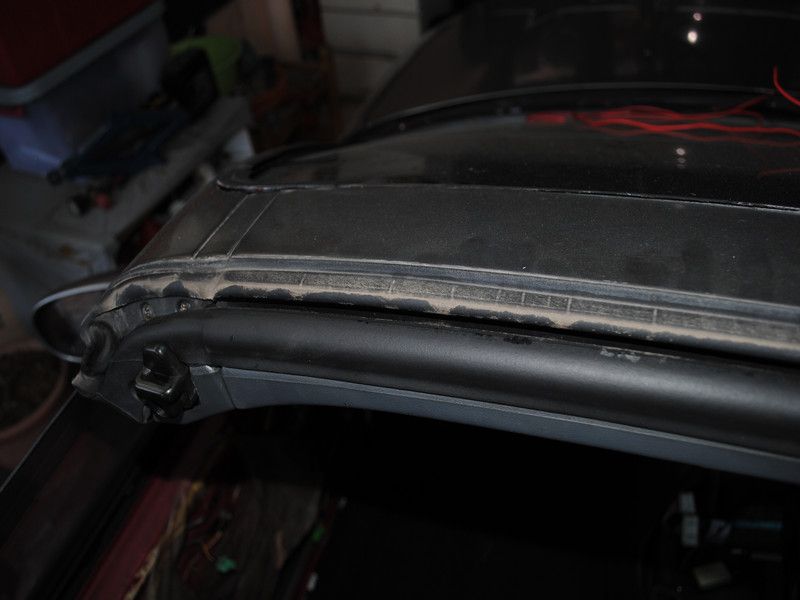
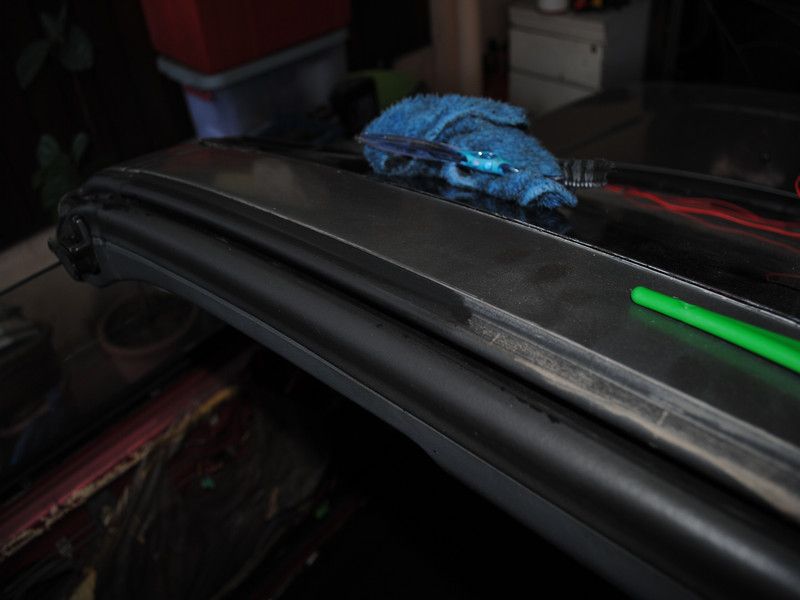
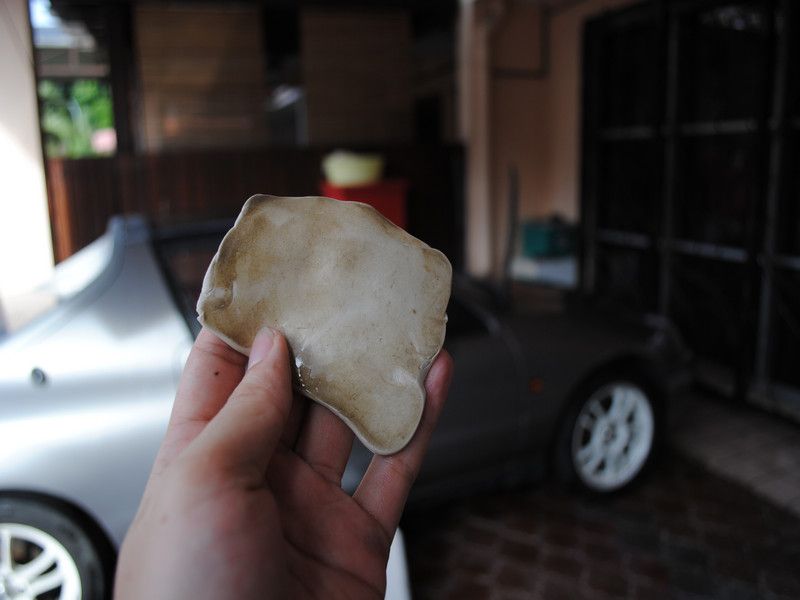
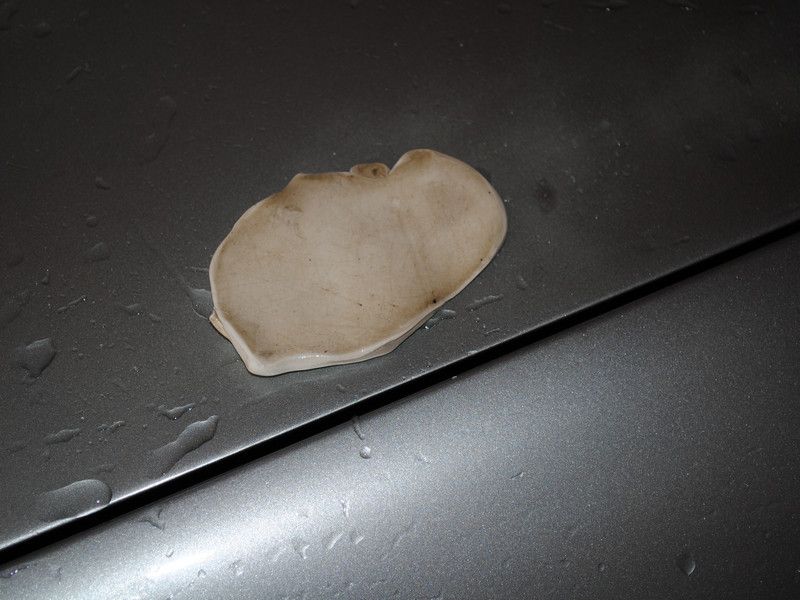
Glue marks all over the place.
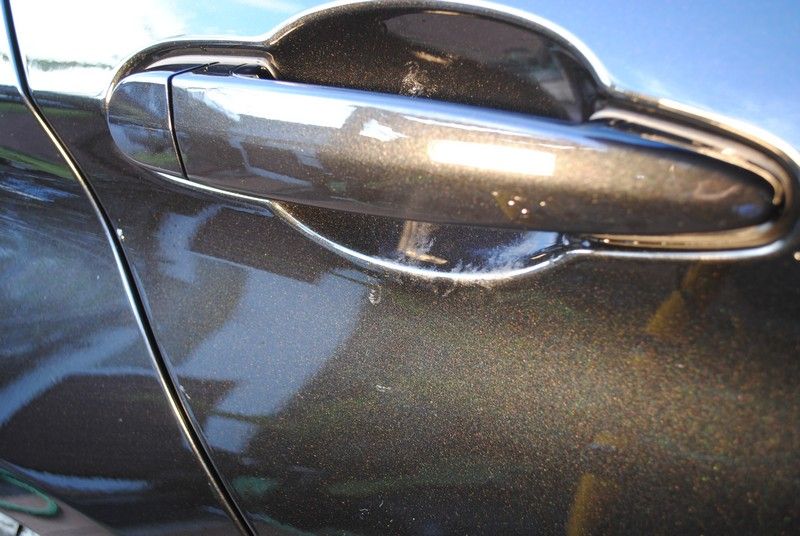
On the door handles, on the door panels, on the rear bumper..... its everywhere.... surprises me is that they shouldn't even blame the tinting people as the tinting is done by themselves. If I was the sales person, it would not clear my conscience to deliver a car to my customer in that state.
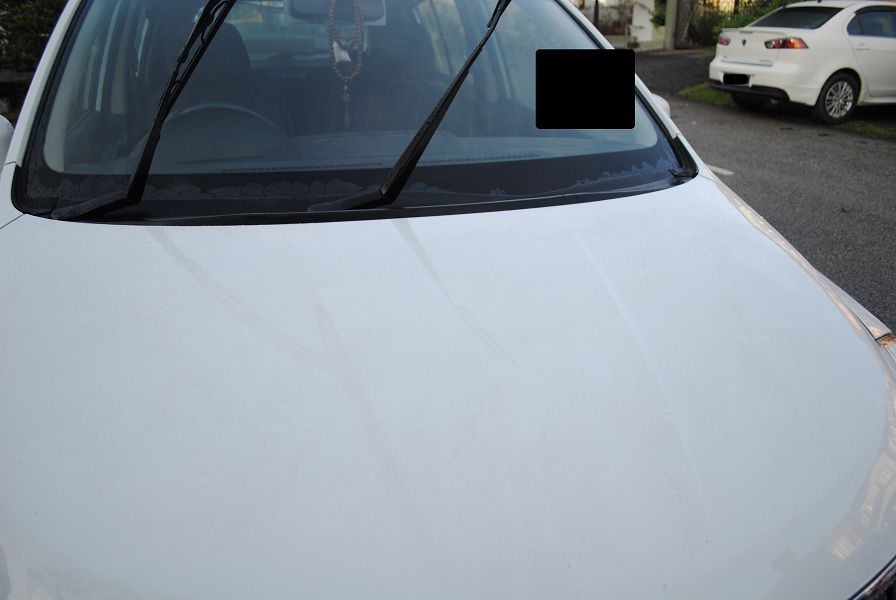
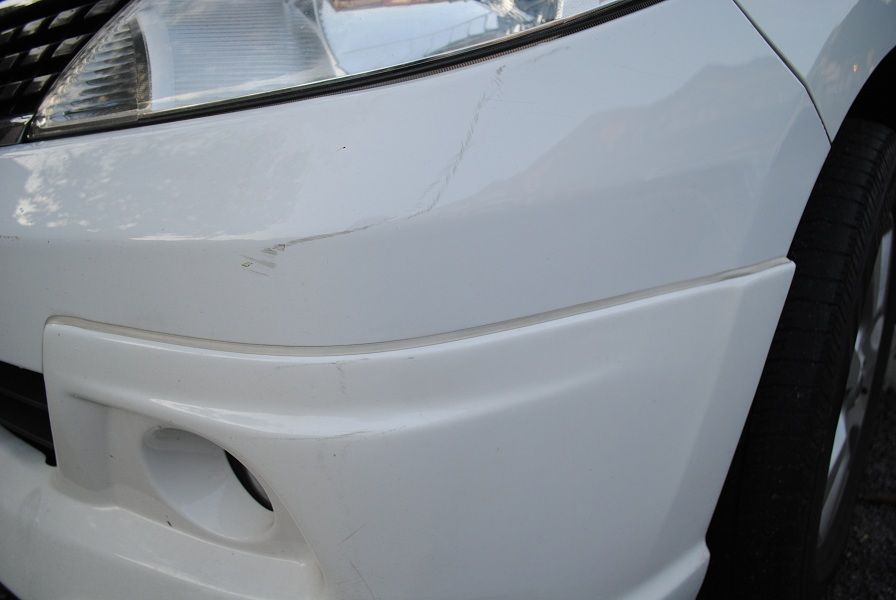
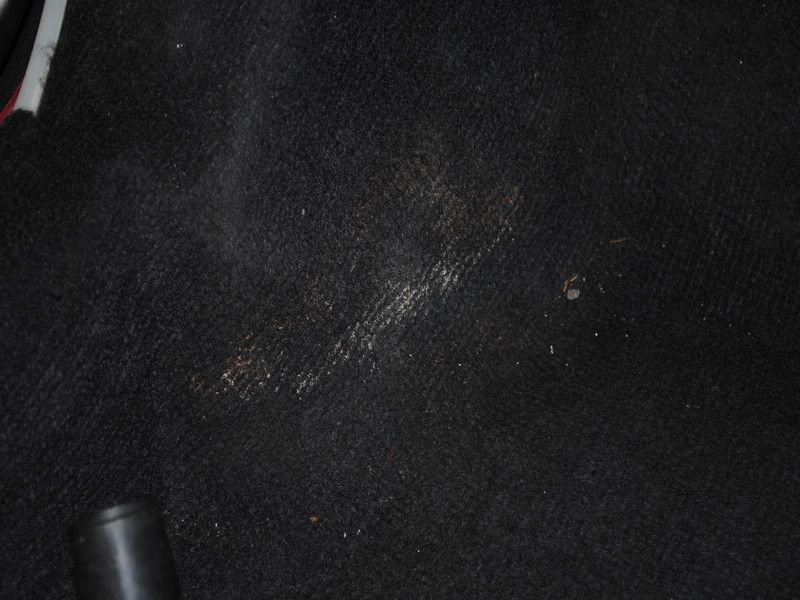
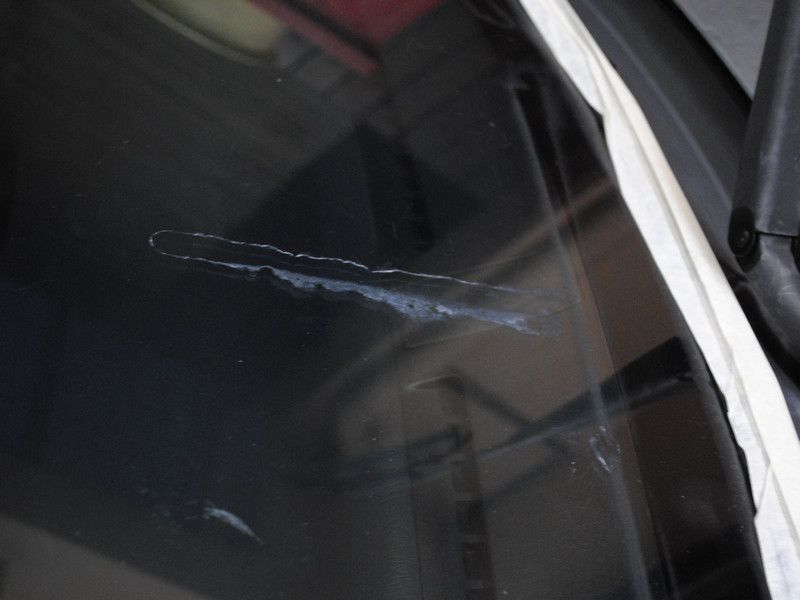
A nice long scratch along the bodywork which will be corrected.
Then my biggest nightmare came true..........
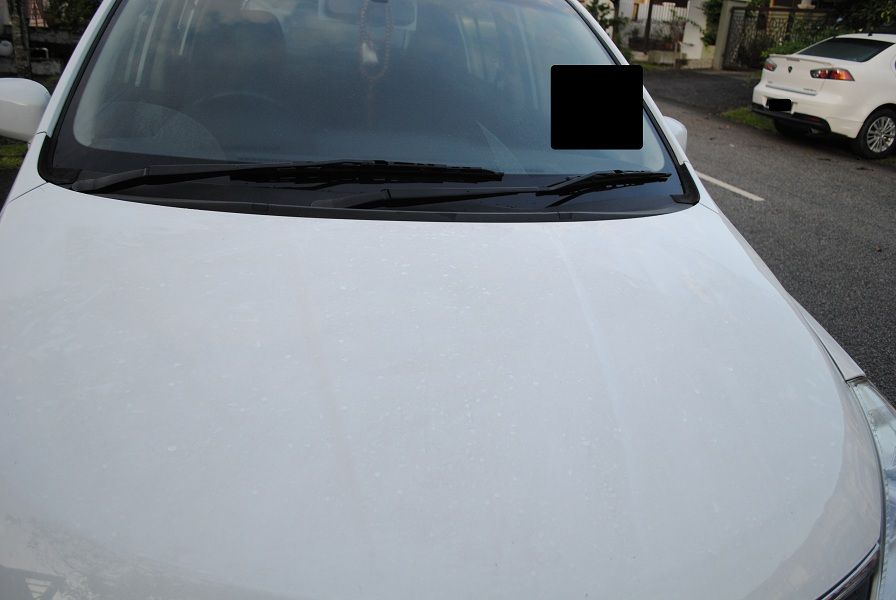
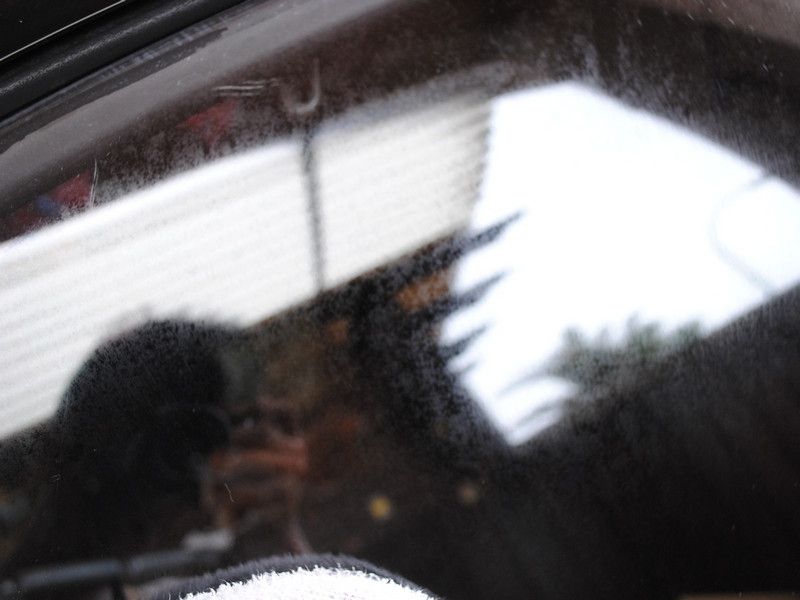
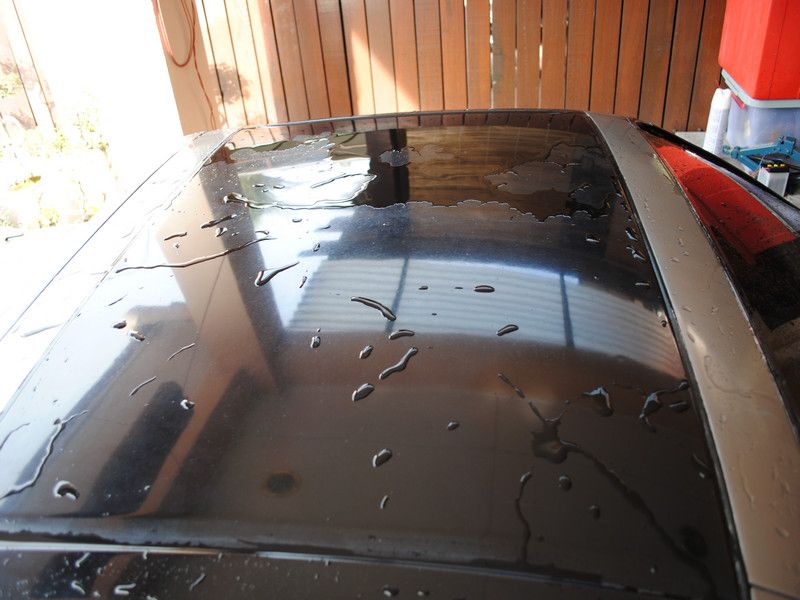
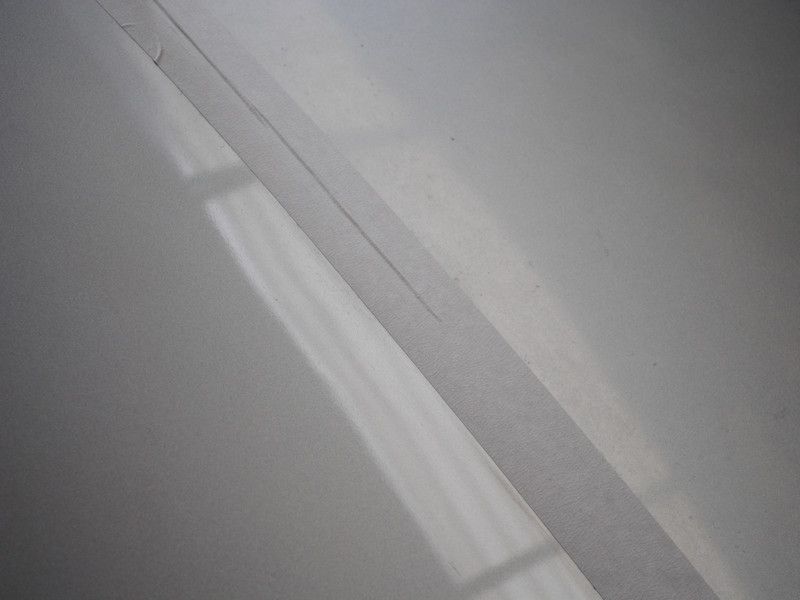
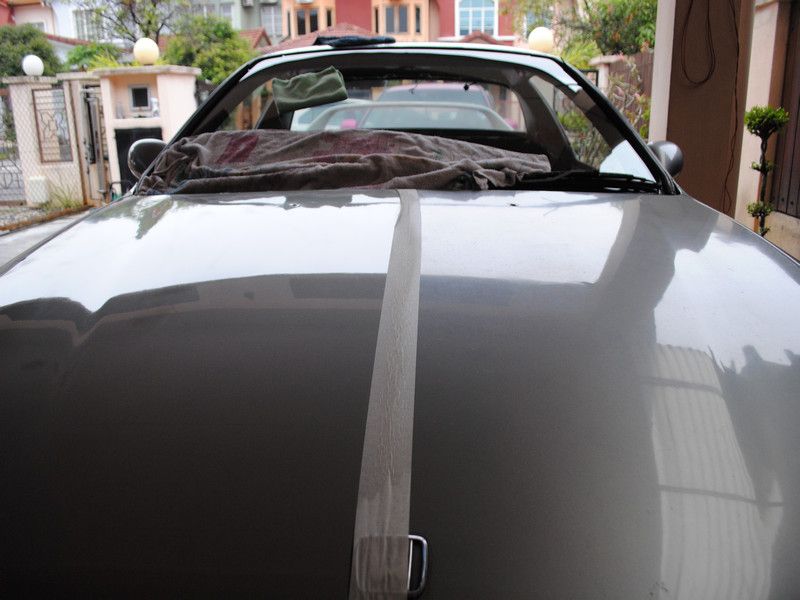
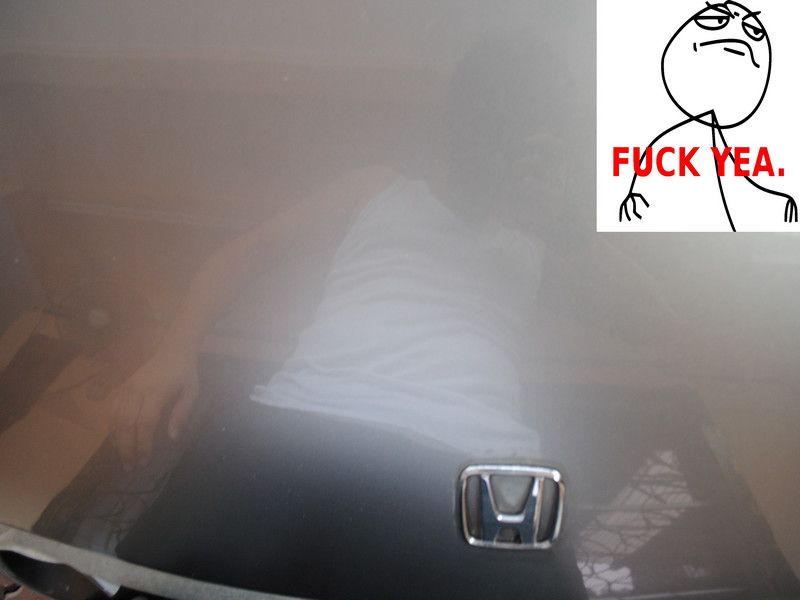
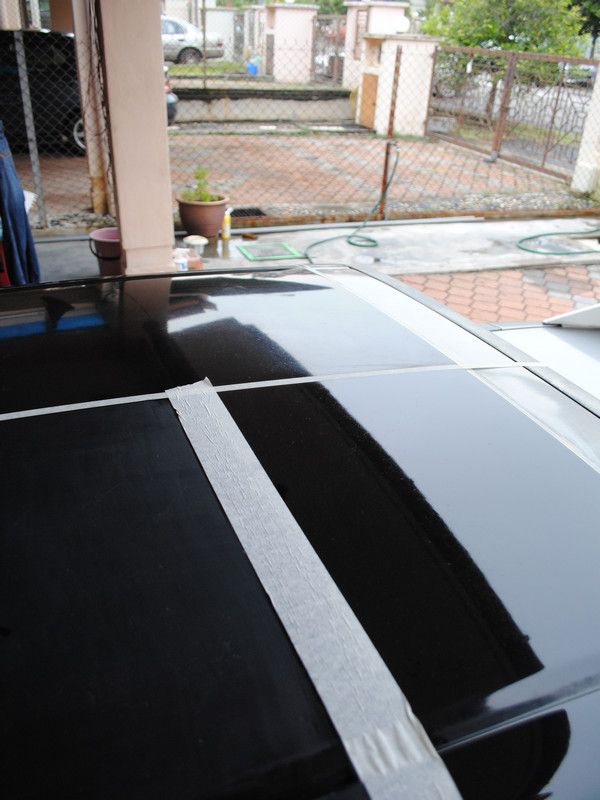
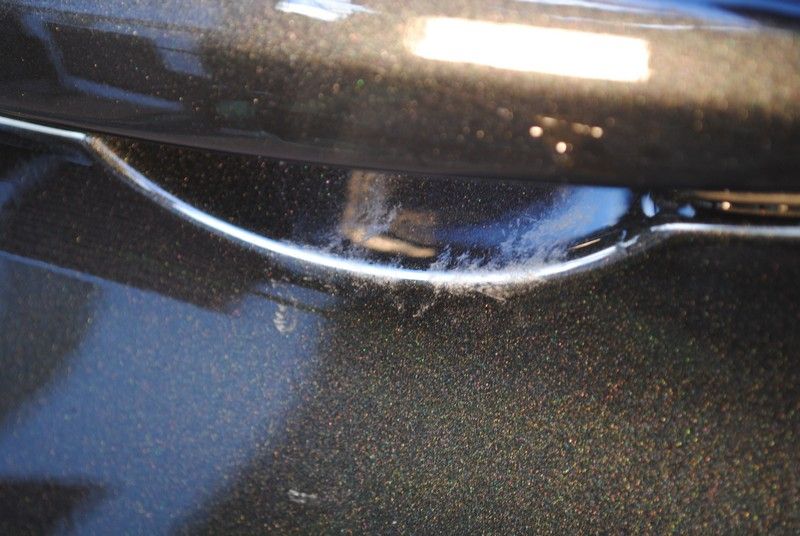
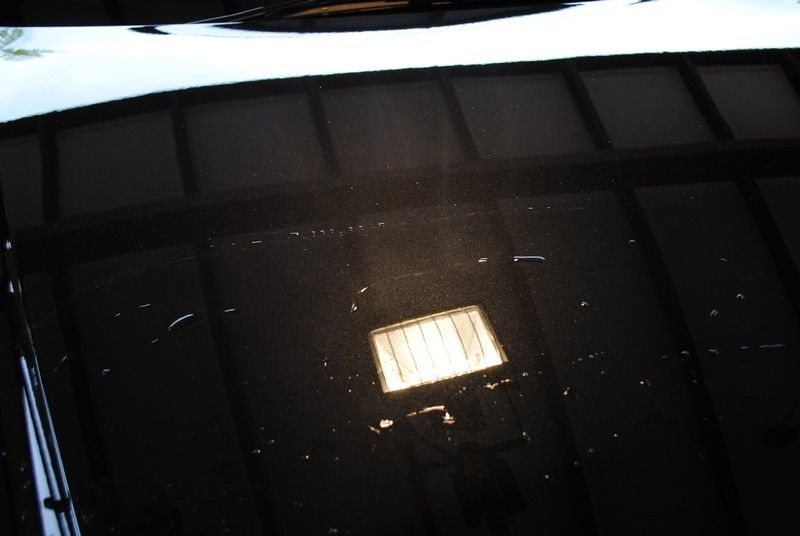
Polish/Wax residue on part of the bonnet..... a very obvious part of the bonnet smack rite in the middle.
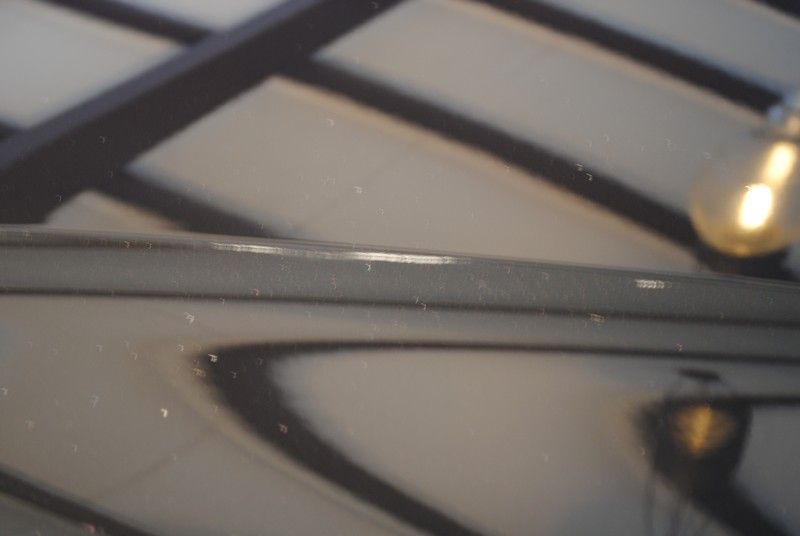
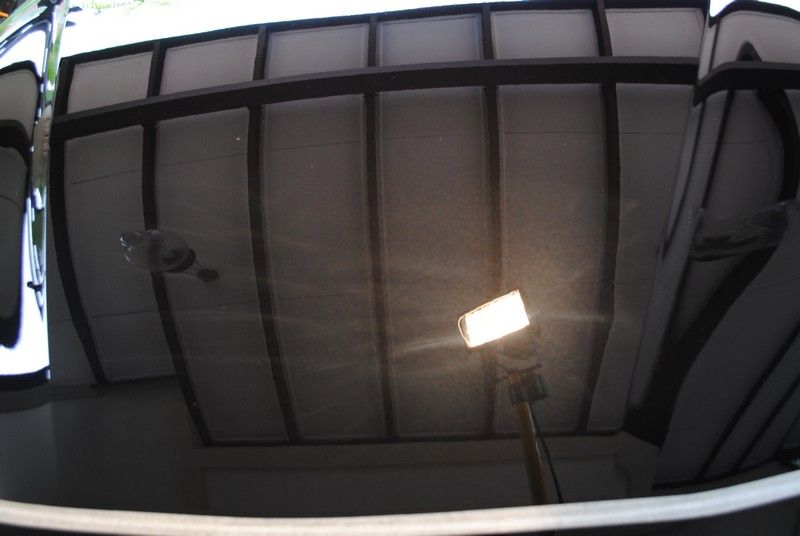
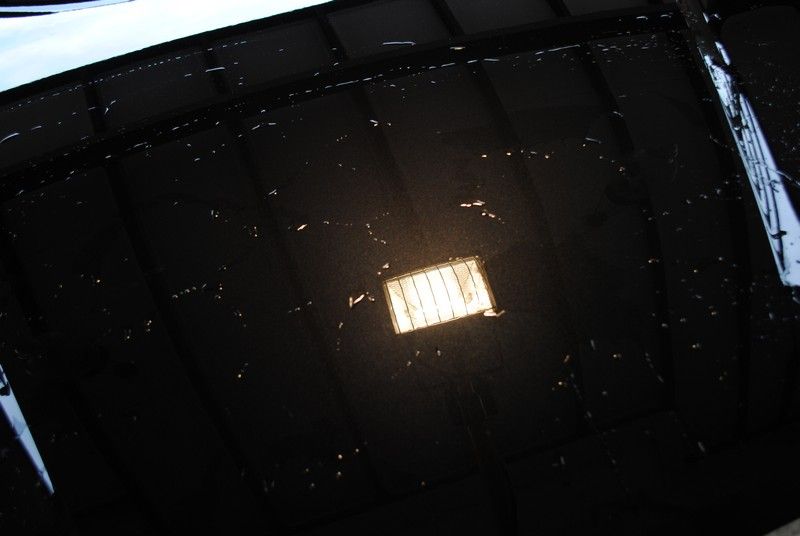
And I quickly took my halogen lamp out.......to reveal
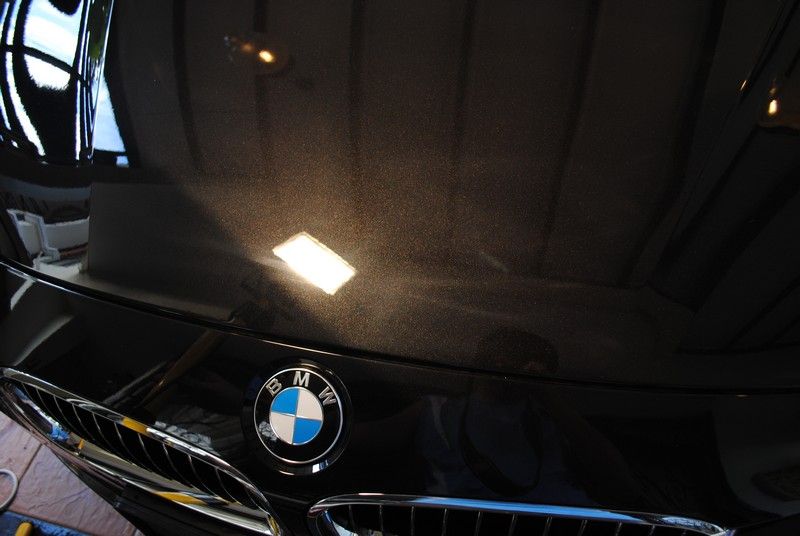
HOLOGRAM HEAVEN........
Forget the hologram for now...... i continue with my cleaning expedition.
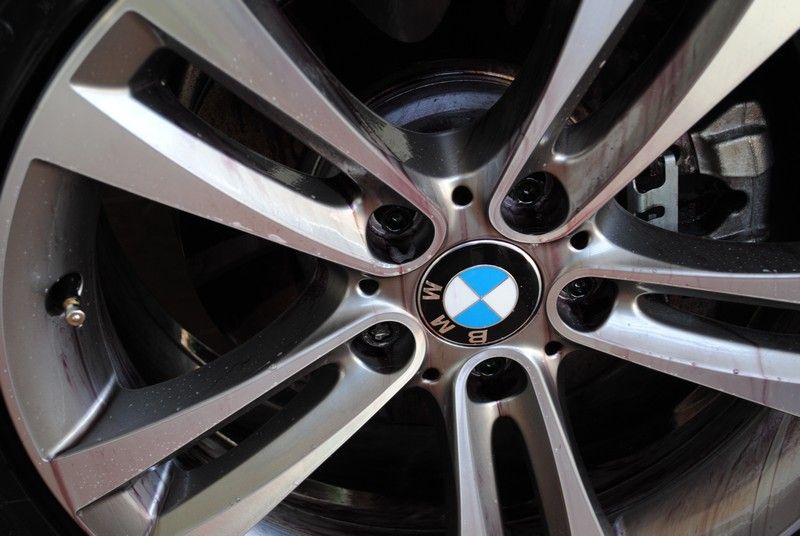
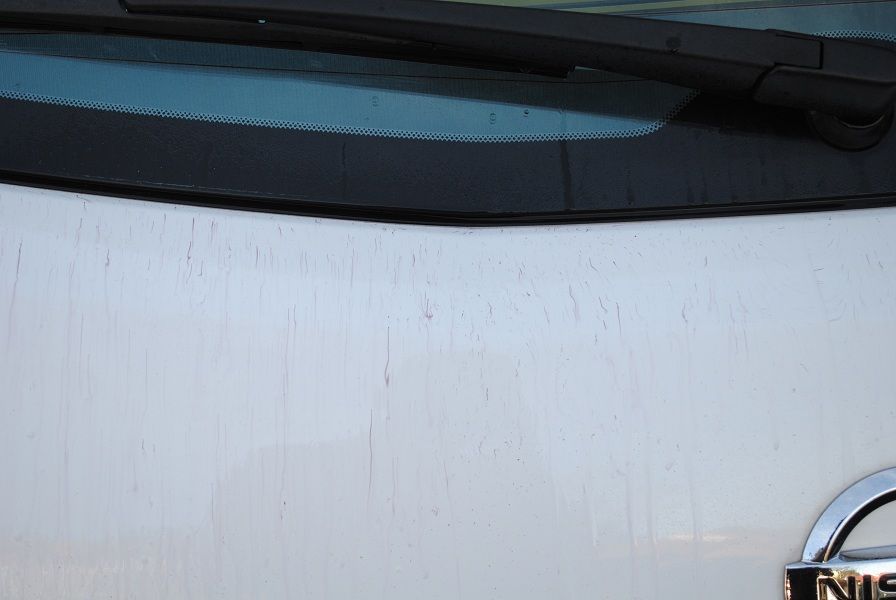
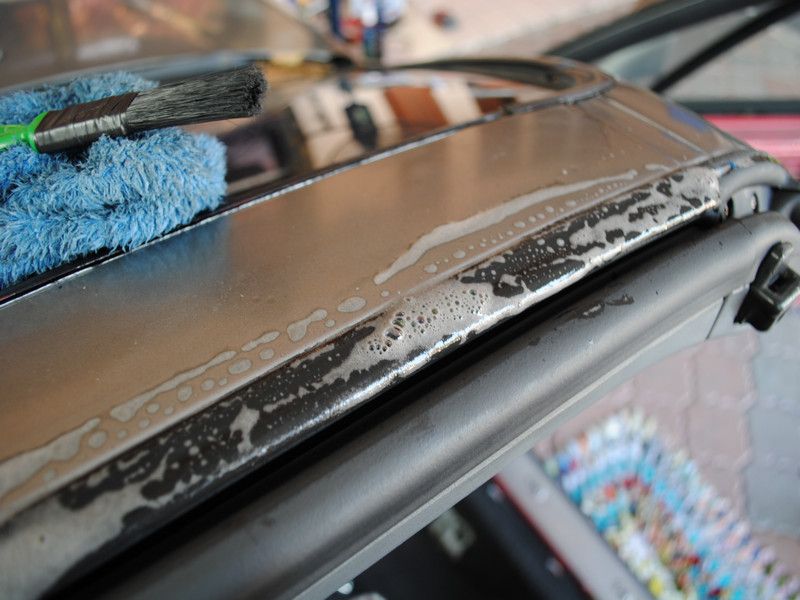
Rims were cleaned with OPC 1:3 and then with IronX. You can see plenty of reaction to IronX by focusing on the purple flowing liquid.
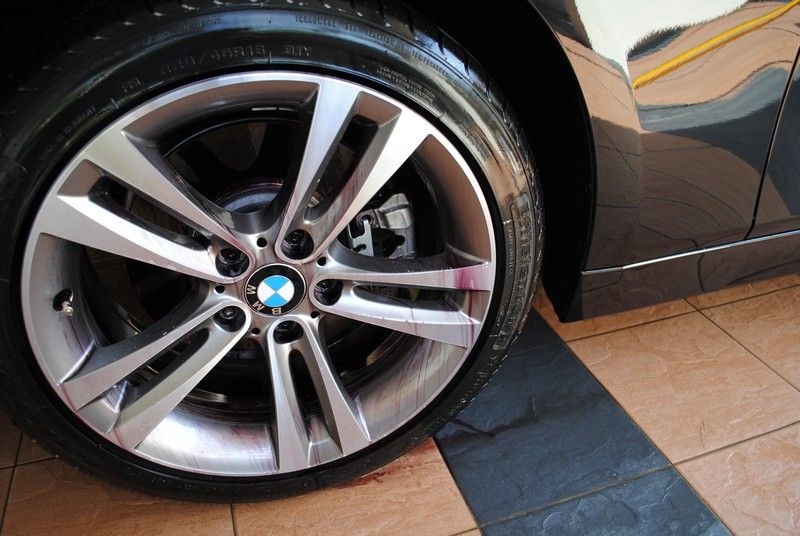
Clean rims..... but how clean?
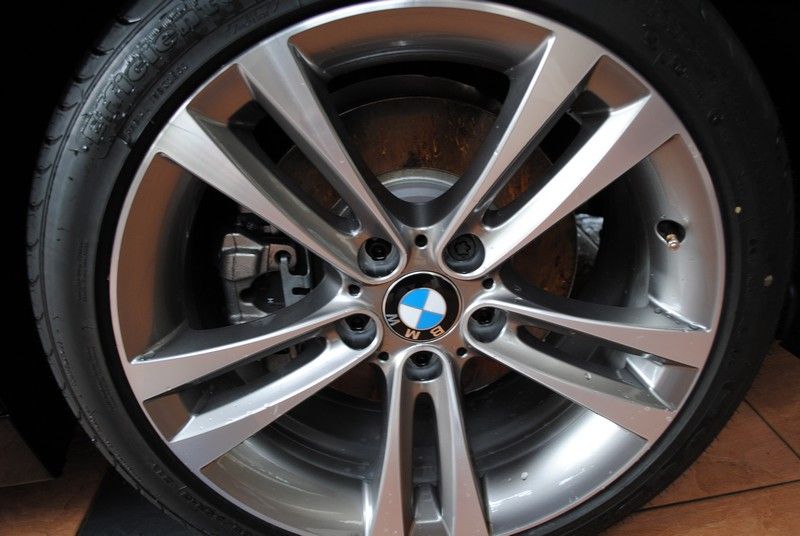
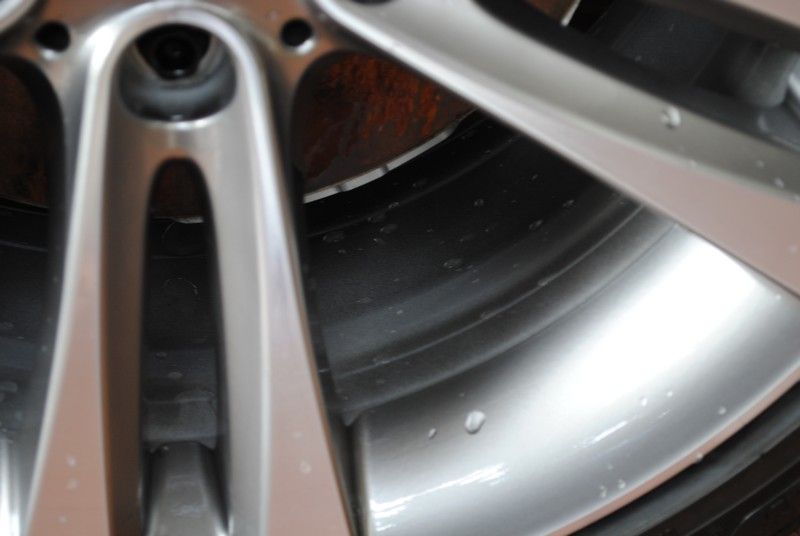
Clean till the inside is awesomely pawsomely cleaned!!!!
Clean rims.... but at what cost? Owner's wife was actually very surprised that a clean rim could shine like this that she thought I have already coated the rims when I had yet to do so.
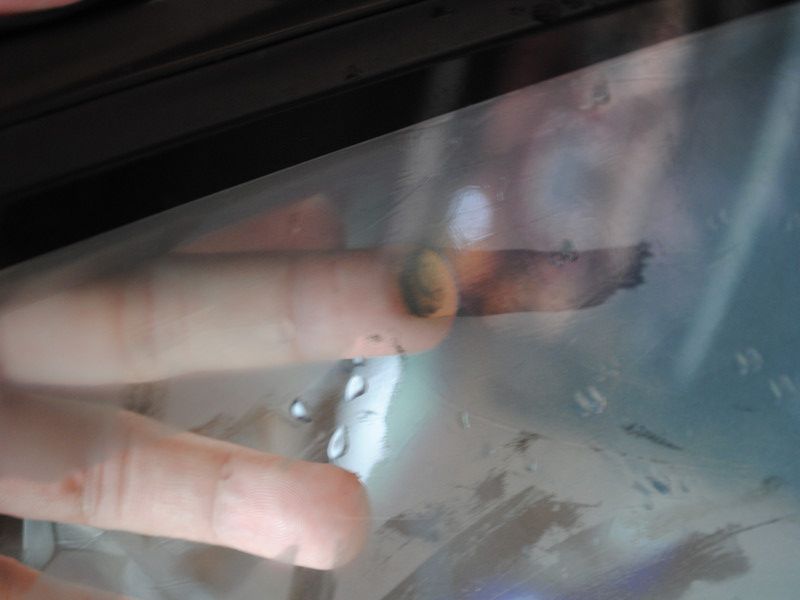
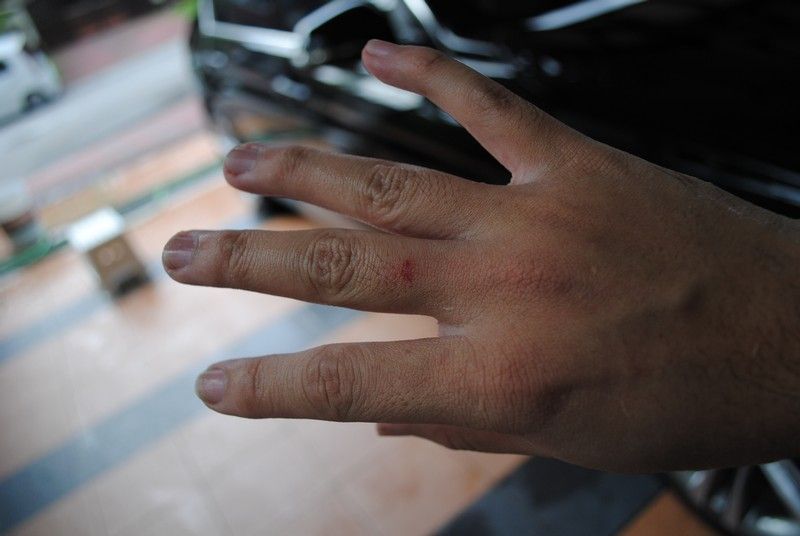
Cost.... me some blood. My finger got cut by the metal shield behind the disc. It was as sharp as a knife.
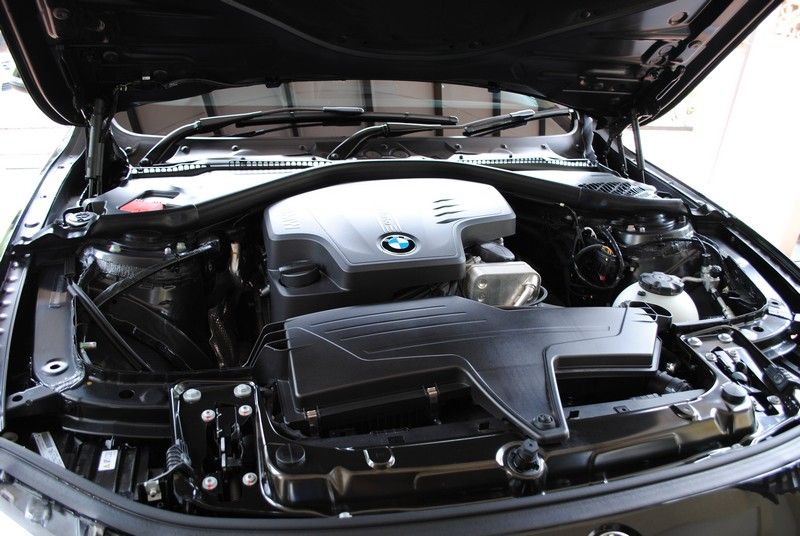
Engine bay was given a quick wipe down with one of my old micro fibers. Just an ultra quick one that lasted only 5 minutes or so. Was admiring at the heart of this beast.
Now we come back to the hologram heaven.... truly like a single color aurora in the north pole.... only thing is that this is annoying.
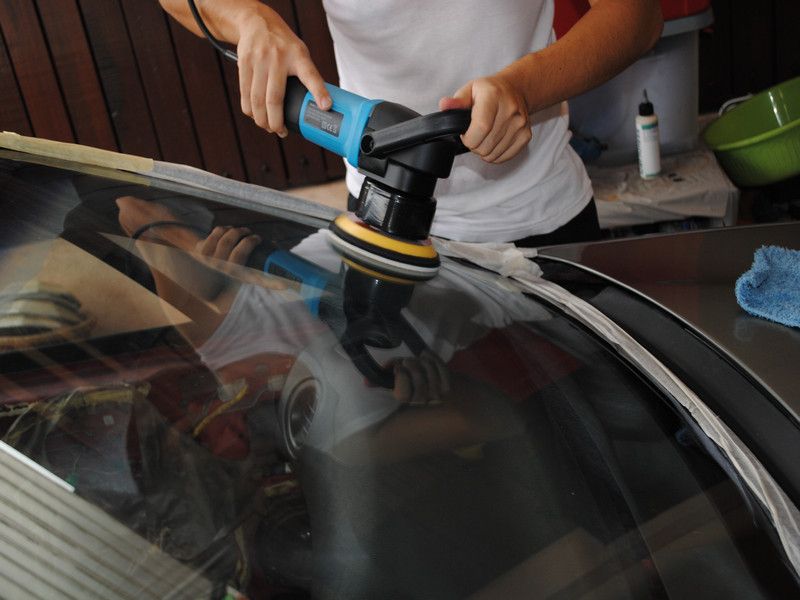
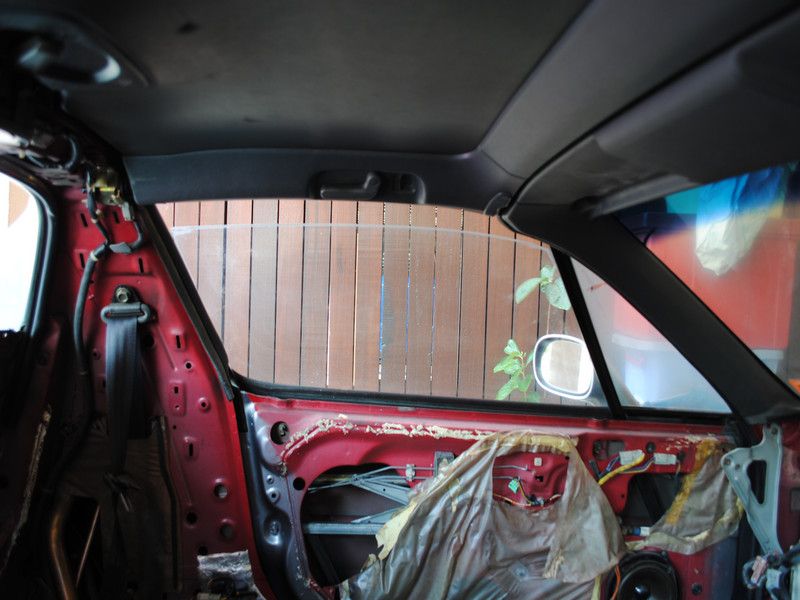
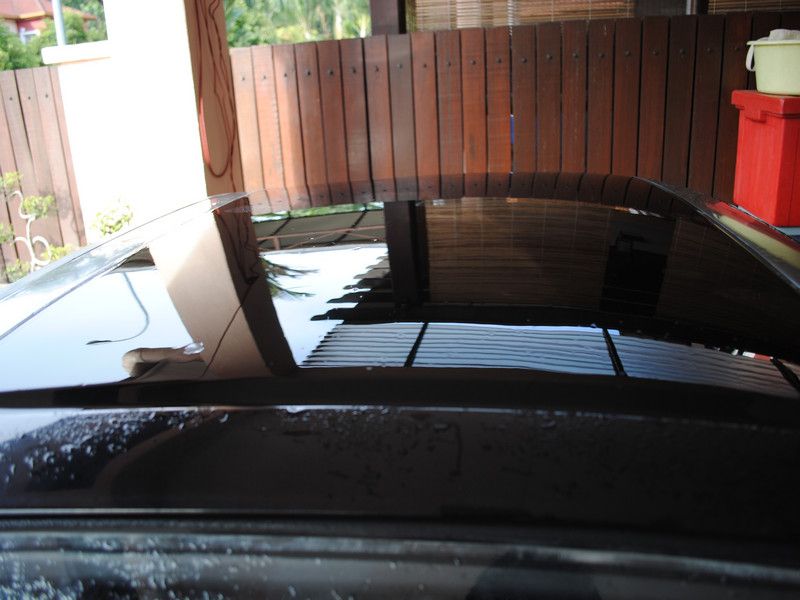
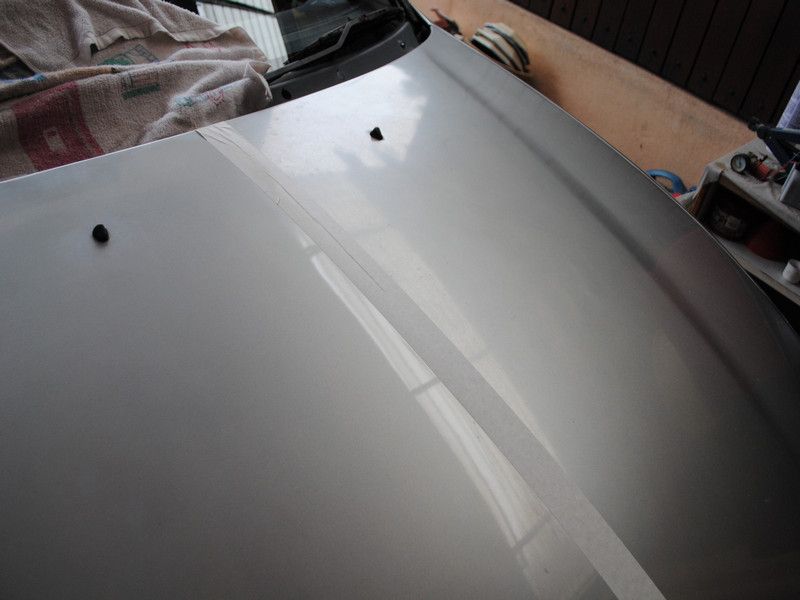
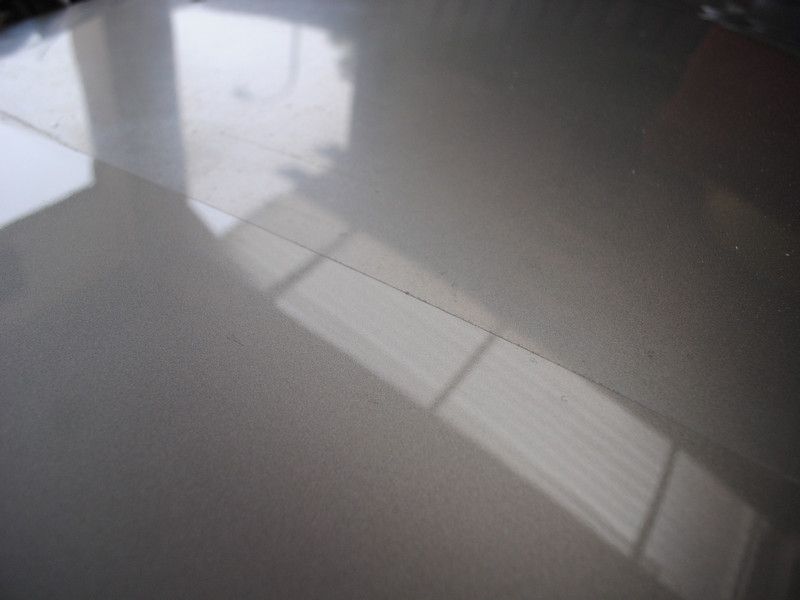
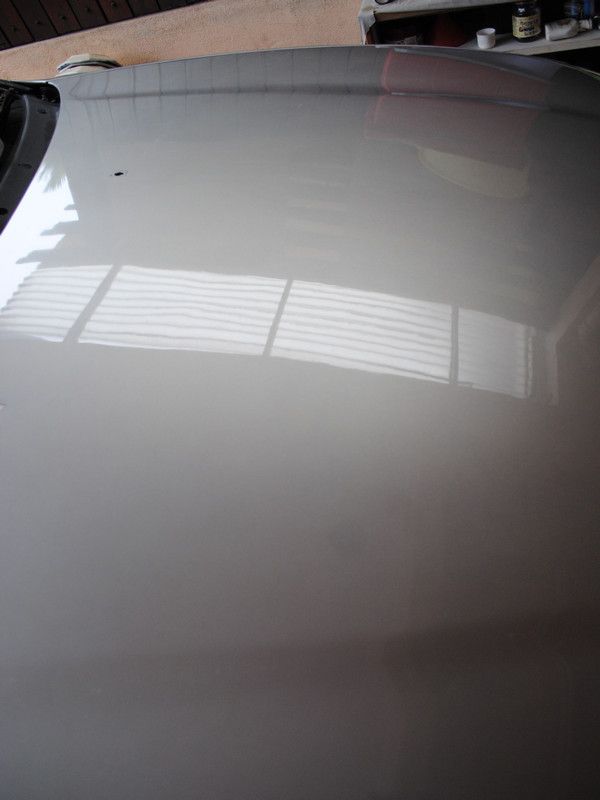
Half corrected. Can still see the hologram on the top part of the bonnet whereas the bottom part has been corrected.
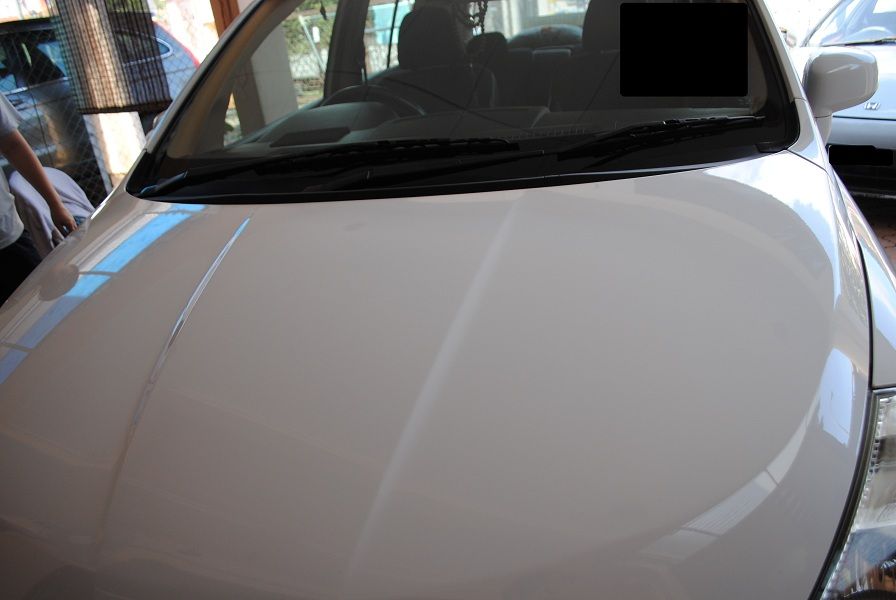
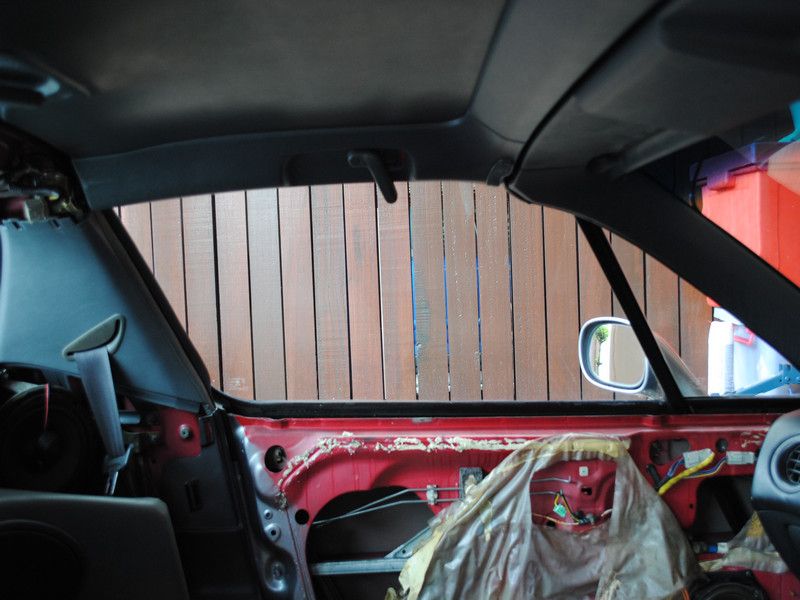
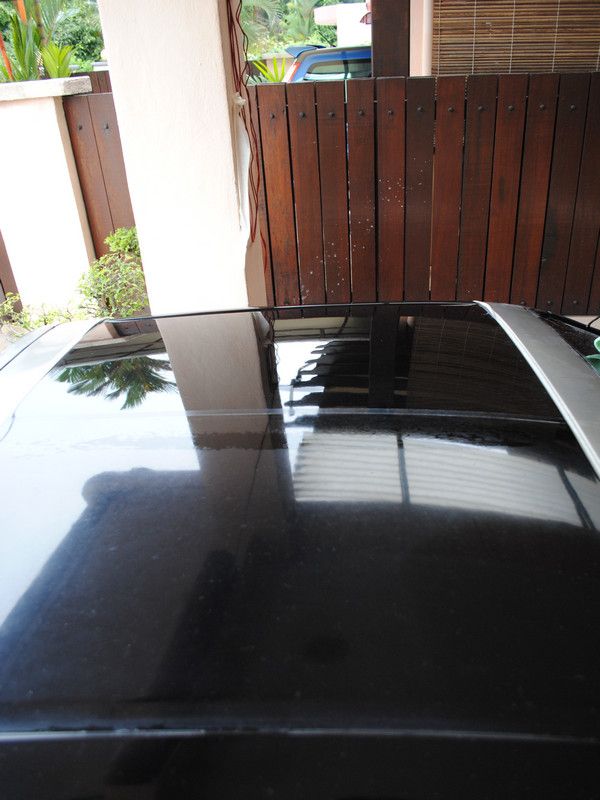
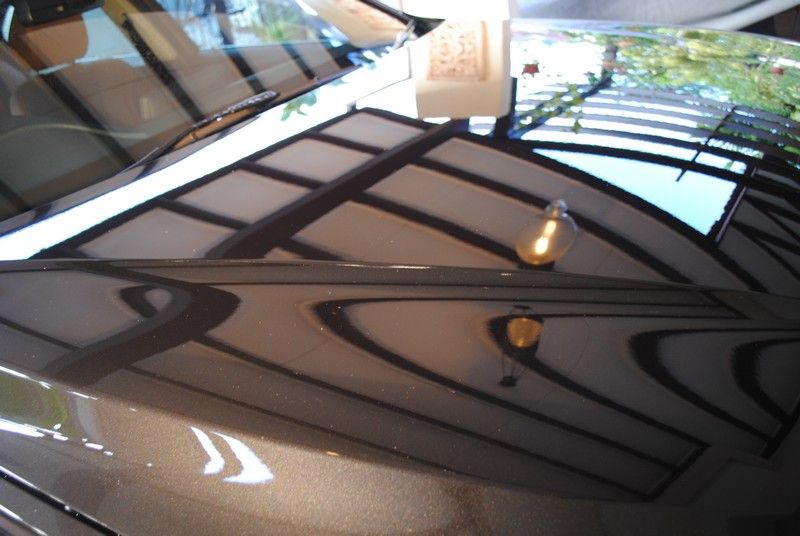
Fully corrected hood. Luckily the hologram is only present at the middle portion of the hood and not the entire car.
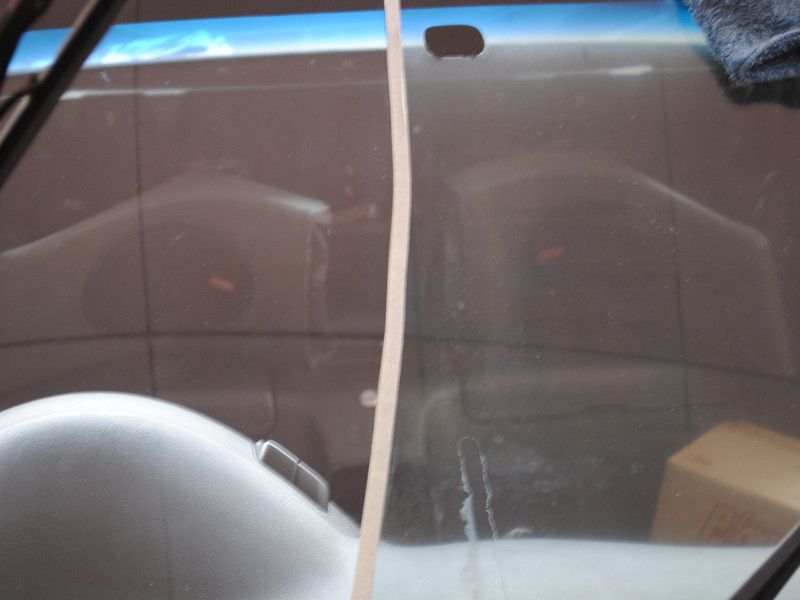
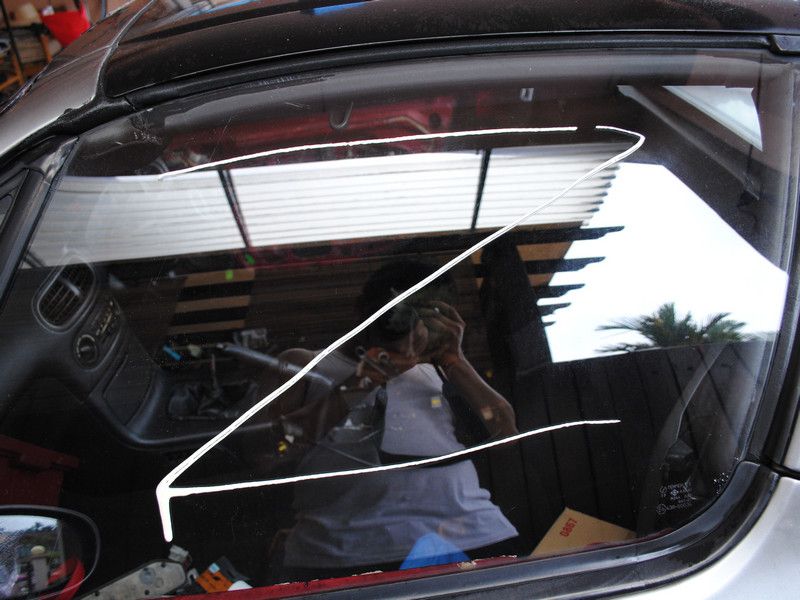
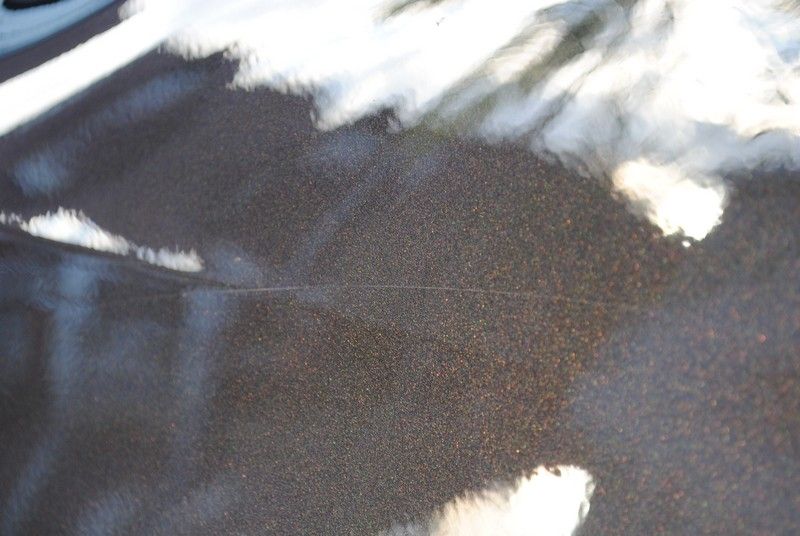
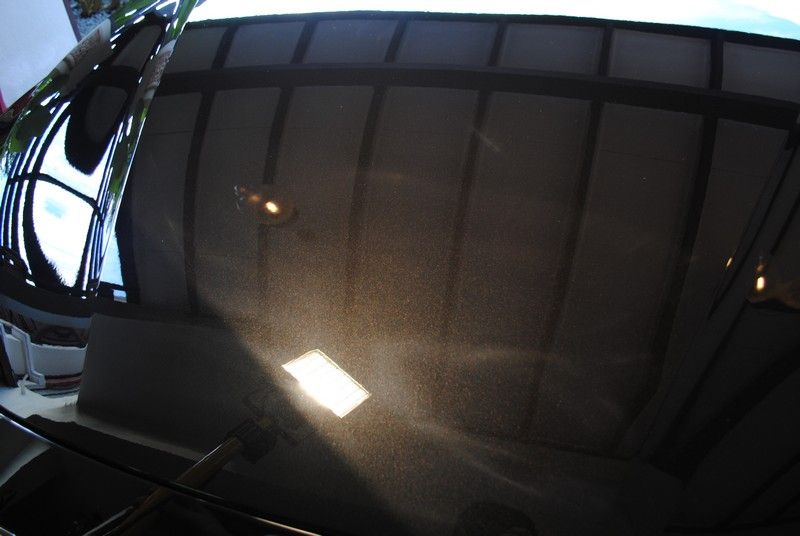
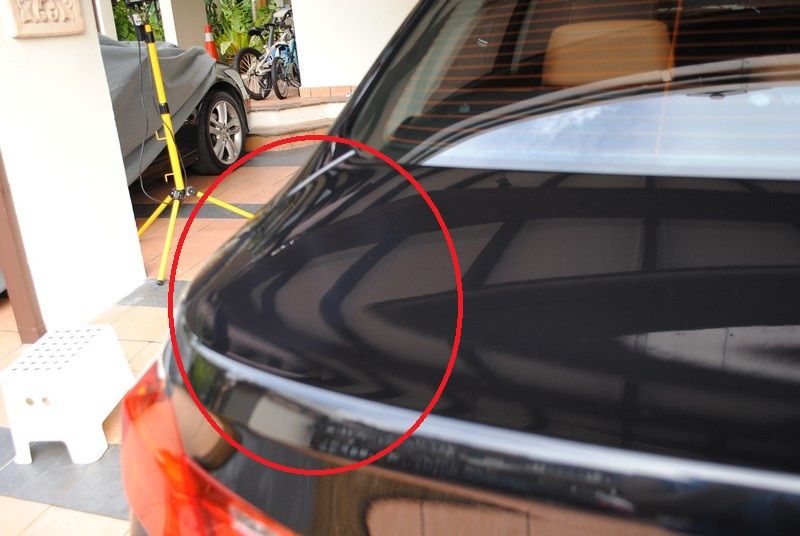
It is a bit hard to see so I circled it RED. Even the owner did not realize it until I let him know. Hard to notice and even harder to capture on camera as it is only visible at certain angle. This is what severe hologram can do to your paint clarity.
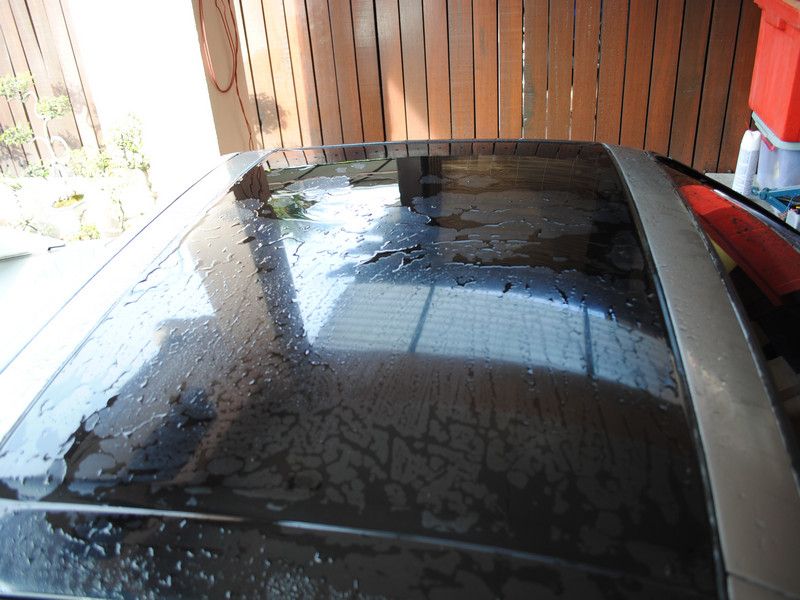
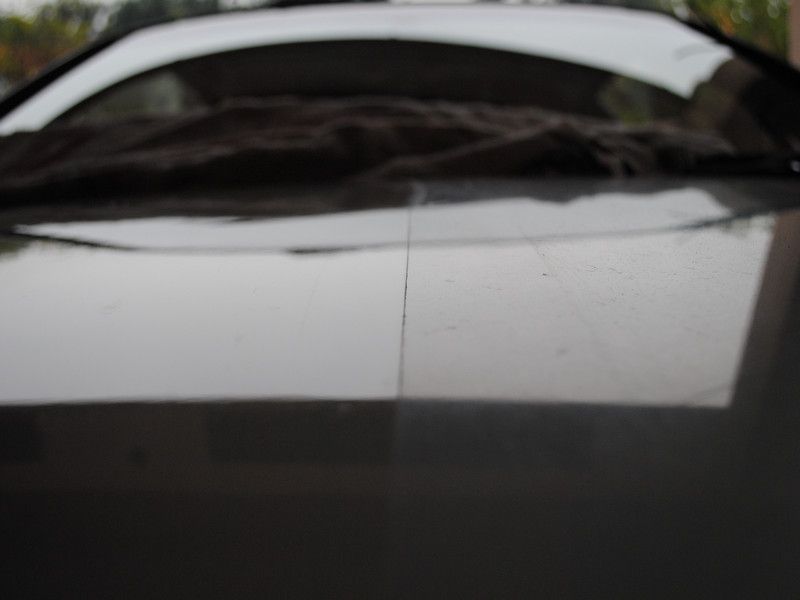
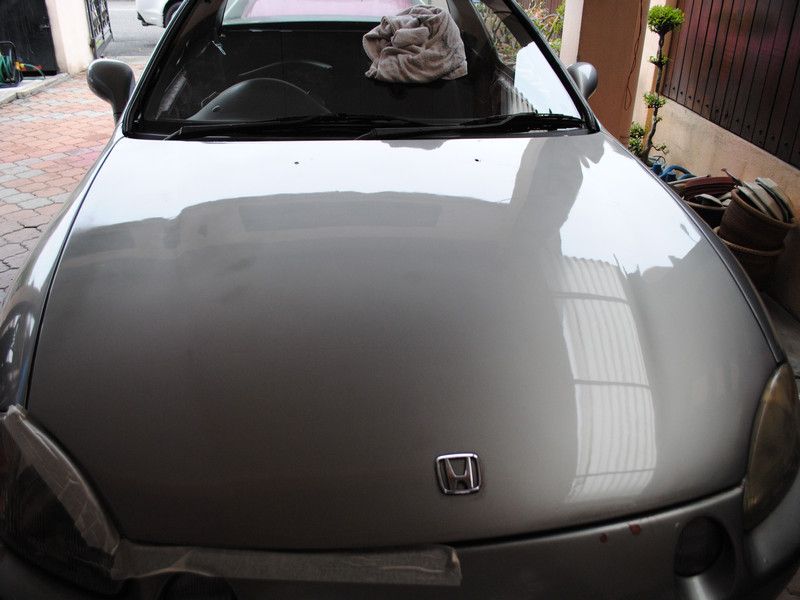
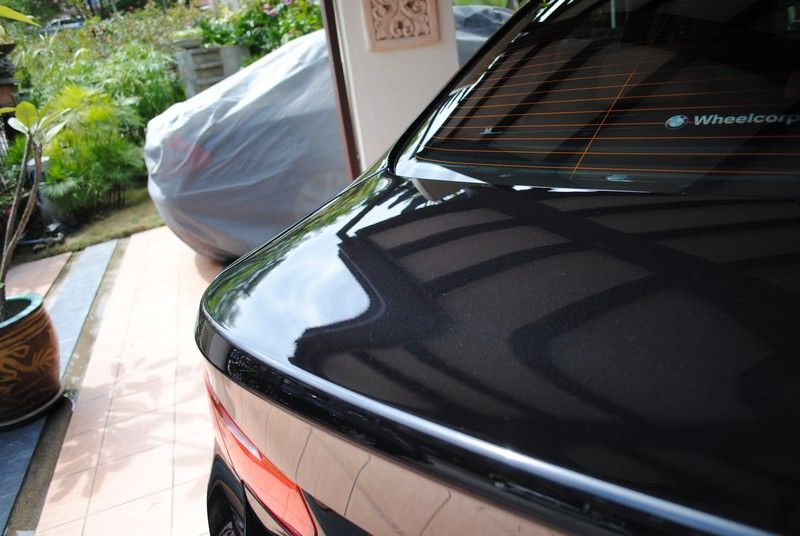
After correction. Car was moved as it drizzled earlier before this shot was taken. But you can clearly see that there is no longer a difference in color and reflection after the correction.
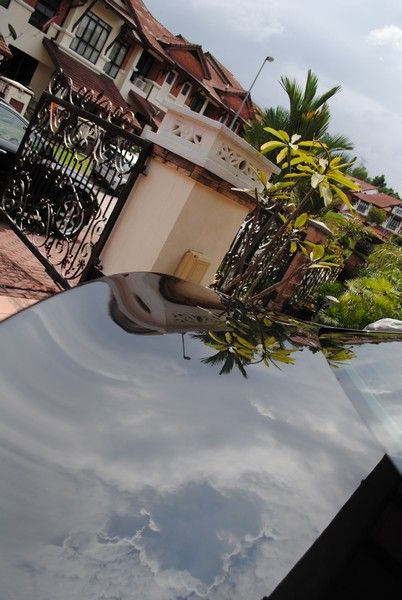
This is the weather for that day.... ultra cloudy but nice day to be out in the open. I was actually having a flu but being outside and doing the things I love, I did not even once felt sick..... until I got home.
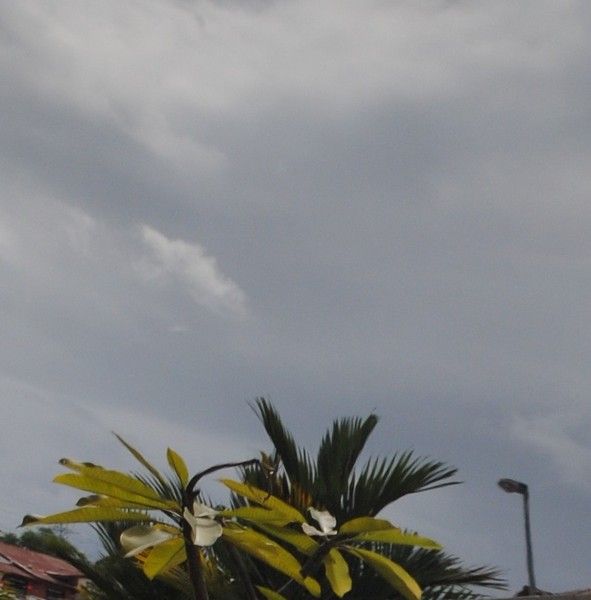
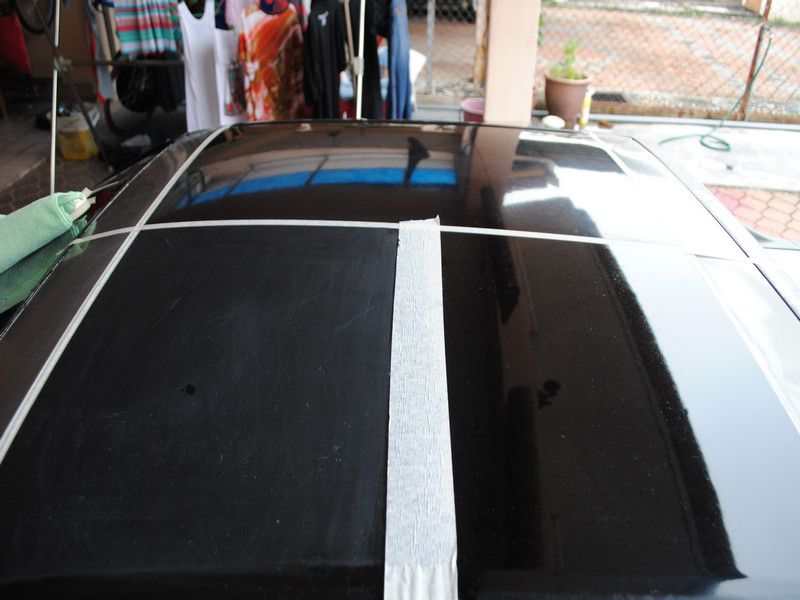
Oh yeah, the shot up there is actually cropped from this photo.... try to see if you can find which part of the photo it was cropped from. This is after the car was already done coated.
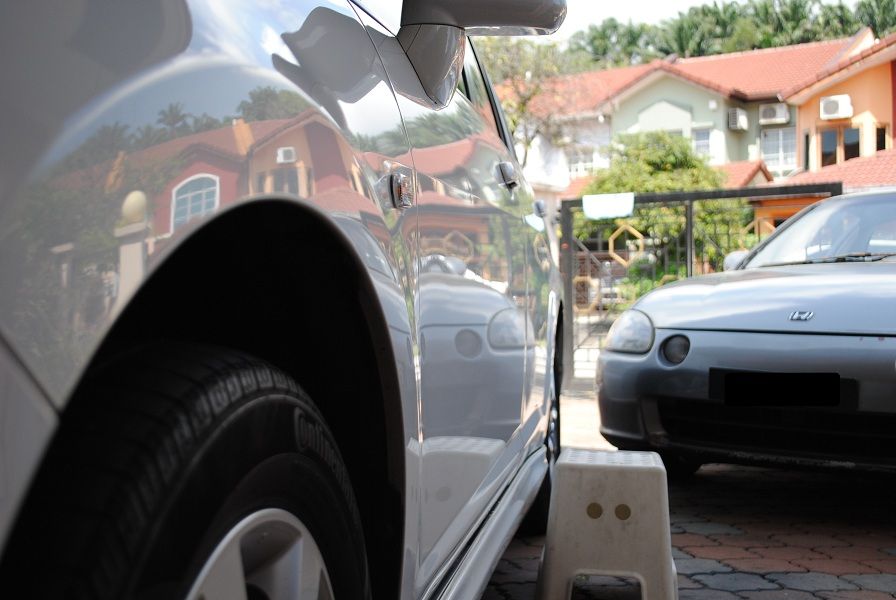
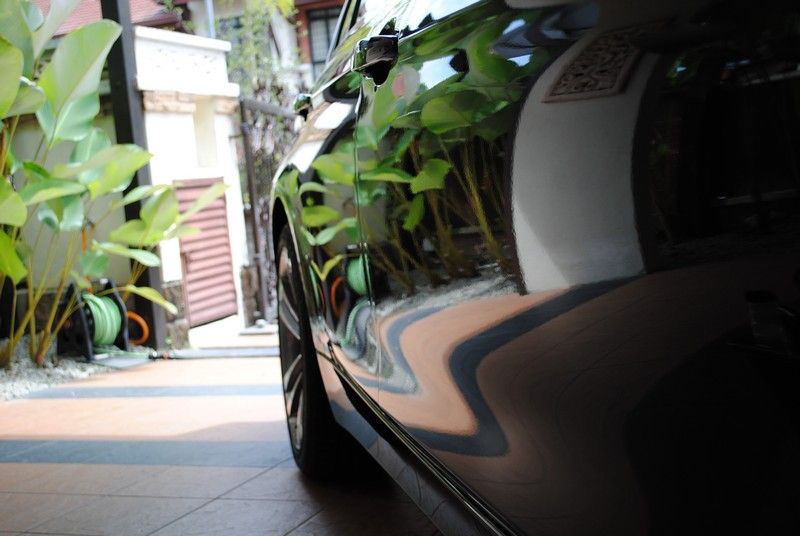
Coated sides....
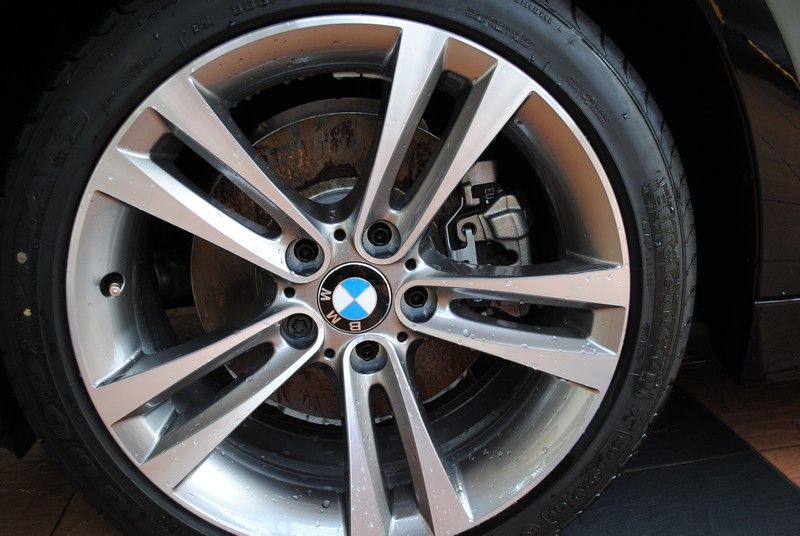
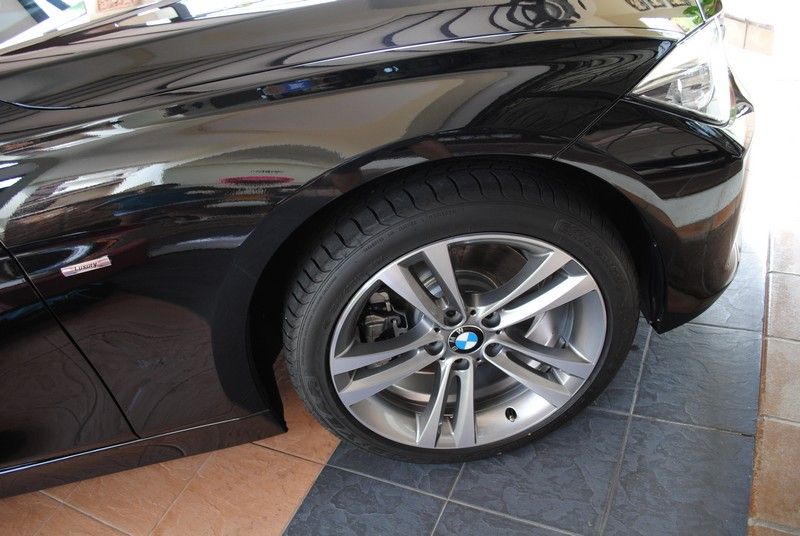
Coated rims....
Coated passenger side and skirts
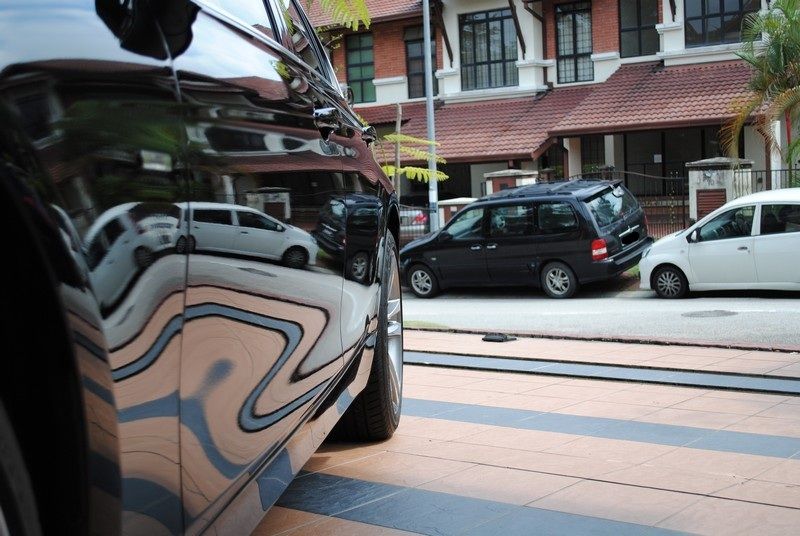
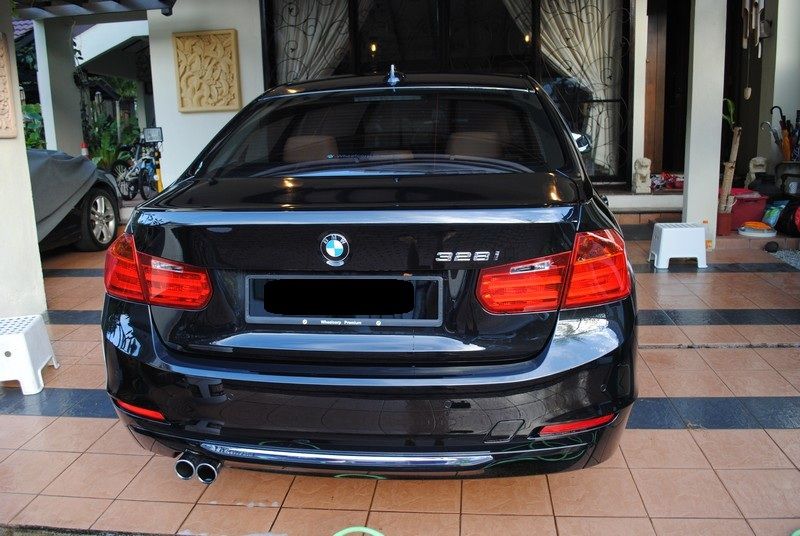
Final shot of the BMW before I had to go.
Time Spend: 7am - 2+pm = 7 hours plus?
Product used: Osren Bubble&Wax, Optimum Power Clean 1:5 and 1:3, Osren Perfect Cut + LC Black Pad + Ultramate DA combo. Optimum Coating 2.0, Optimum Opti Seal, IronX and etc that I could not remember at the moment.
Satisfaction Level: Owner was impressed
Note:
- IronX manufacturer seriously need to do something bout their so called "Cherry Scented" product. The smell is so strong that it even entered the kitchen..... RIGHT AT THE BACK OF THE HOUSE.
- If car sales person wants to make the car shine shine for the owner, please at least have the decency to engage a proper detailer instead of those whacko polish dude and wax boys operating at the road side. It is an embarrassment to the branding and to your own image to deliver such quality to a paying customer.
- I am currently throwing out my tantrum like a small kid.
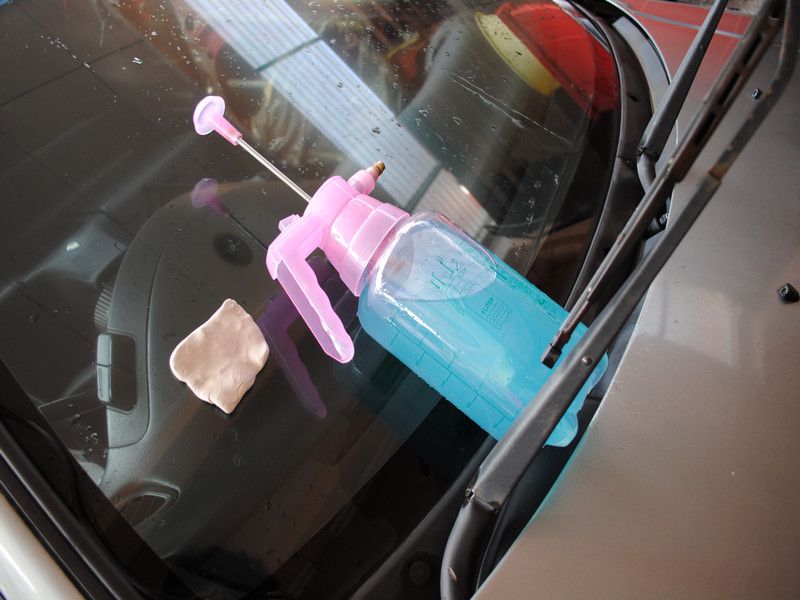
- Back to proper noting on this detailing journey, Osren does sell pretty good spray bottles. I am loving it.
- BMW should look into their metal shield at the back of the disc brakes. It is too sharp. I have cleaned plenty of wheels and touched plenty of metal shield but by far, BMW is the only one that drew blood.
- Car manufacturers should look into using different glue for their "QC PASSED" stickers. Its a real pain to remove them without marring the paint.
Please do leave your comments (good, bad, gibberish, rambling or etc) as it is much appreciated.
Edited*
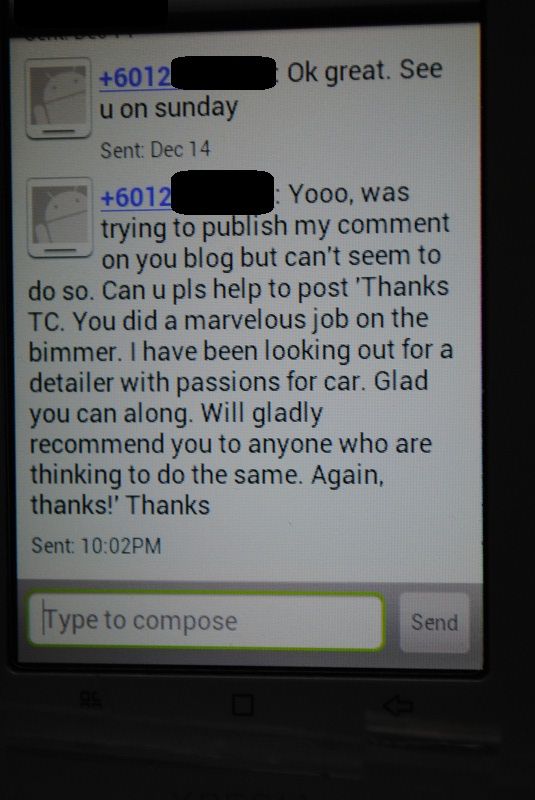
This is what the owner send to me. Always nice and cozy to have feedbacks from the owner themselves.