Time for another update....
This time it consists of couple of days work. Not that i got lazy, just that there was not enough to post as an update so i figure might as well gather a few days work and throw it in one shot. Erm.... i let you guys jump straight to the photos and commentary.
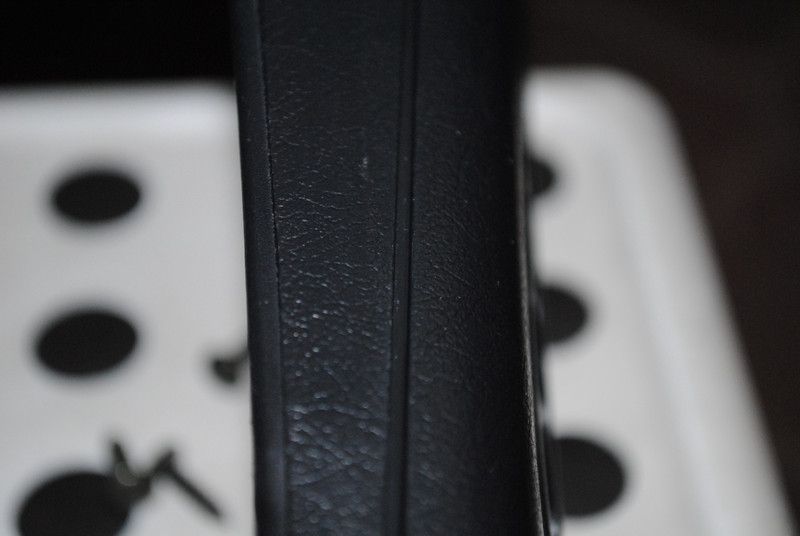
Ok, so i took the glovebox out and nothing much to detail as my friend already wrapped it in insulflex previously.....

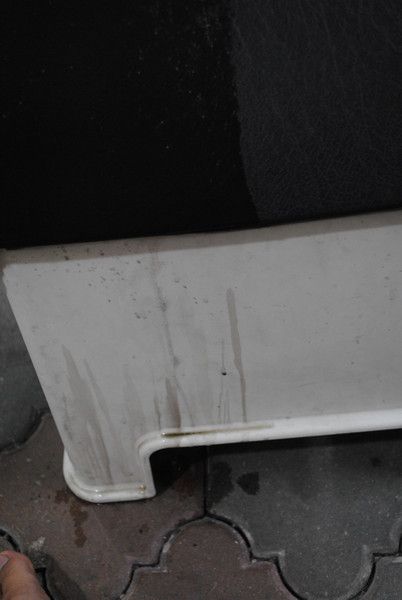
So I sprayed OPC 1:5 on to the glovebox front and..... without agitation... i saw.... dirt flowing down
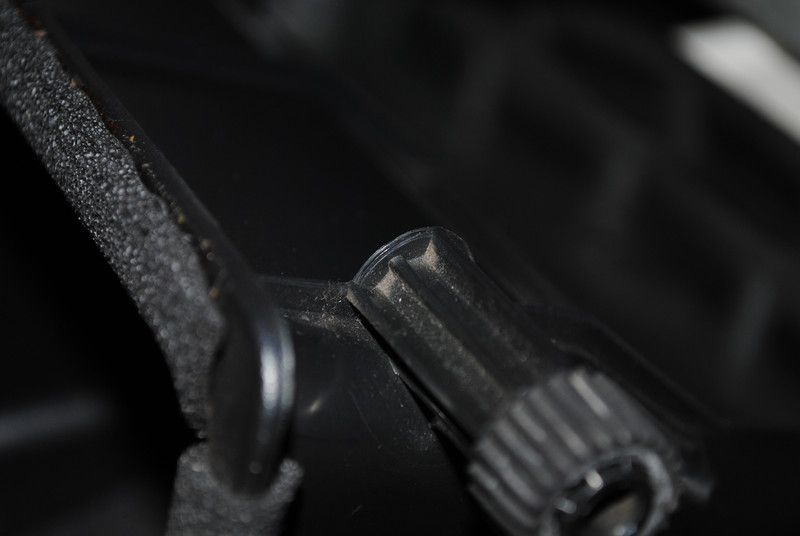
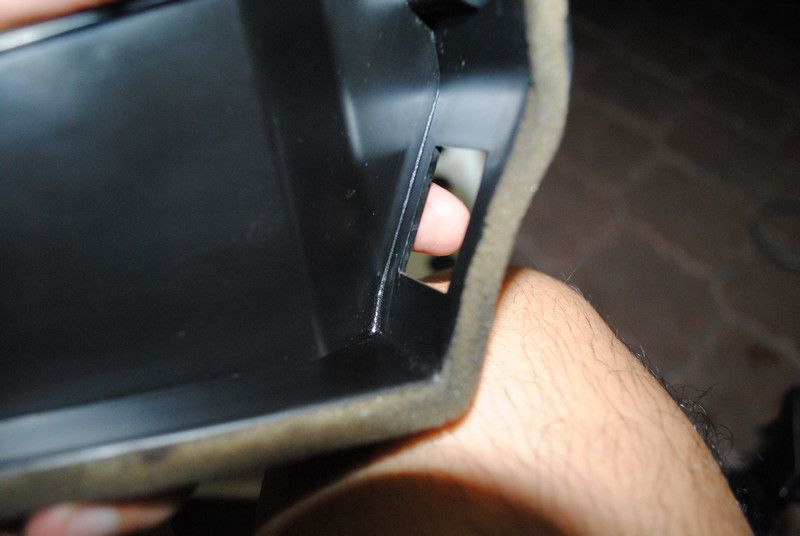
Took the locking mechanism apart to detail
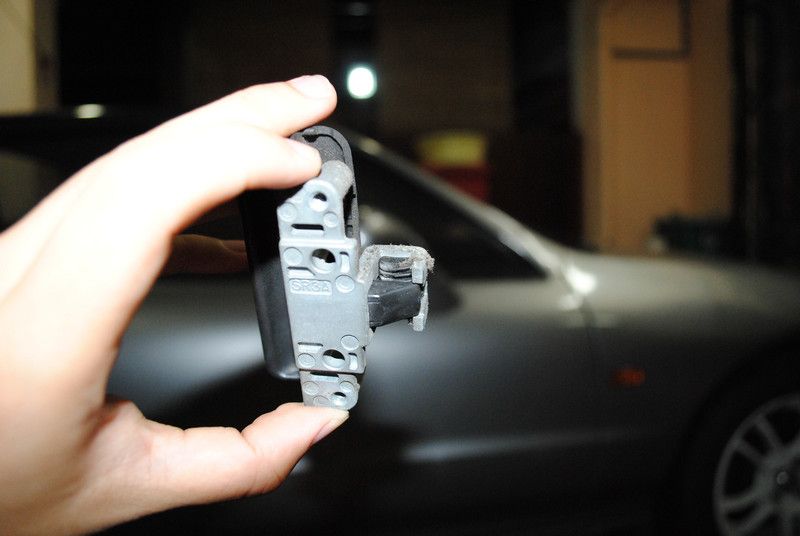
Detailed the portion behind the latch for the lock.... was not able to access it without first removing the locking mechanism
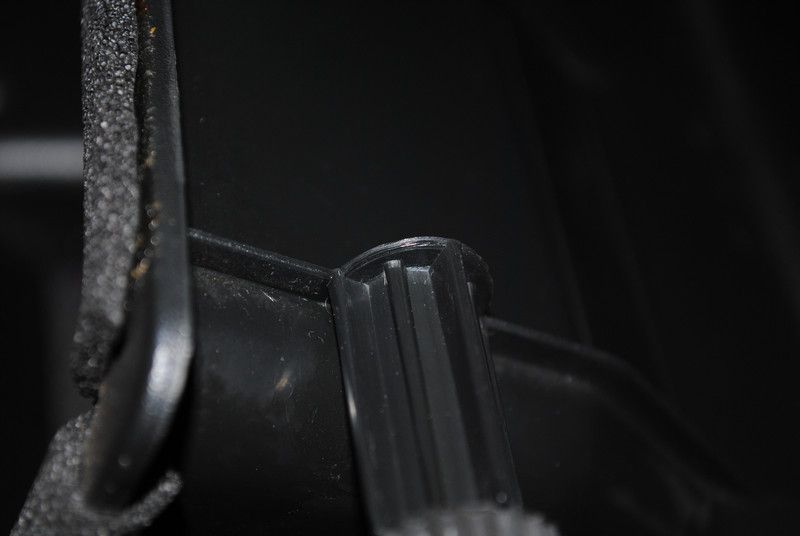
After detail of course must....put it back.
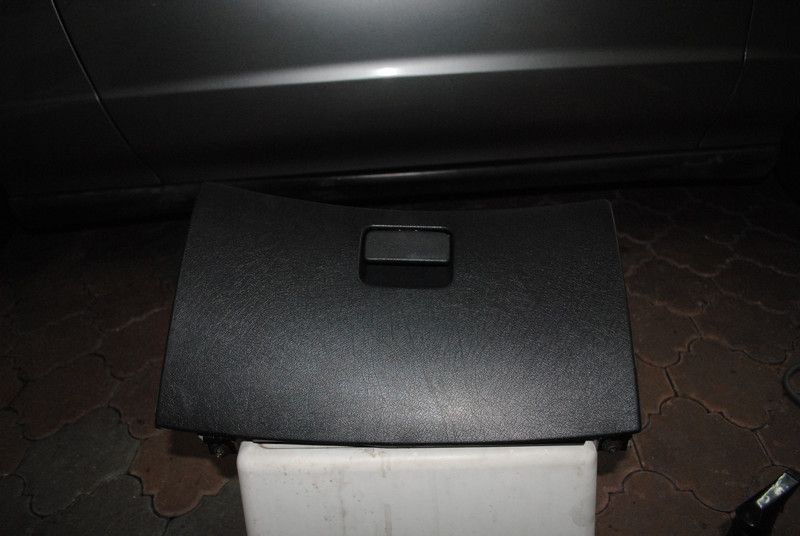
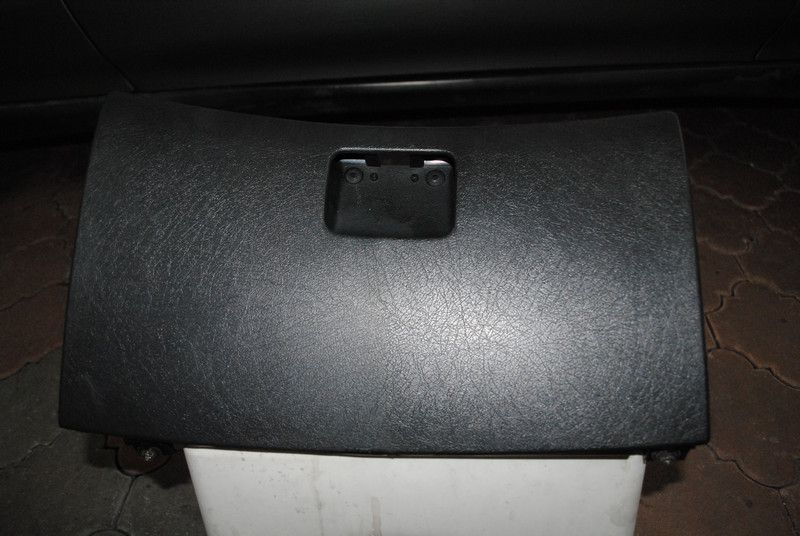
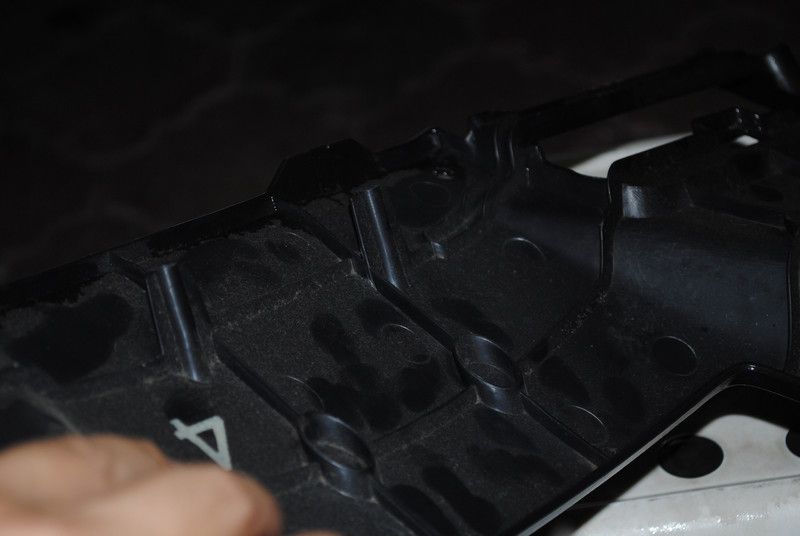
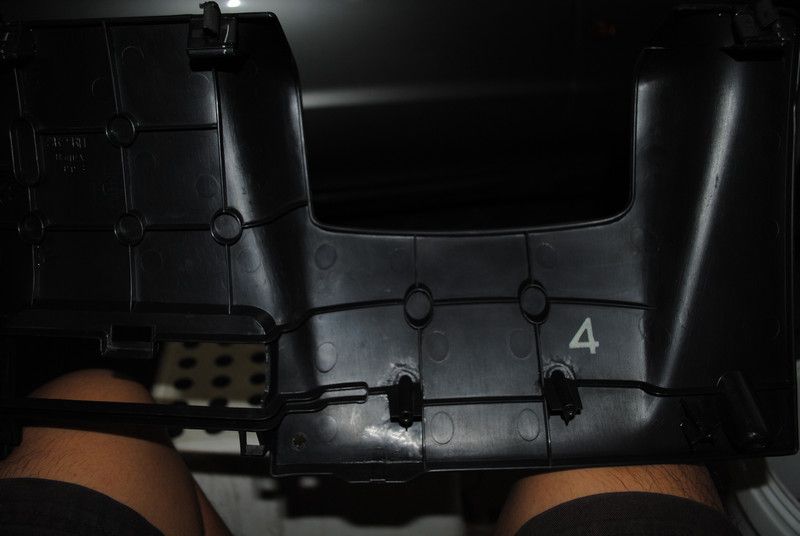
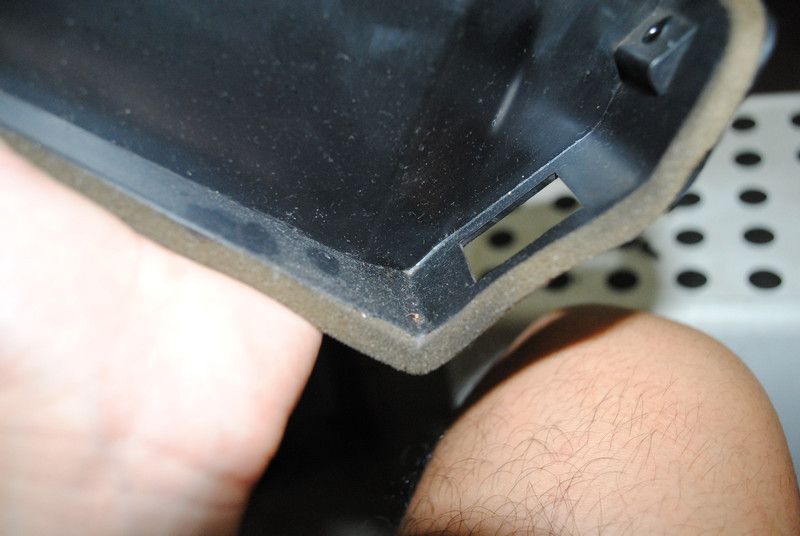
The rear portion of the glove box
After detailing....
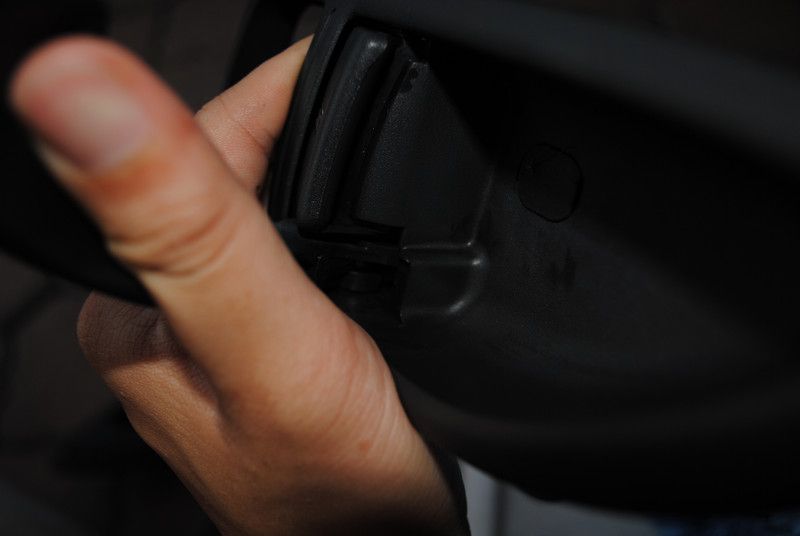
This is the rear part of the plastic piece below your steering.... yes, its dusty
As said previously, not leaving any chances for any fungus to remain
Front portion of the same plastic piece has been detailed as well

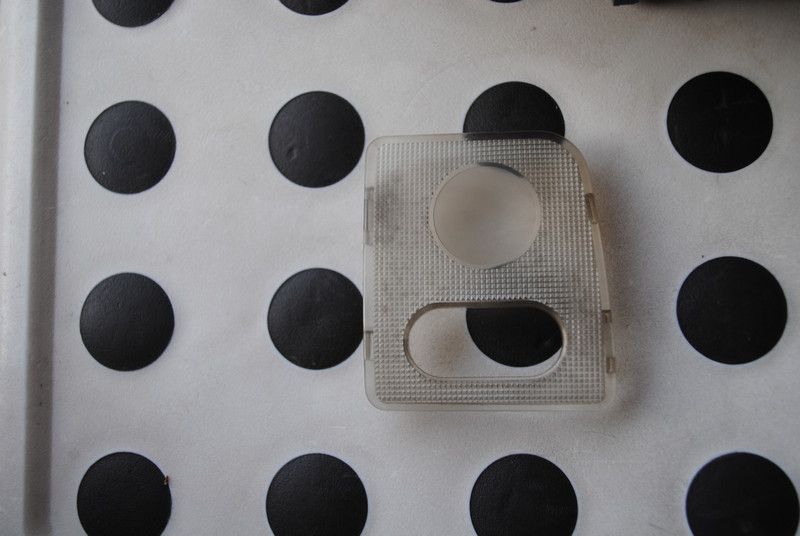
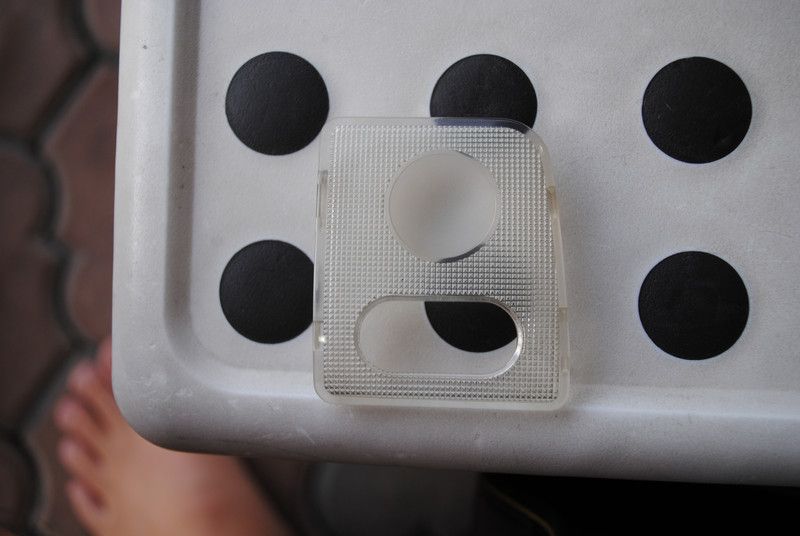
Hmm.... some dirt on the fuse map...
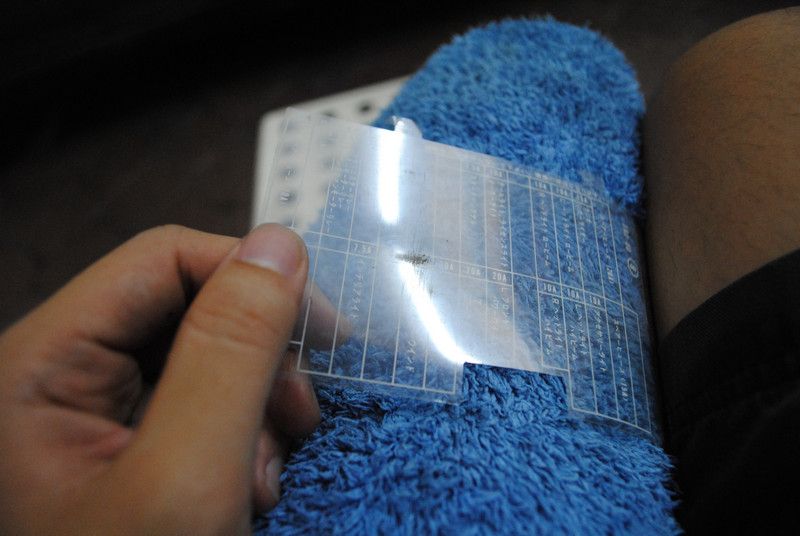
Detailed. Note: scratches cannot be removed.
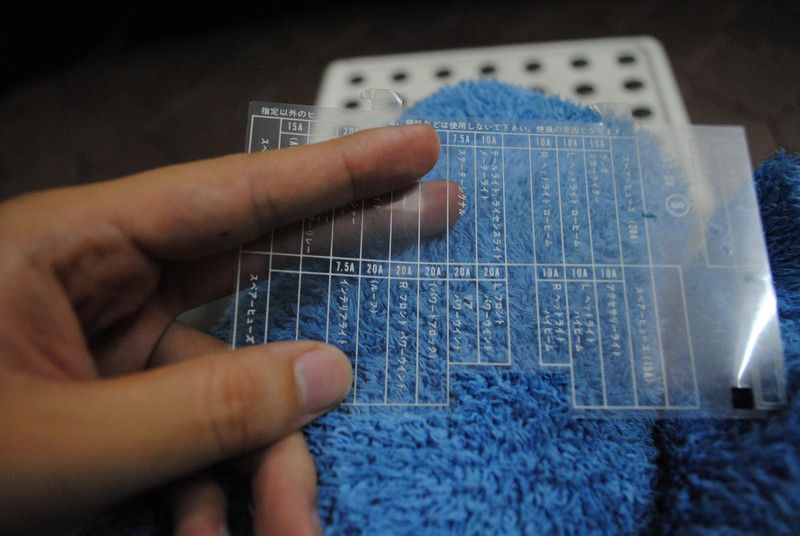
Can someone read this?
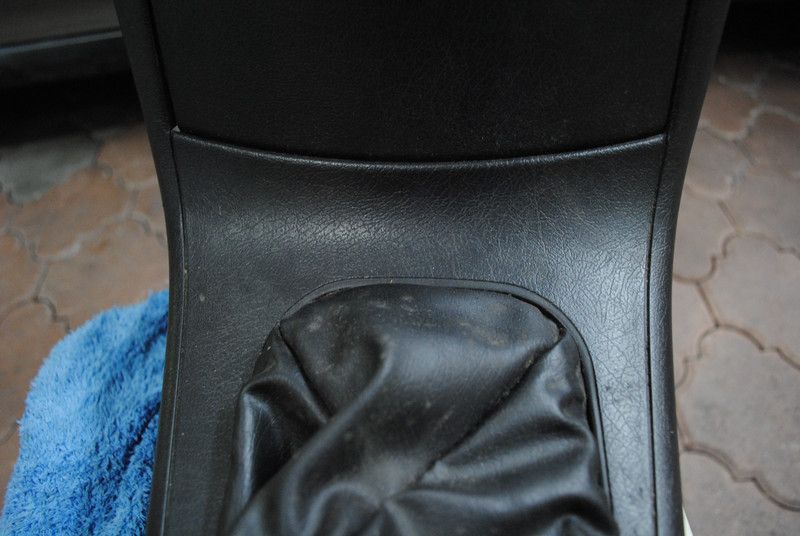
OKAY, now, lets move on to..... the gear level area
Fungus has taken over....
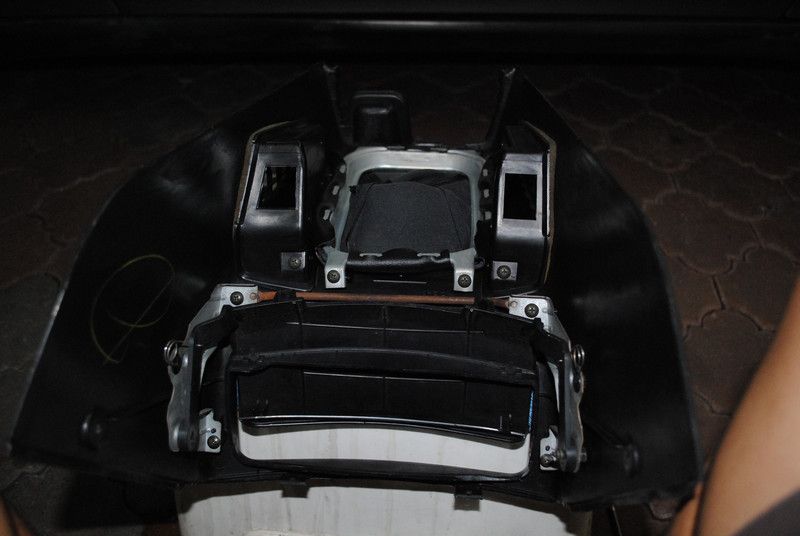
The back portion of the same piece.... why like missing some things?
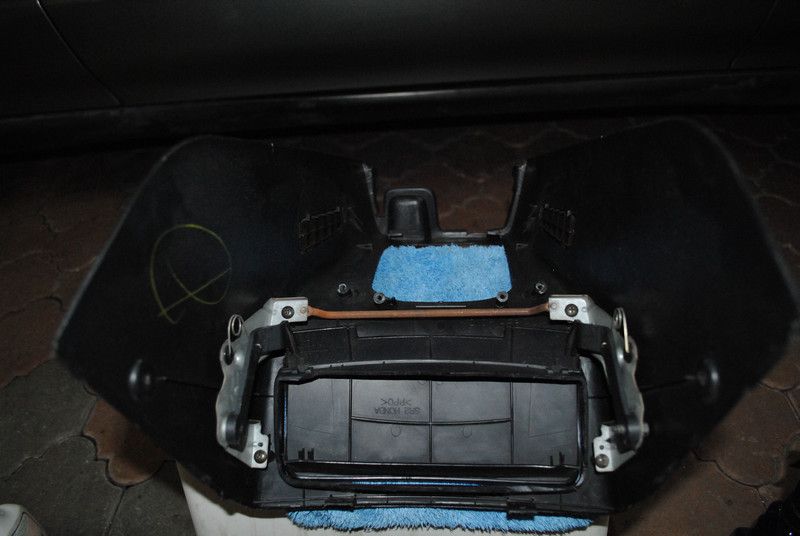
Cause I dismantled it......
Areas that do not really get cleaned cause its..... just not that obvious
After detailed.....
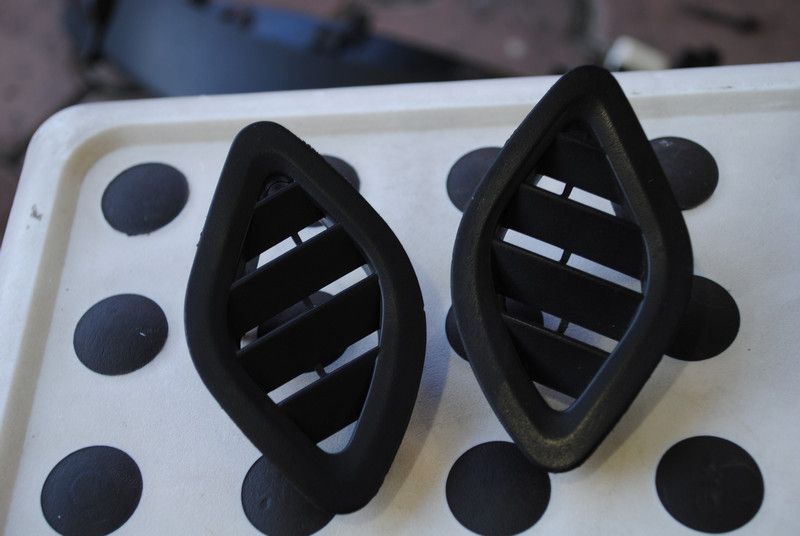
This is actually the air cond vent at the gear level that keeps our butt cool.... pretty dirty as well.
So..... cleaned it and it looks marvellous. I bet the owner's butt will be cooler now.
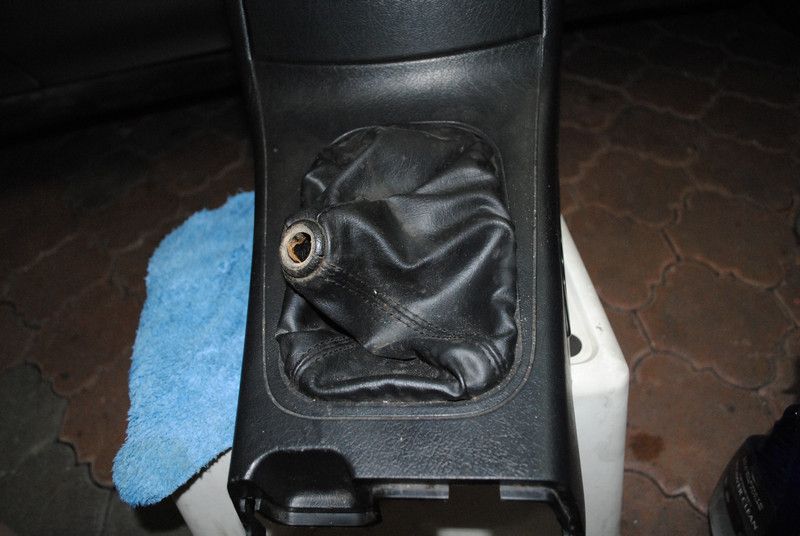
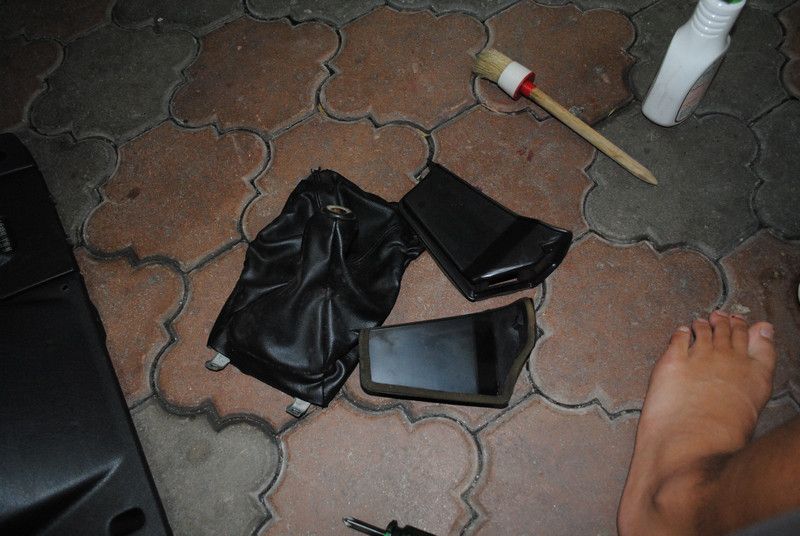
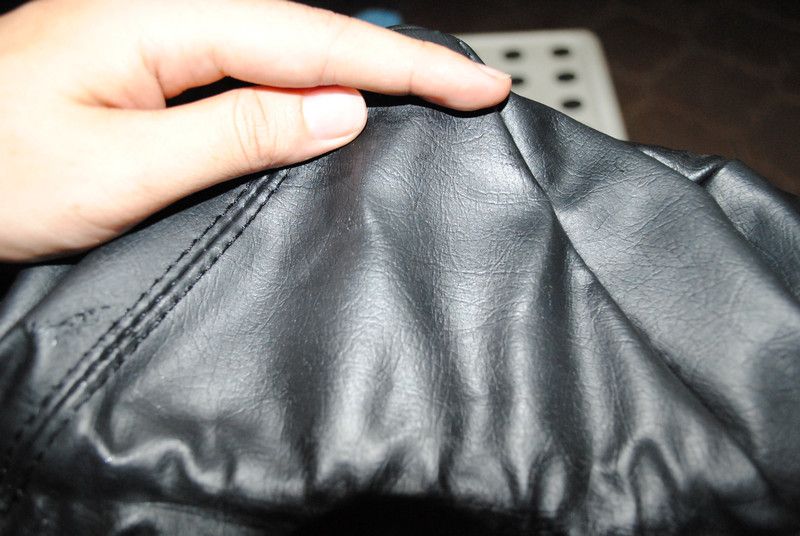
Remember the fungus infested gear boot.......
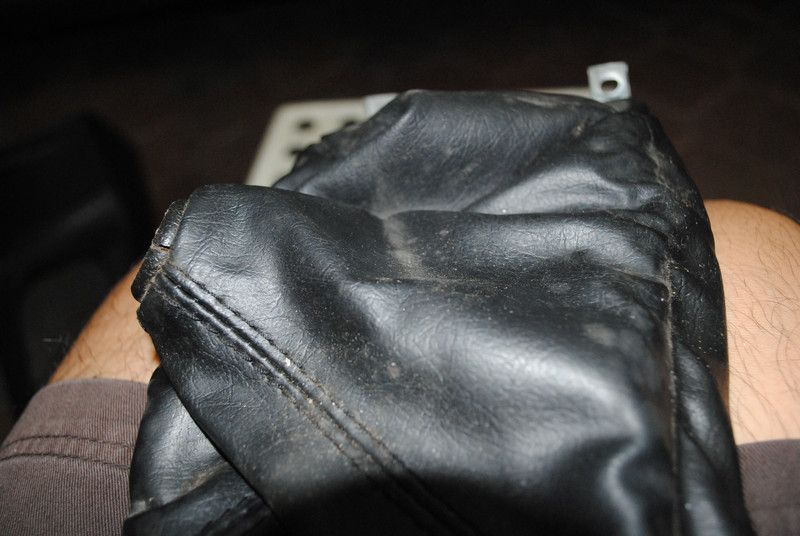
Nice, clean, suppled.... with just OPC 1:5 and ONR to rinse.
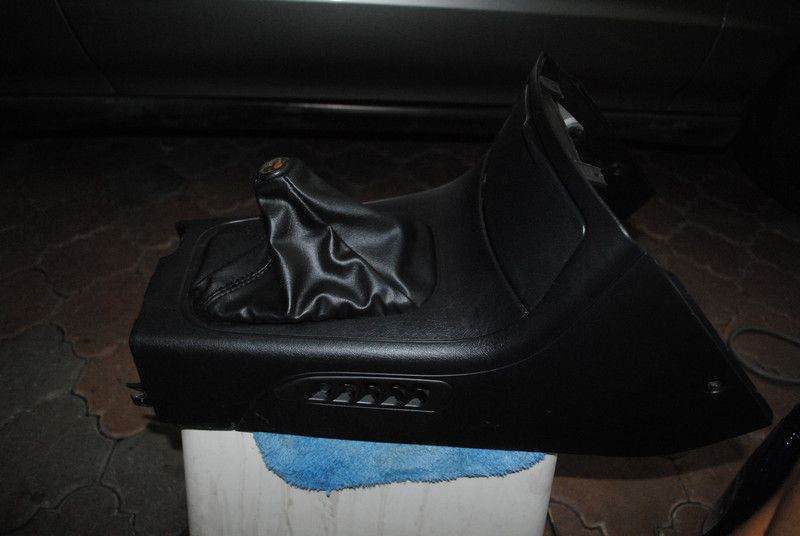
The rear portion again.... now it looks more like it.
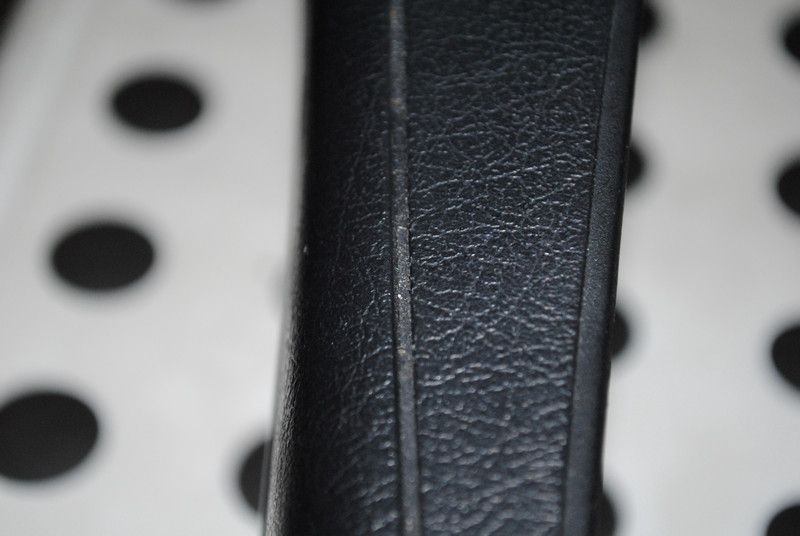
From the side.... sweetness...
This is the steering cover where the owner last sticked a sensor.... glue mark remains after 3 years.
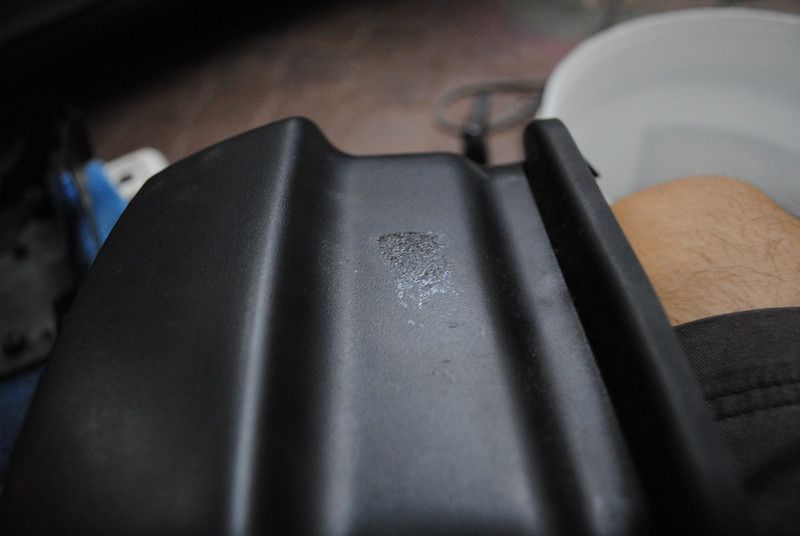
OPC-ed it and its..... gone.
Can you tell me which side is detailed?
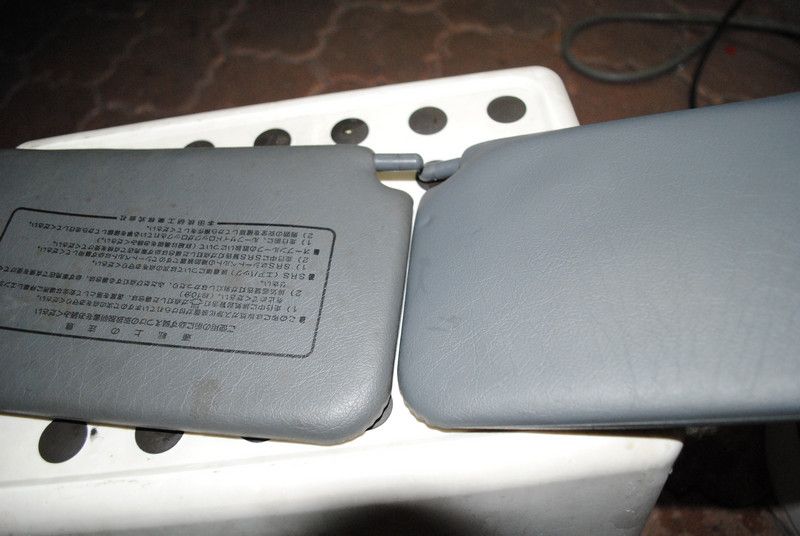
This is the before....
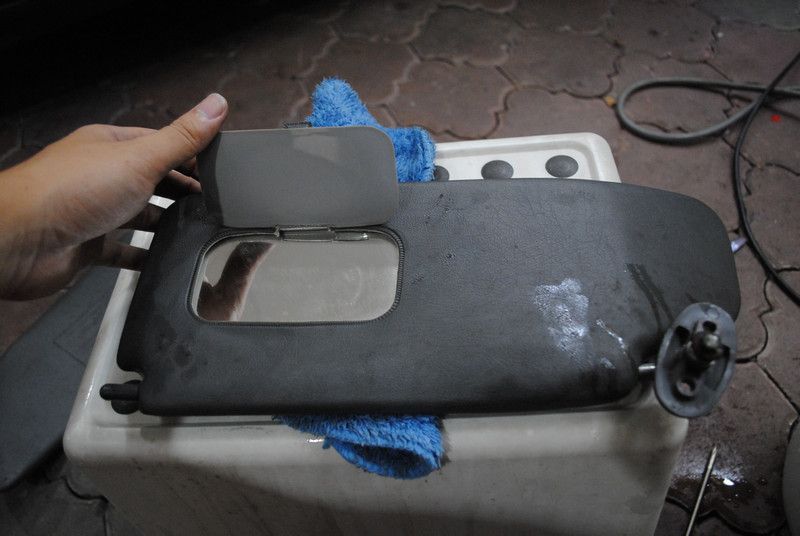
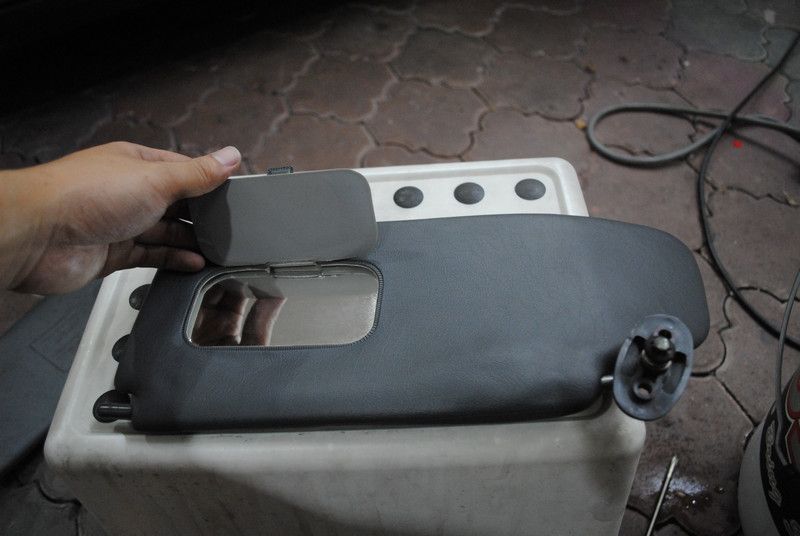
This is the after.... i was surprised as not just the fungus is gone.... the 20 years of dirt is gone and it exposes the real color of the interior
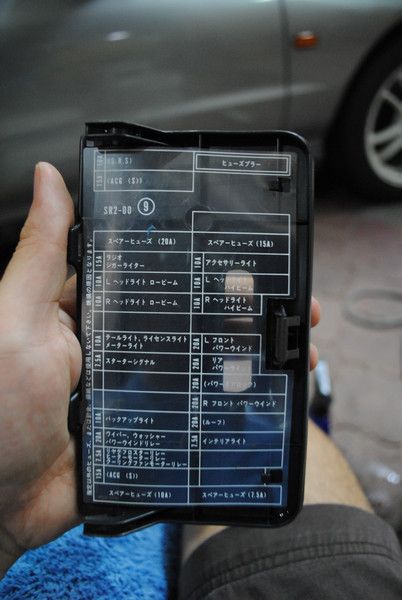
Some jap words...
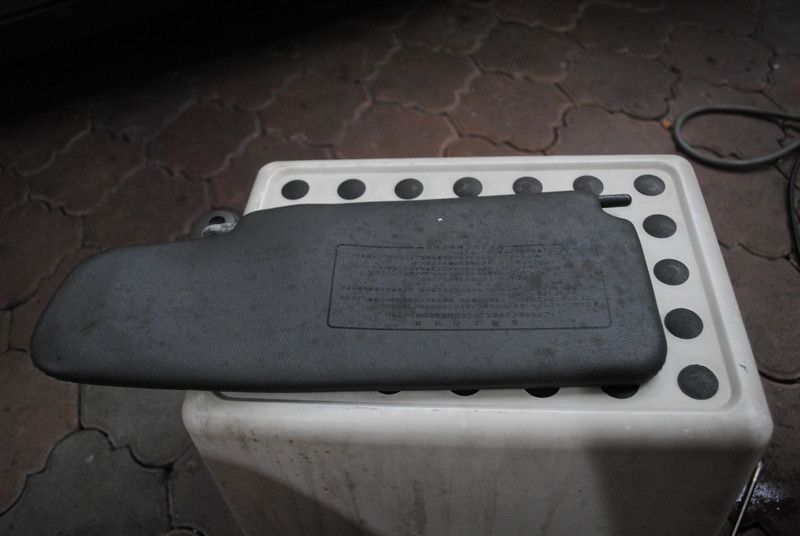
Cleaned?
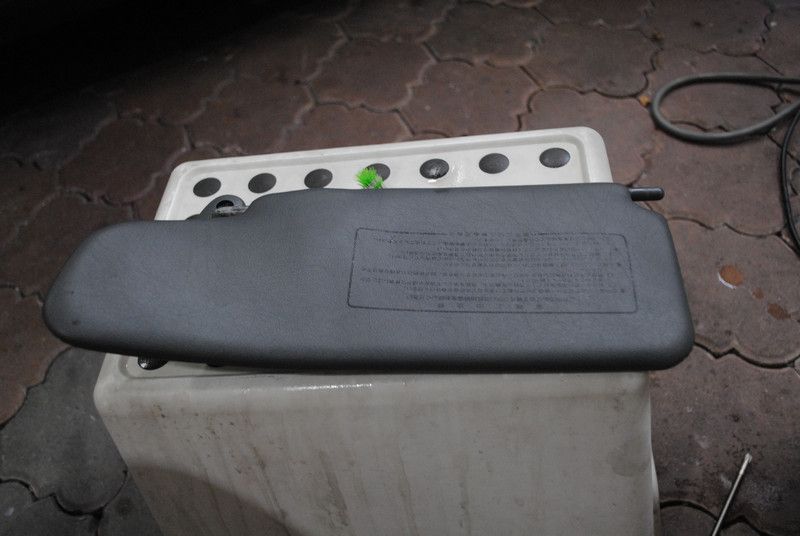
Yes, its clean but i just dun understand what it written
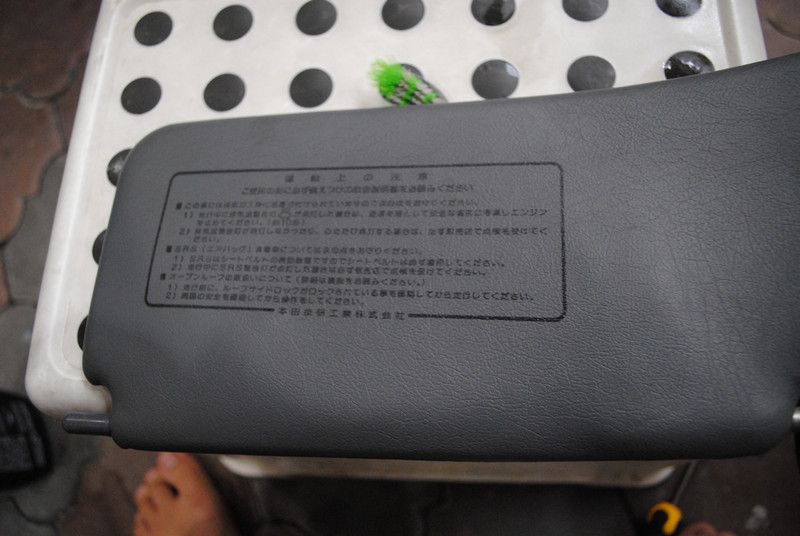
Can someone help me translate this.... looks like the instructions to remove the roof.

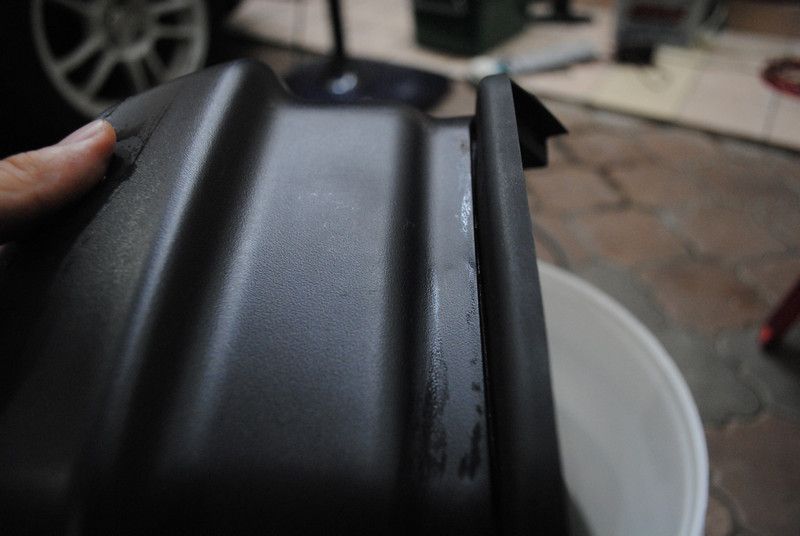
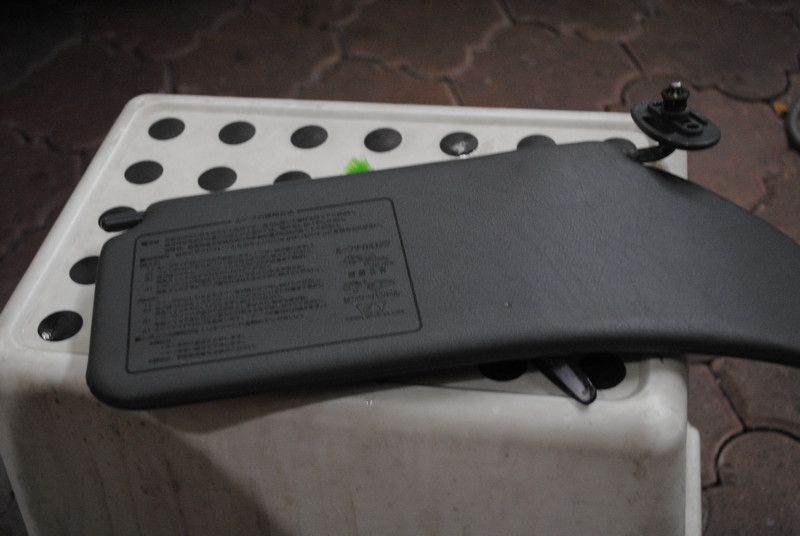
Final shots of the head thingy before you guys get bored.
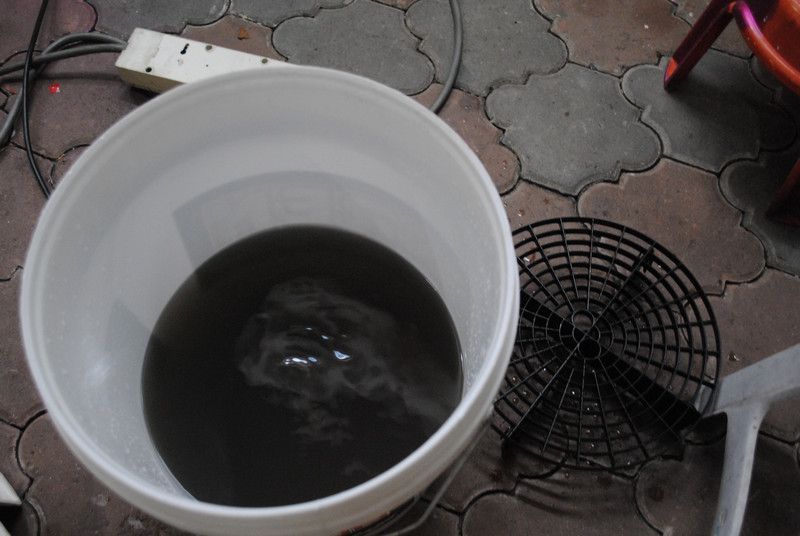
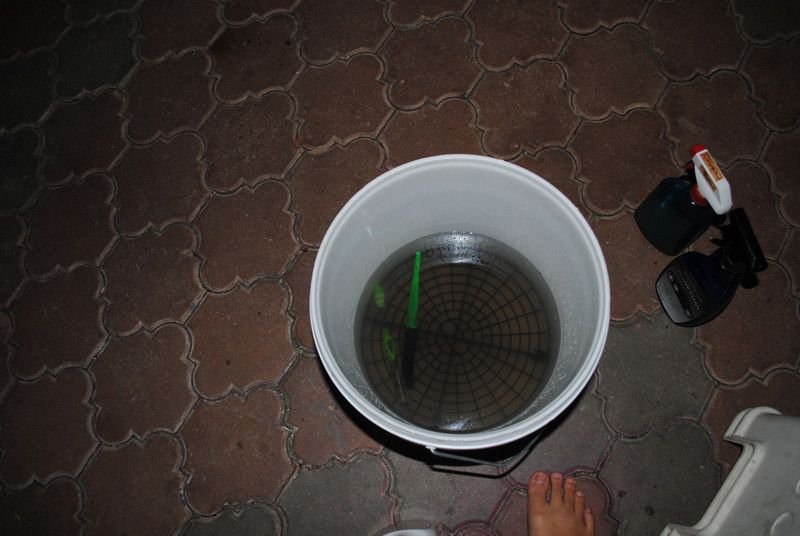
This is the amount of dirt taken out...... in the items you just saw. I took the grit guard out so you can see its not because of the gritguard that the water looks black... its because the water IS BLACK.
This is from another day already.......
The door panel lights.... pretty dirty after 30 years so I took it apart to clean
Can you see the difference?
Even the door handle small small gaps has dirt
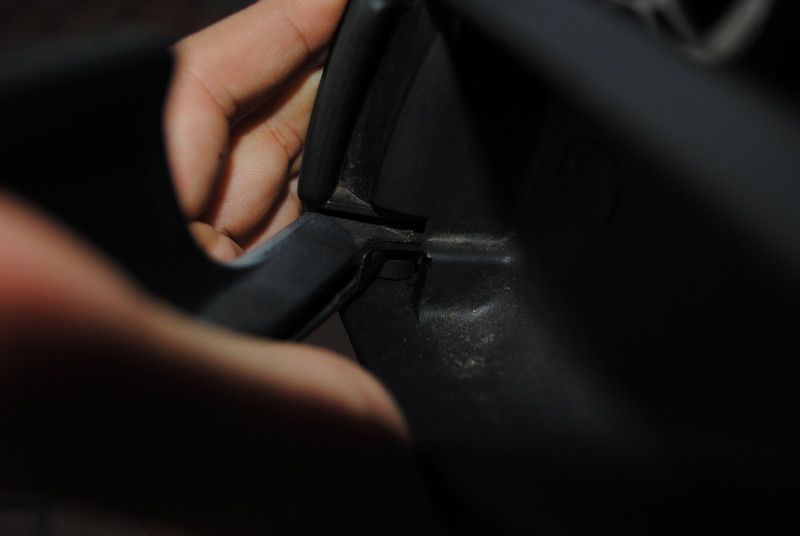
Which is now gone....
Some of the air cond vents
Not a lot was cleaned so the water still is a bit transparent
OKAY, another day comes and its time for the more serious stuff......
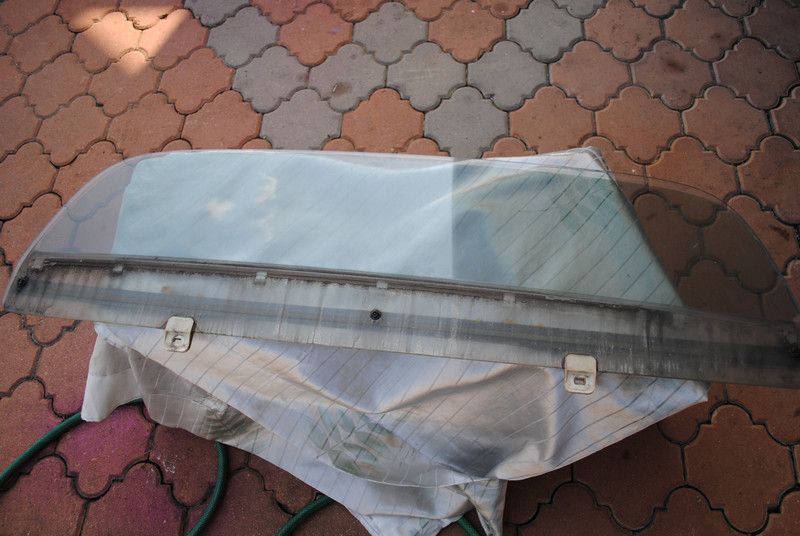
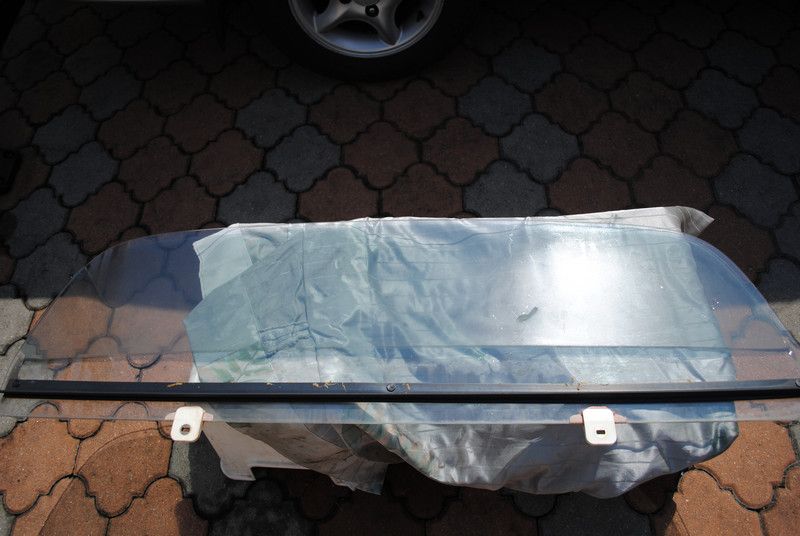
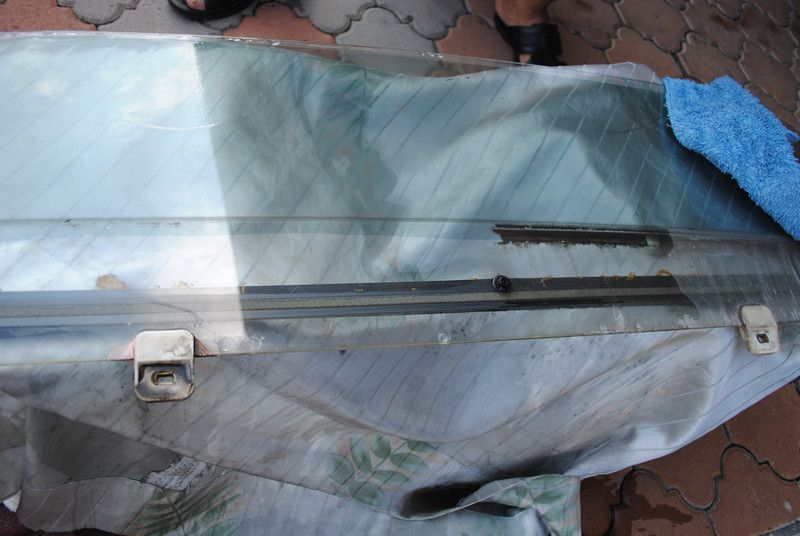
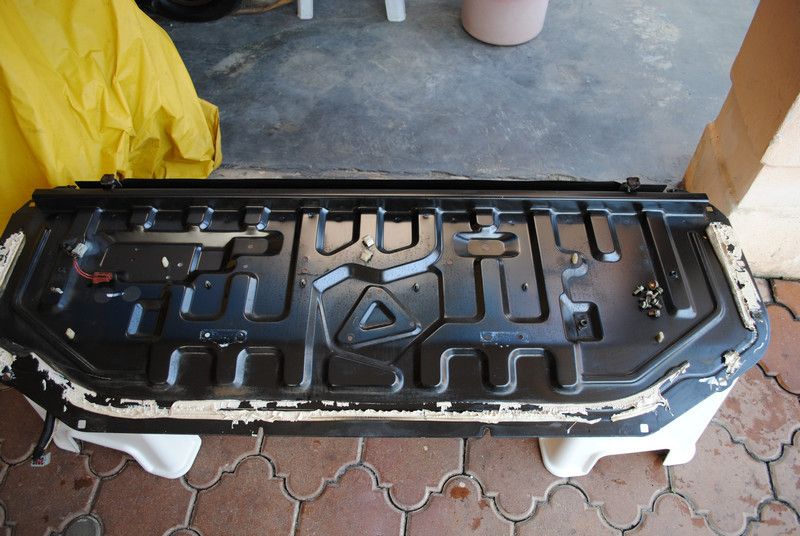
Took out the rear panels to expose the rear window and its mechanism.... had to do it as the motor is no longer working.... for now.
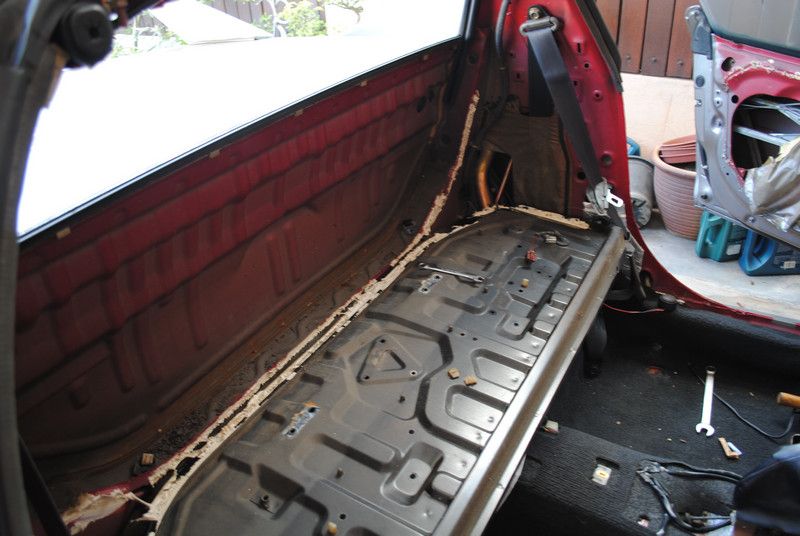
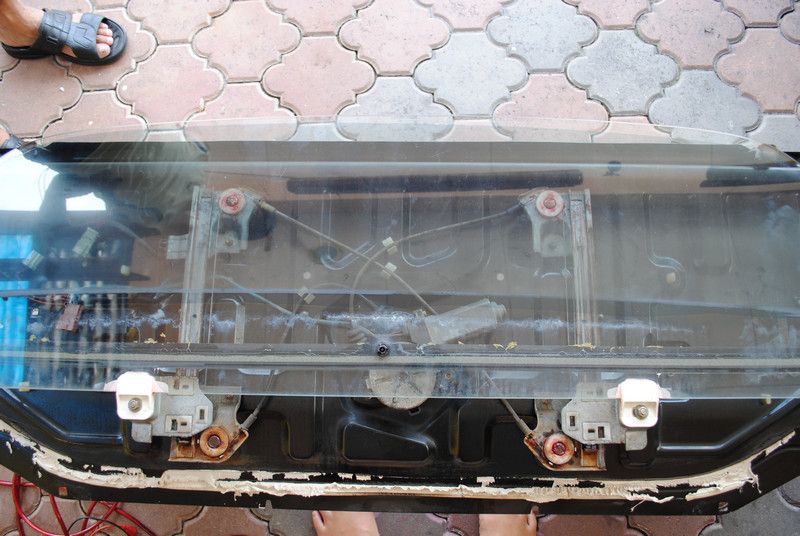
DIRTY glass...... to be dealt with later.
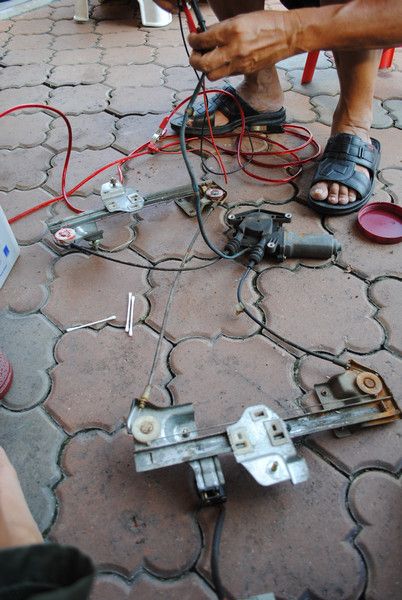
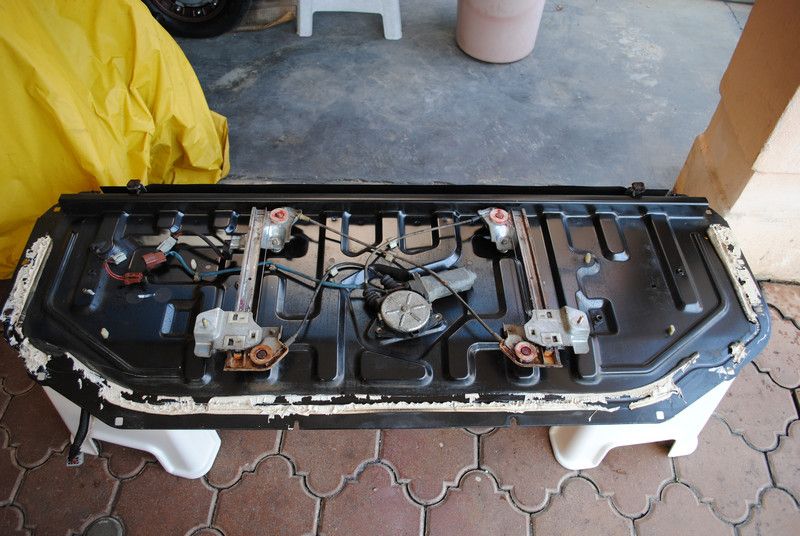
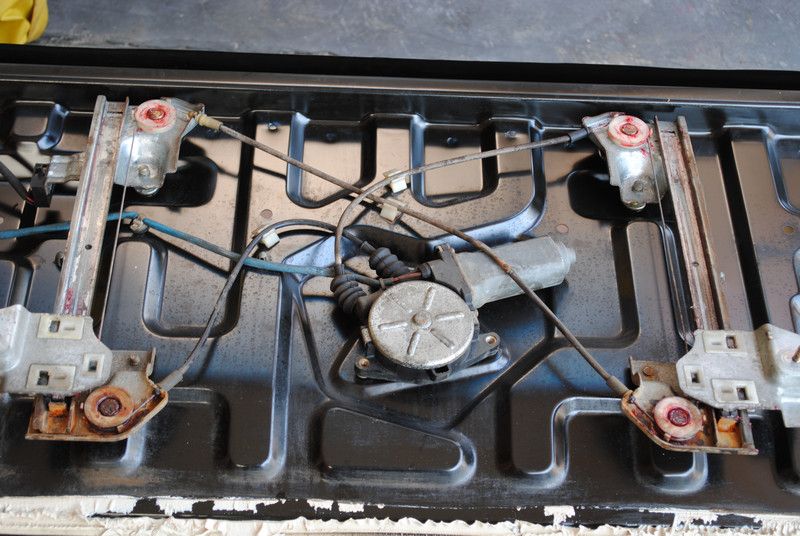
The motor that no longer works
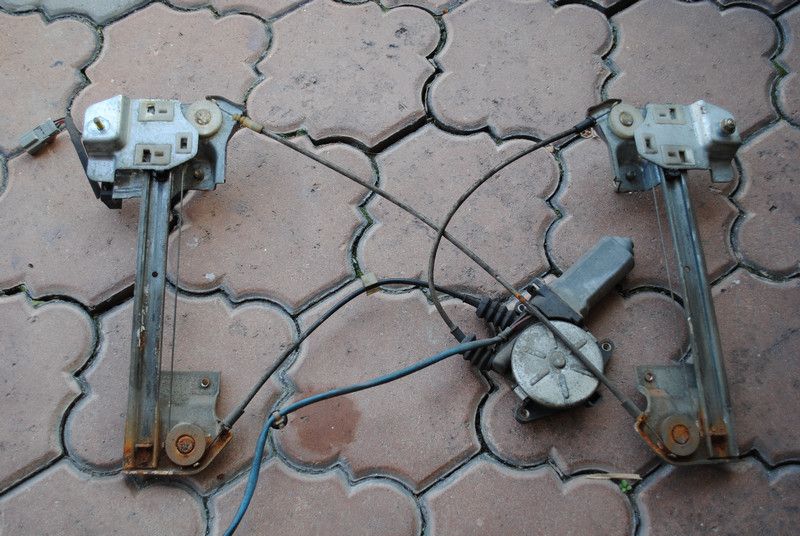
Pretty rusted up.... probably jam but its to be expected since it has not been used for about 3 years...
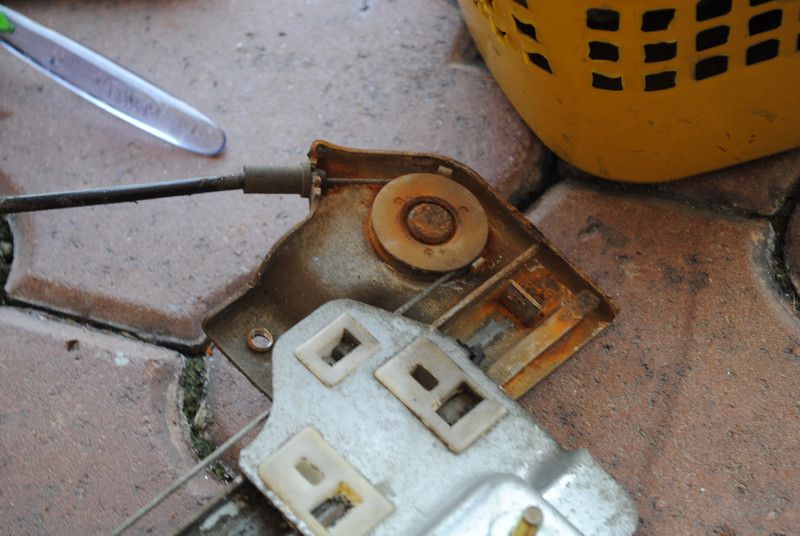
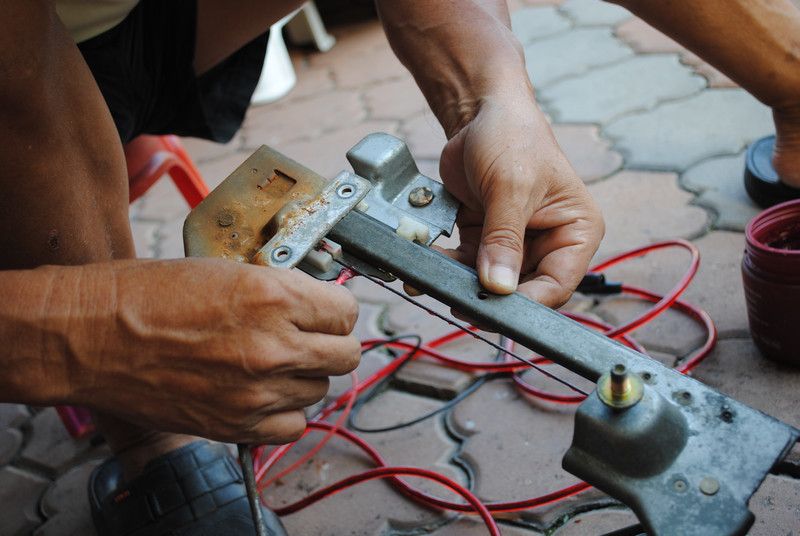
My technician insisted on helping....
If you have the memory of an elephant and the eyes of an eagle, you would notice that the bracket has moved from the earlier position.... which means......... ITS WORKING AGAIN. Will tell you guys how it got fixed in the notes section at the bottom.
Since its out.... might as well grease the whole thing...
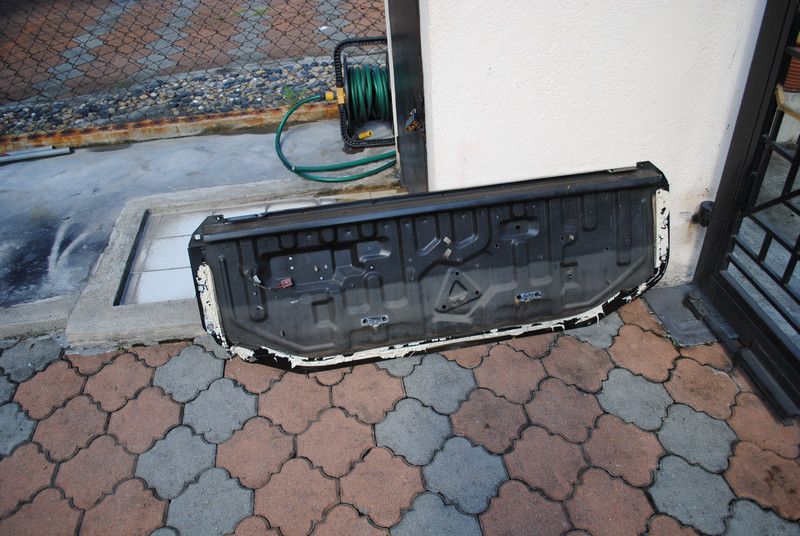
The rear panel..... that houses the motor and rear window.... superbly dirty.... by the way, this is not a 50/50 shot...... its just that the lower part of the panel is dirtier than the upper part....
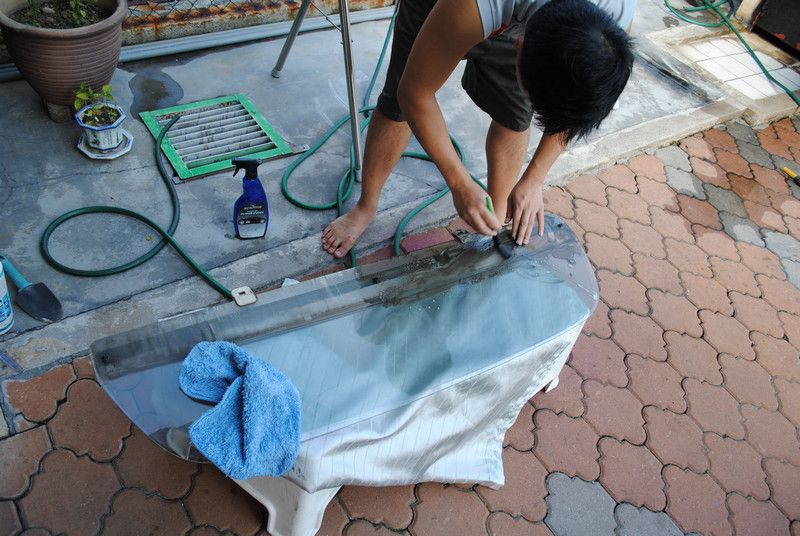
ME.... OPC-ing the glass....... with no slippers.
50/50 of the glass.... nice?
The bracket for the glass...... moldy...
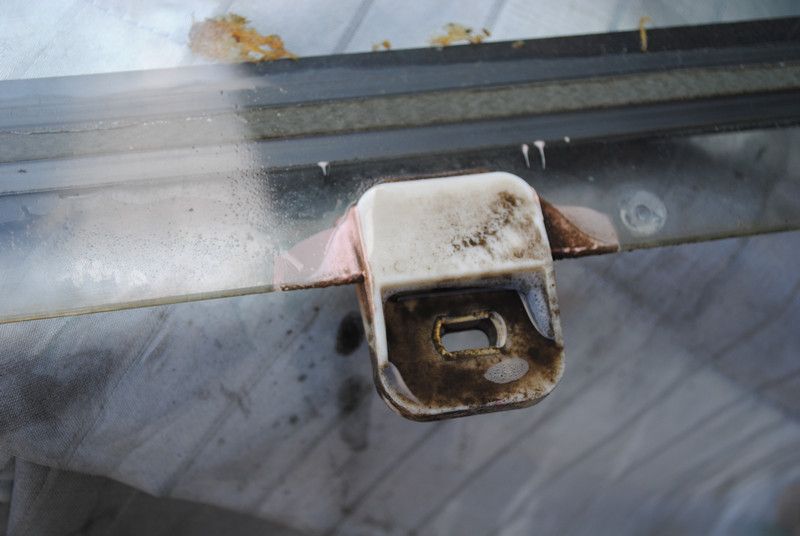
And now.... cleaned.
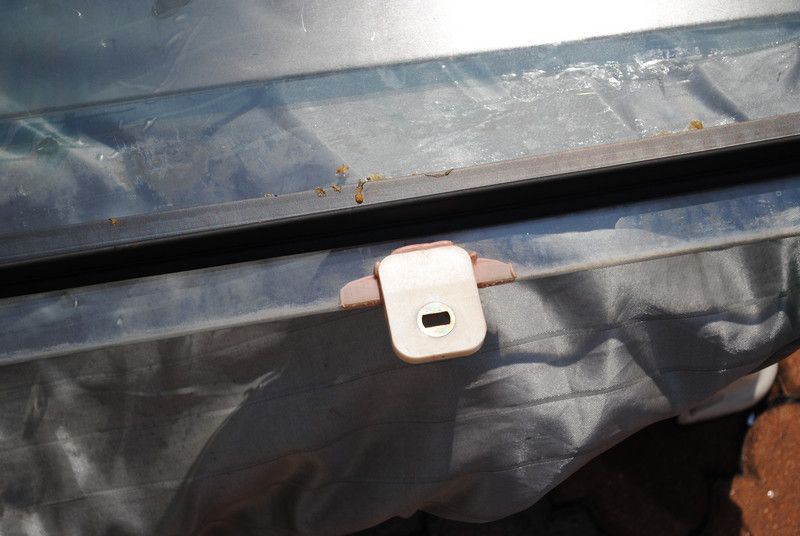
The other side of the glass.... note, the yellow worm like thingy... is just dunlop glue used by the manufacturer to stick the thing...
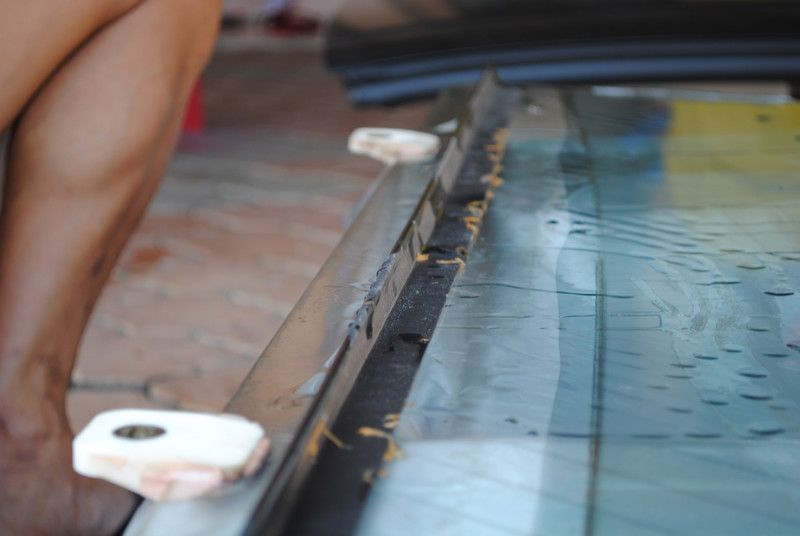
Cleaned..

How bout it.... nicely cleaned glass.
OKAY, sun the rear panel long enough and its super burning hot....
Installed back the rear motor assembly....
The keen eye would notice that I installed this wrongly at the moment. The cable should go below the motor and not above the motor.
So I had to take it out and re-do and installed the glass.
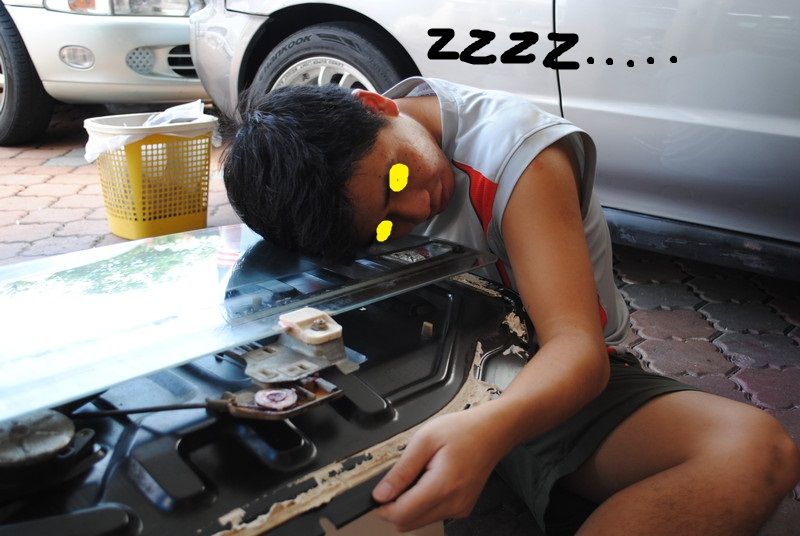
Glass was cleaned enough and the semi legend is so tired that he was caught..... sleeping in his work..... or in this case... sleeping ON his work
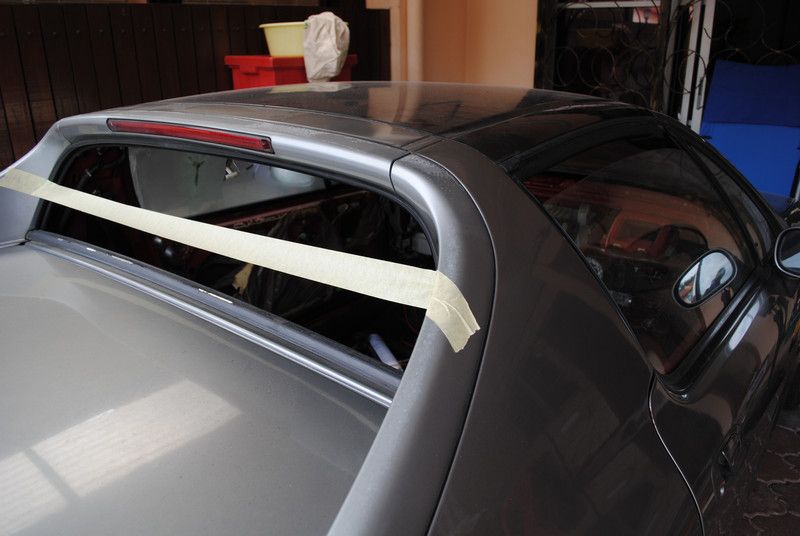
As there are more to be done....... and I am too tired, i put in a no entry tape.... in hope that no cats decide to jump in and pee inside.
Notes:
- The rear panel seriously needs some patience and skills to remove... one wrong move and its bye bye glass...
- most online guide are pretty dumb in assisting to remove this panel.... for example *to remove and replace broken broken, first wind down the window.....*
- I call it pretty dumb as....... how on earth do they expect me to wind down the window when the motor is broken and there is no manual way to wind it down.... donkeys.
-The motor was repaired with.... a spare battery to test it and a screwdriver to knock it..... i guess it just needed to be whacked to start moving again after 3 years in hibernation.
- a 20 year old motor is still working..... compared to a local brand's power window which breaks down every 1 to 2 years.... this is good shit.
Time spend: about almost 15 hours in total span from a few days.
Products used: OPC, passion, brushes, patience, toothbrush, knowledge, cloths, water, ONR.
Satisfaction level.... cannot be determined yet.
Please leave your comments whether good, bad, gibberish, pointless, honest opinion, assistance as it is very much appreciated.