Dark Accoon's 3S Detailing
Why 3S? It is short for Shorts, Slippers and Singlets
I believe the best work can be produced when the person working on it is in the most comfortable attire.
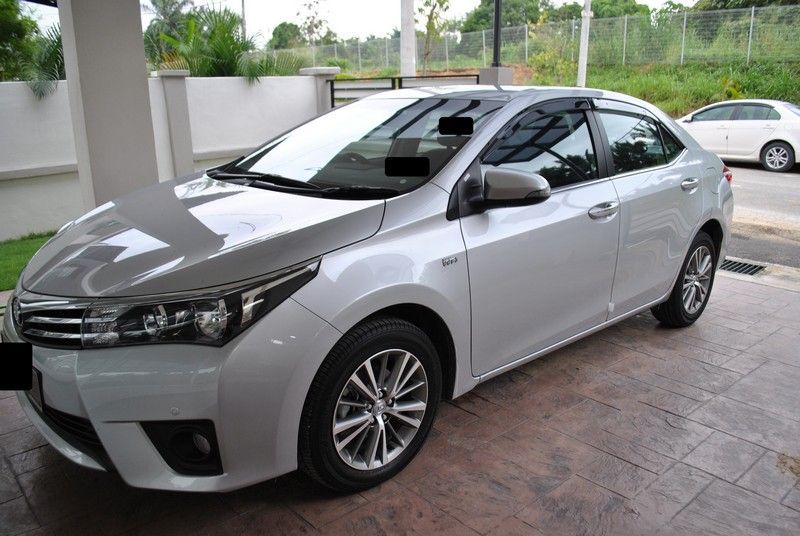
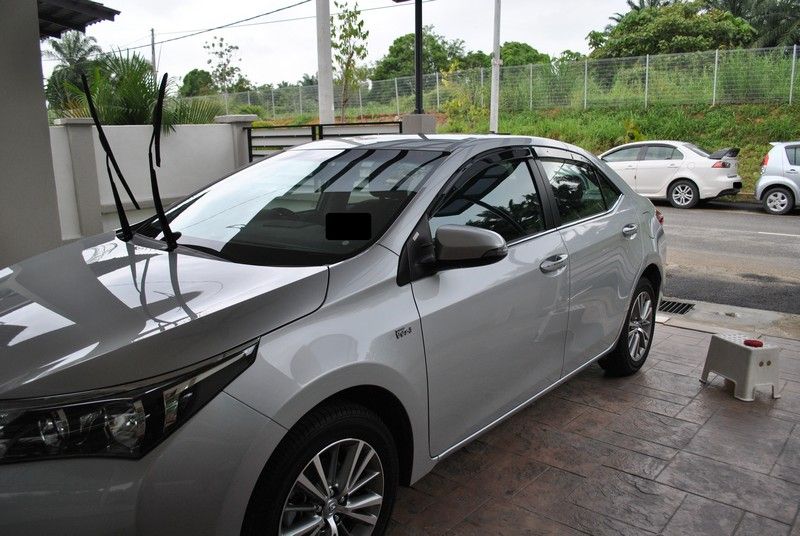
Returning once again with a coating journey I had earlier this year. This time it was a Silver Toyota Altis.
As we all know, Toyota have been producing the Toyota Altis for awhile now, depending on country, as far as I know, it has been named Corolla, Crown and Altis. This here is the latest 2014 11th generation and I would not have expected it to have such excellent paint work.
This is the 2nd Altis I am handling (previously a white one) and let me say that their paintwork was almost(I am gonna say ALMOST) flawless upon delivery.
Now, lets start the journey.....
Car arriving at my place in the morning, was expecting a full day job due to size of the car.
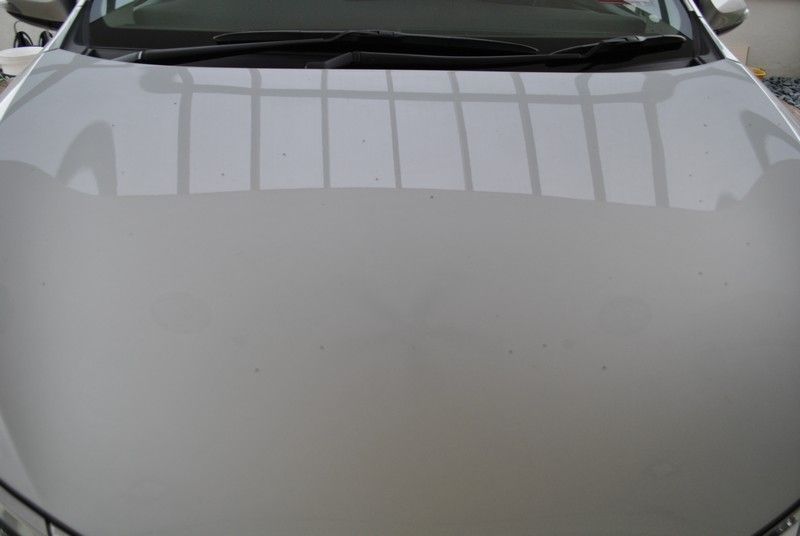
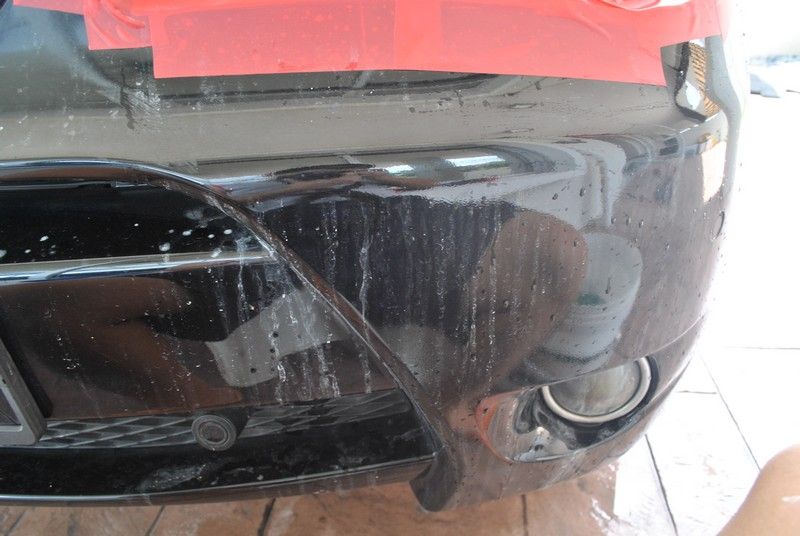
Some black dots on the bonnet.... hmmmm wonder what are those?
Some dirt kicked up while on the way to my cave......
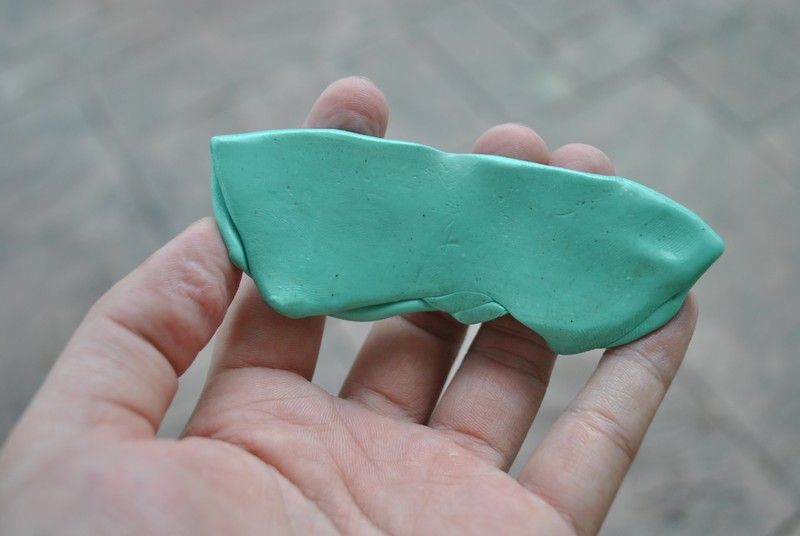
So, after giving the car a nice Osren Bubble & Wax job, its time to clay.... amount of dirt lifted...
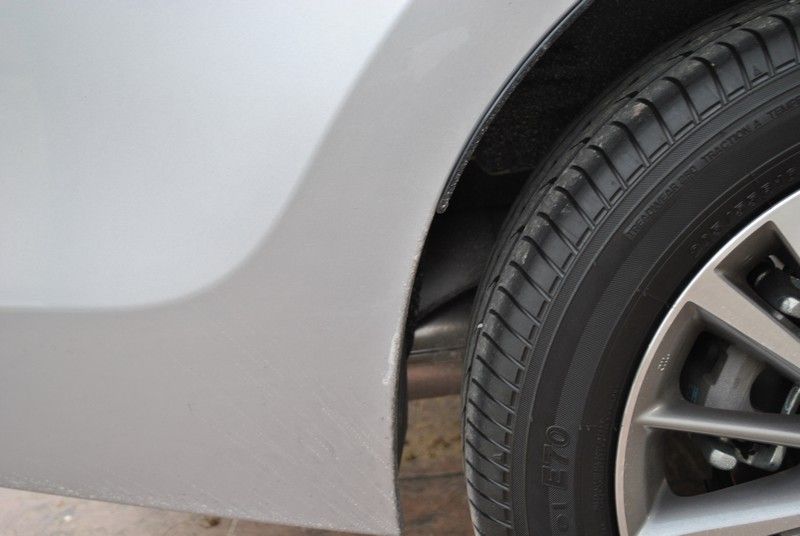
Seriously.... besides a few dots.... there was no tar or any sort of contaminant....
Yeap.... even dirt kicked up...... has been washed.
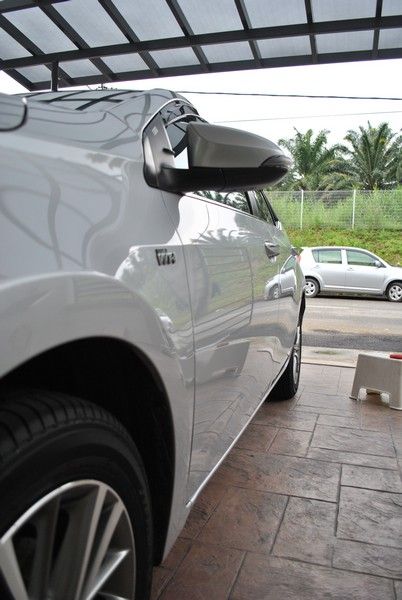
Ok...... finished coating...........
Yes.... seriously.... no drama....btw, that's my wife's car behind
Really..... I am serious.... there is no drama at all...... that is how good the paintwork was..... flawless.....almost.... to be explained below. Btw, that's my white knight behind
Time taken: roughly 6 hours (inclusive of breakfast time and lunch time and lepak time chit chating with the owner on car maintenance)
Products used: Osren Bubble & Wax car shampoo, Osren Perfect Finish, Opti Coat/Guard. Some microfiber cloths and sponges.
Satisfaction level: Pretty good.... I give it 9.5 out of 10. The -0.5 is because I did not had to do much.
Notes:
- The car was delivered to the owner about 2 weeks back before meeting up with me.
- The paintwork as I say.... almost flawless. Only the driver door needed a bit of correction. There were some hologram and was taken care of with just one pass of polishing.The finest polish I got. Did not even have to go aggressive on it.
- Work was completed way faster than expected even though it rained.
- Black dots on the bonnet was just dirt
Friday 7 November 2014
Hi All,
Now I return with another journey of interior cleaning and a bit of cataract removal.
Before I start, let's just say I found a video of how NOT to clean your interiors.
So.... if it is not cleaned by using a pressure washer..... how should it be cleaned??? More of that coming right up.
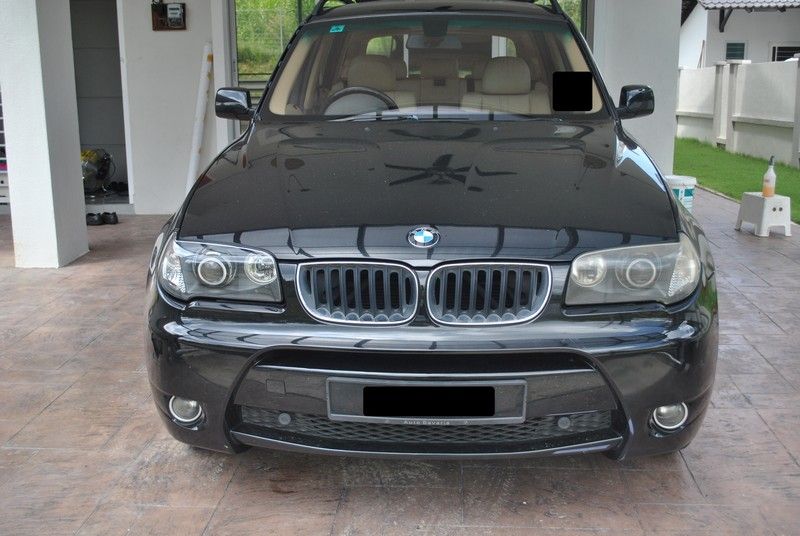
So,.... car was delivered to my place in the evening
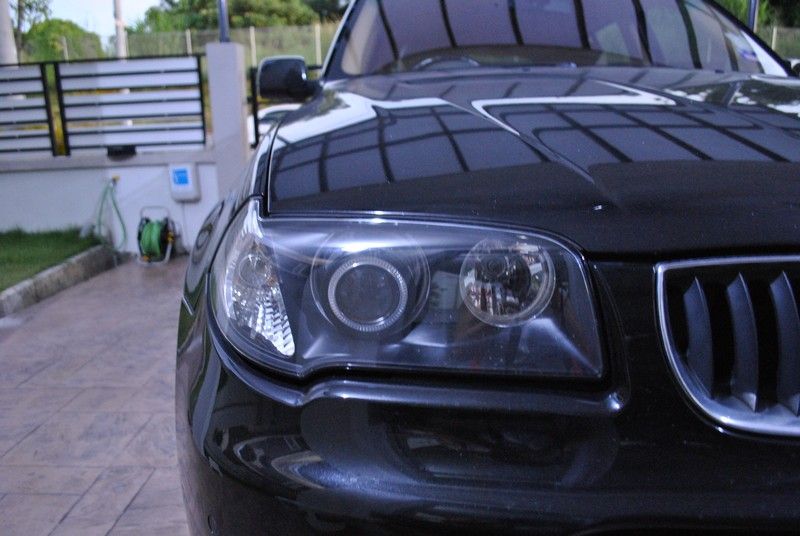
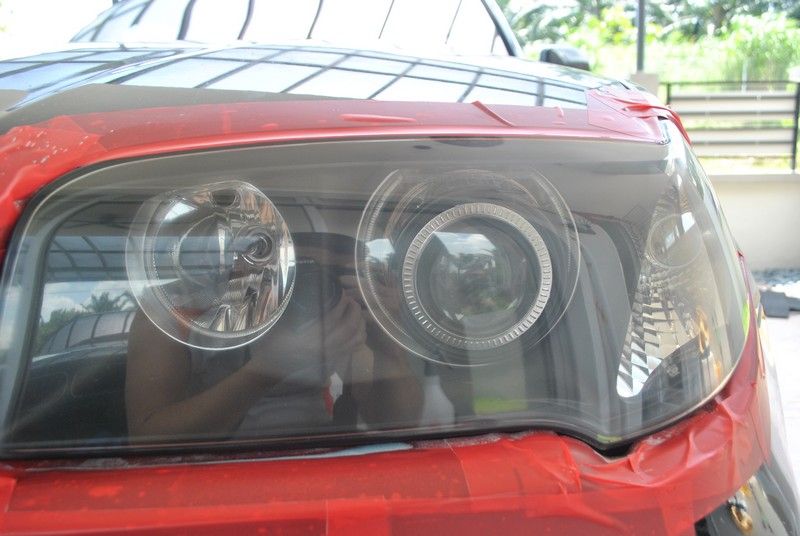
A little look on the right side headlight and it looks all dandy and nice.
A little look on the left side headlight...... not so dandy..... we will return to this later.
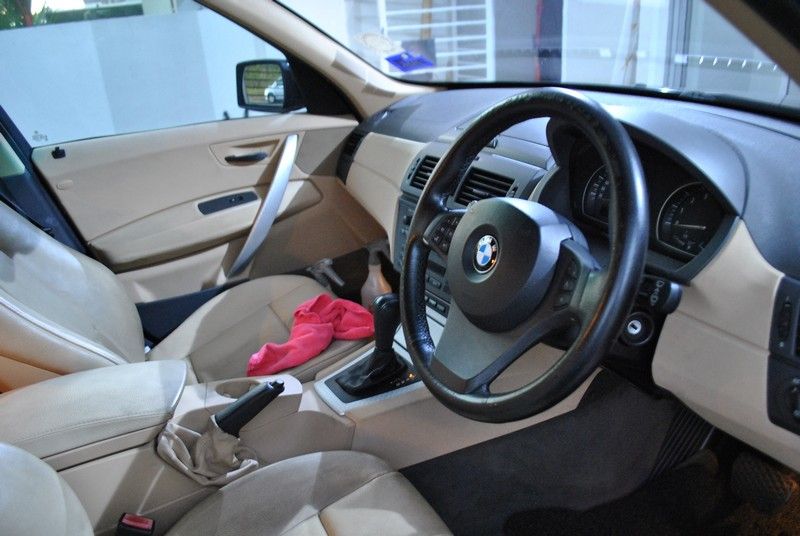
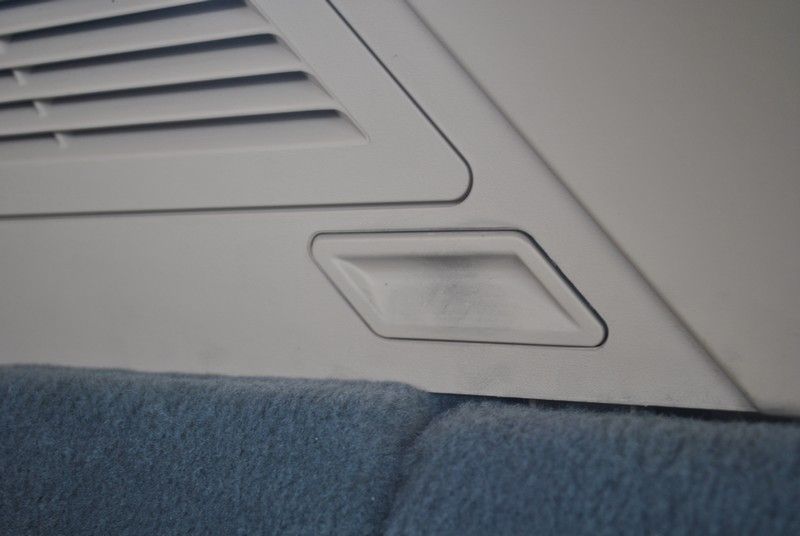
Sneak preview of the interior which I managed to snap at night before I started working on them the next morning. Looking pretty decent..... I hope.
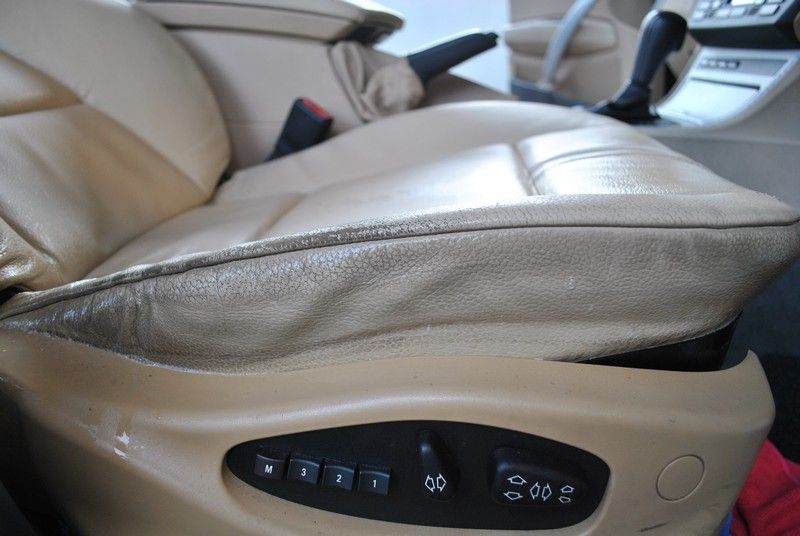
Seats seems "a bit" messed up
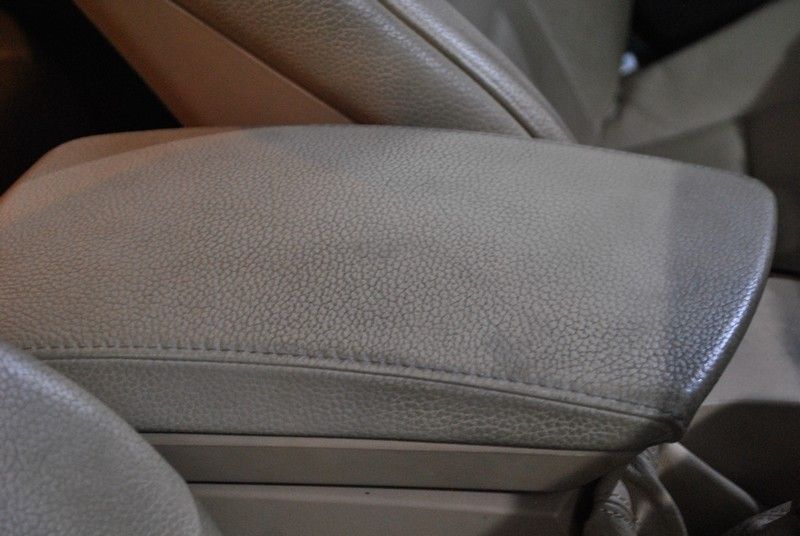
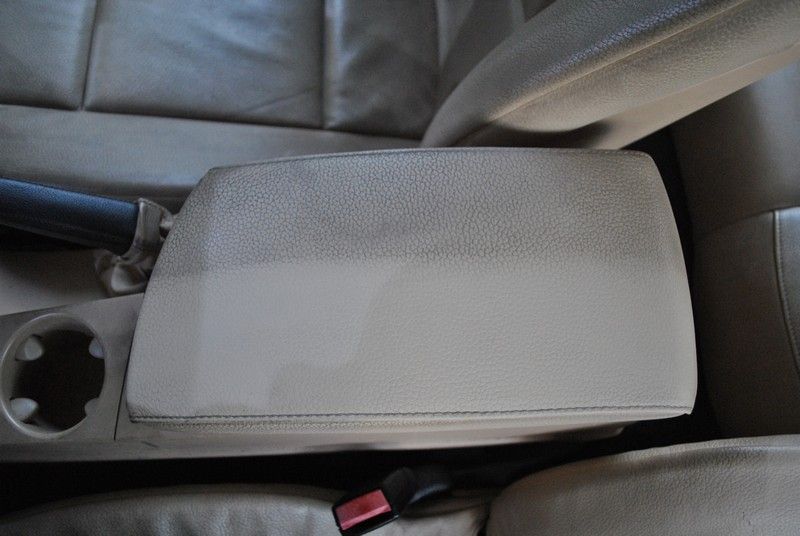
Armrest looks like it has seen its fair share of.... oily arms.
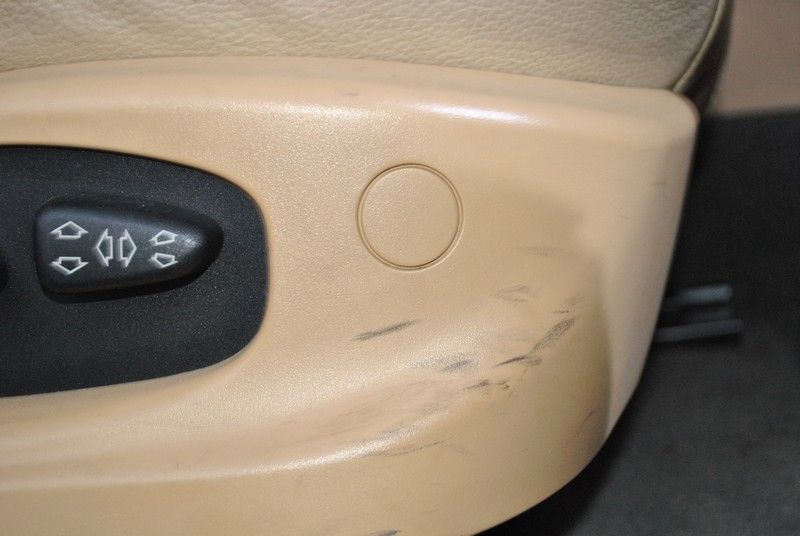
Driver side underseat gets kicked a lot.
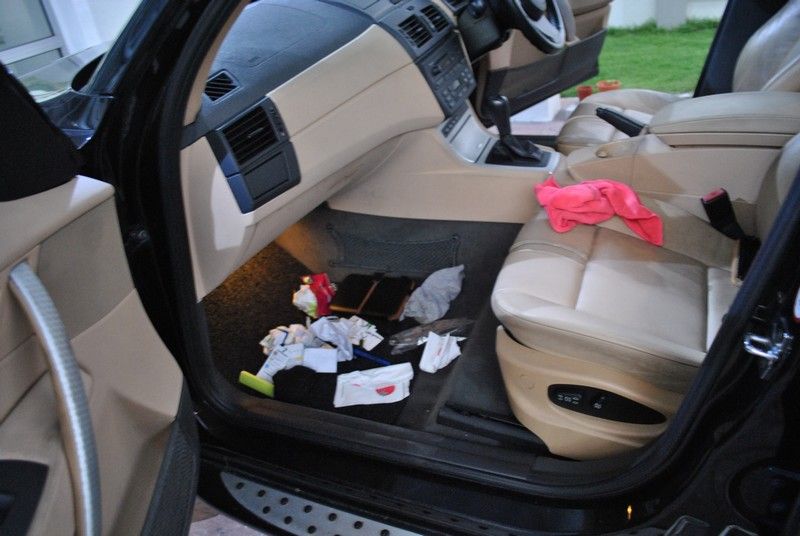
Amount of rubbish found inside the car......
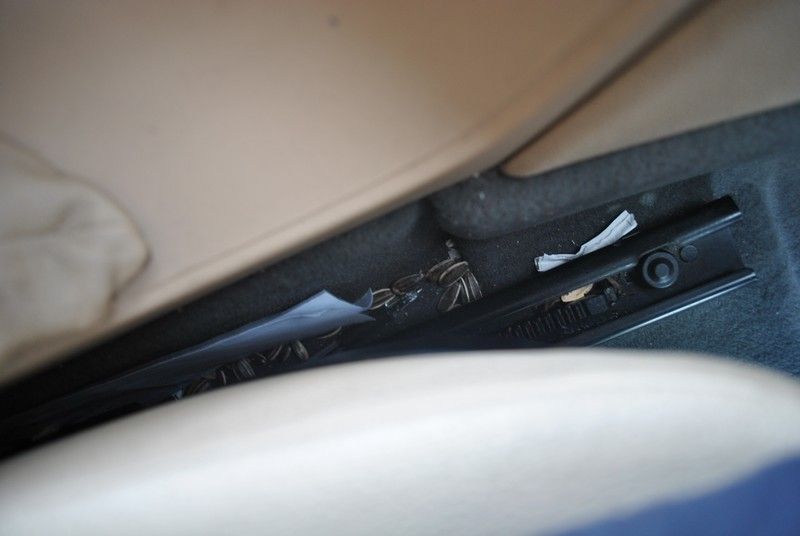
Some kuaci seeds found in the gaps....... maybe the owner wants to plant sunflower in the car?
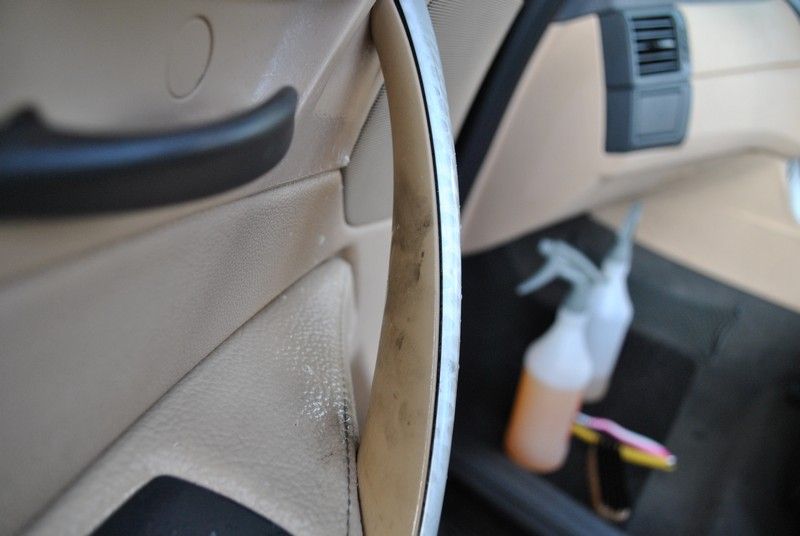
After being touched and molested by hundreds of passengers... it is obvious the door handle would look a little like this.....
So.... next morning, woke up at 6am to start my work..... first victim... da handrest
Followed by the seats..... will have a step by step guide below...
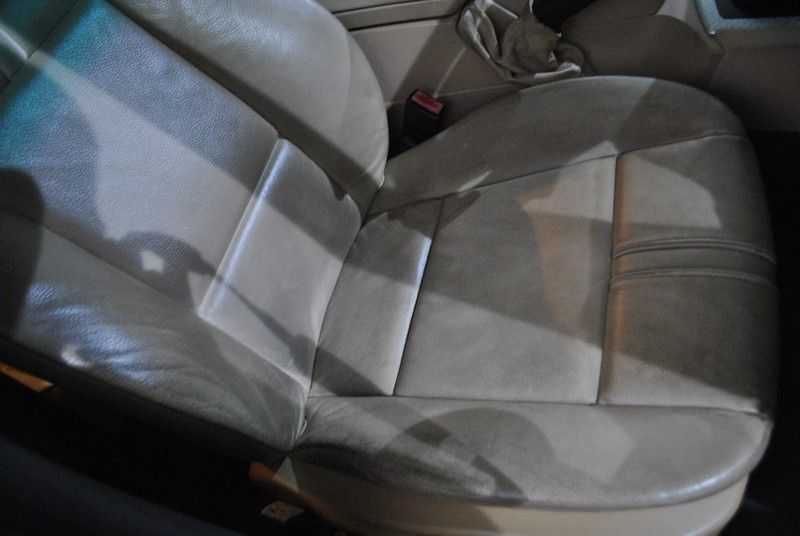
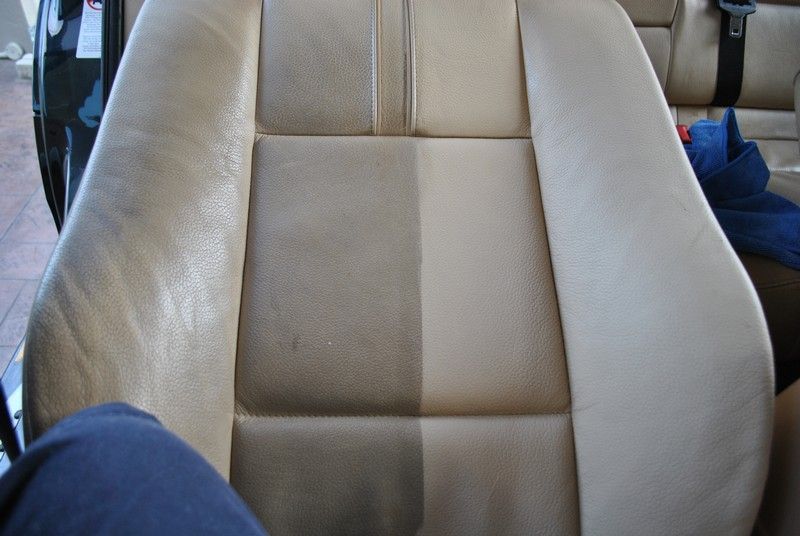
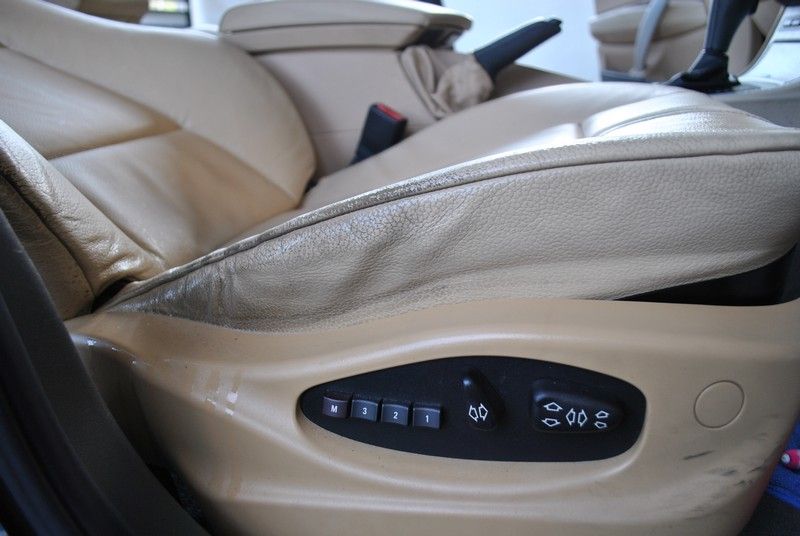
See the side of the driver seat before
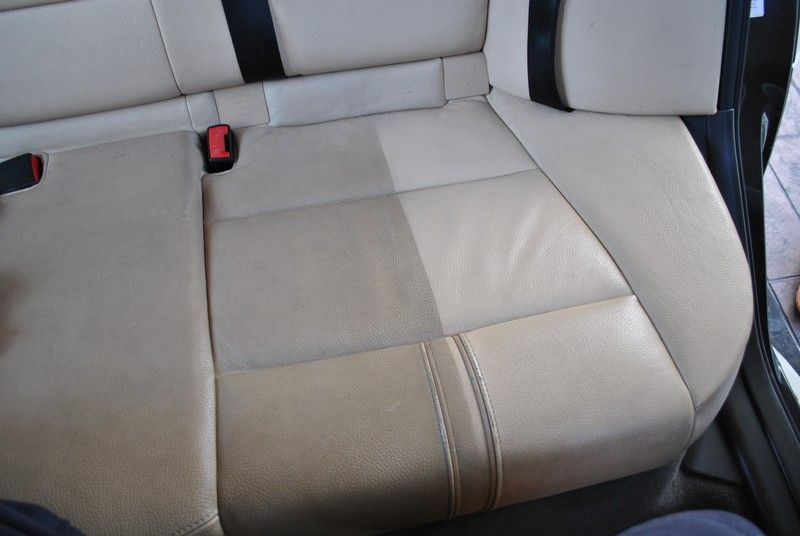
Now see it at 50/50...... can you tell which part was cleaned?
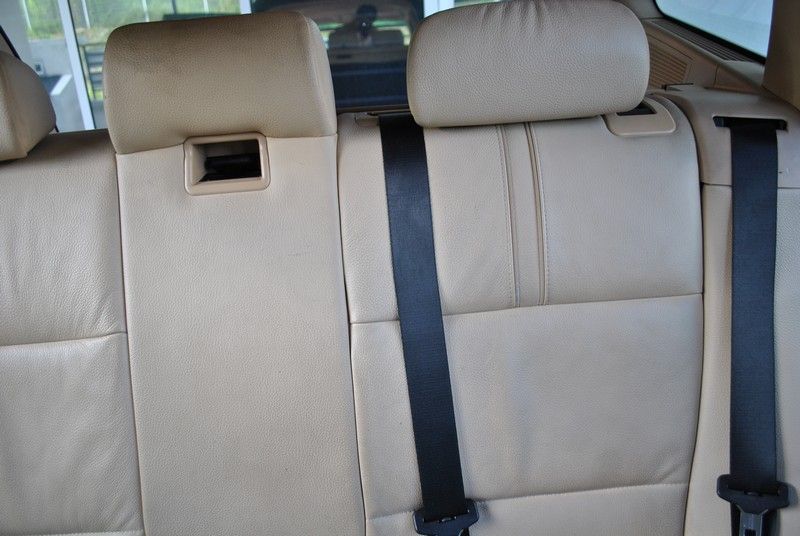
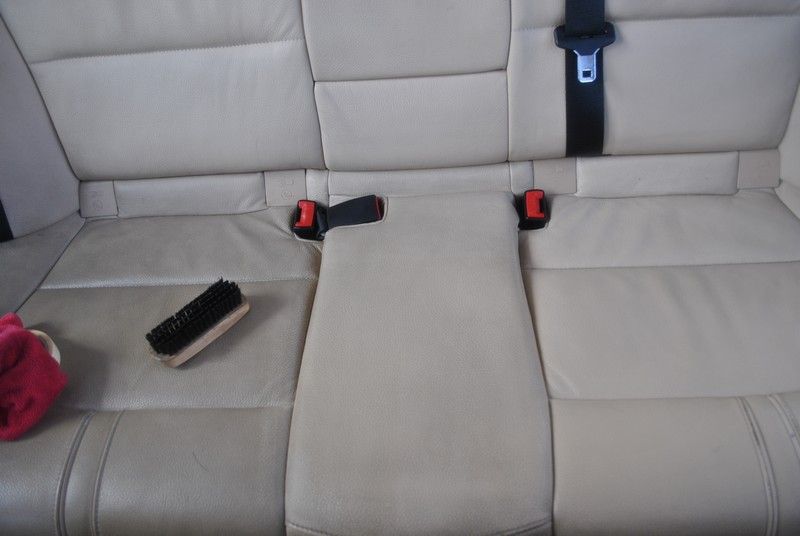
Now the rear seats looks kinda OK .......
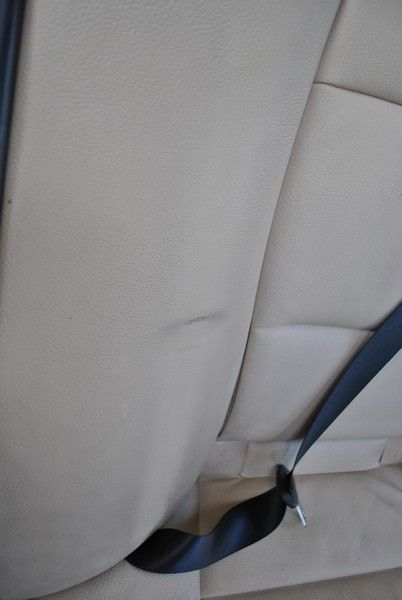
But if you pull off the seat belts.........clearly the passengers do not use the rear seat belts at all.
If not used for an extended period of time and get squashed by people.... the belt buckle is sure to leave these kind of stains.....
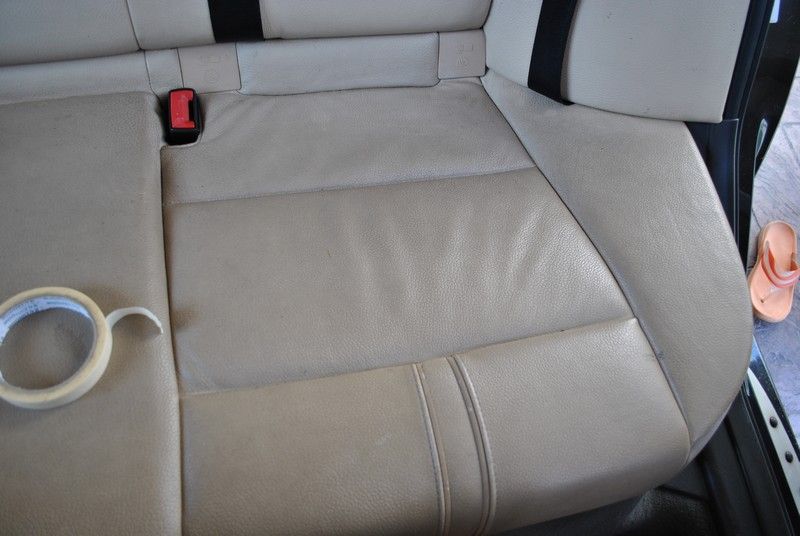
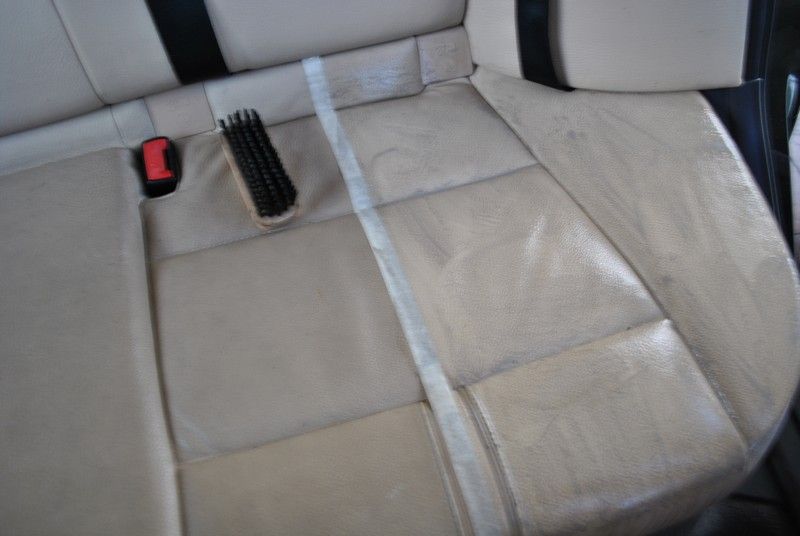
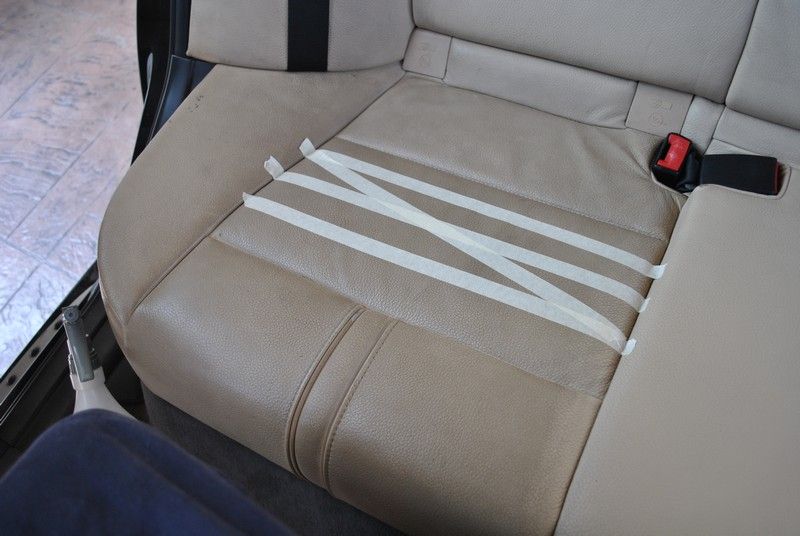
So now.... tutorial time.... see the seat.... looks pretty decent? Is it cleaned?
Now, tape off half, OPC 1:5 (normally for leather cleaning I would use OPC 1:8 instead but this job requires tougher, stronger and more power). Agitate with shoe brush....
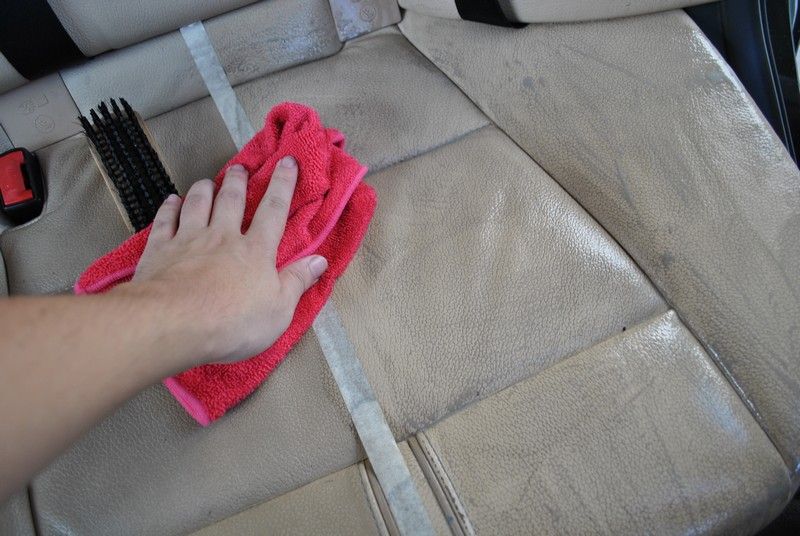
Now.... wipe it off.....
Still wiping it off.........
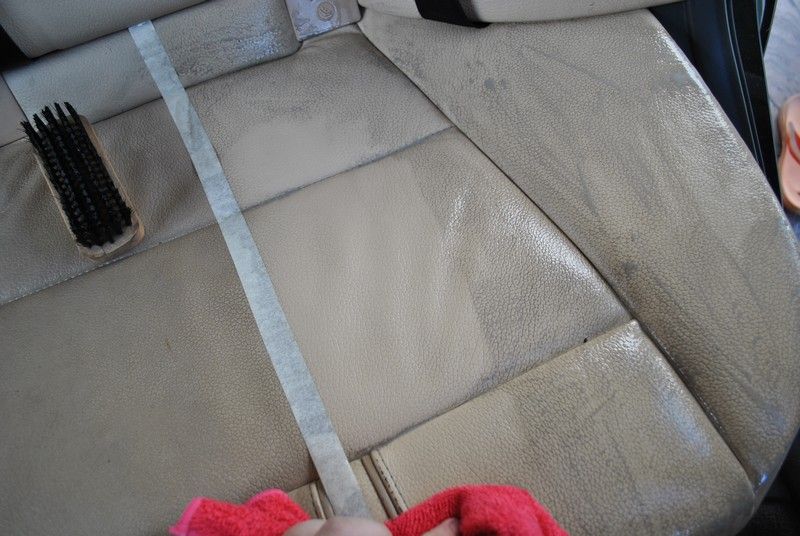
TADAAA.........which side do you want your butt to rest on now.
Can you see the vast difference.... truly a good analogy of saying.... "The grass is greener on the other side" but in this case...... The leather is brighter on the other side.
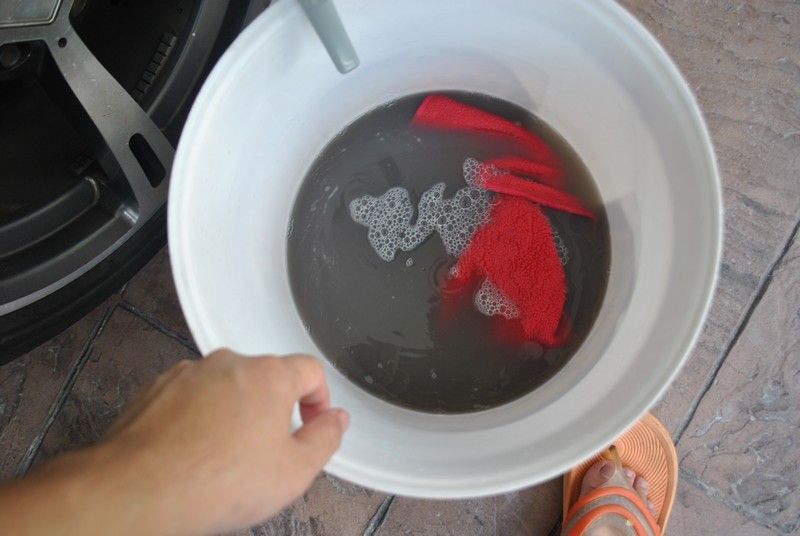
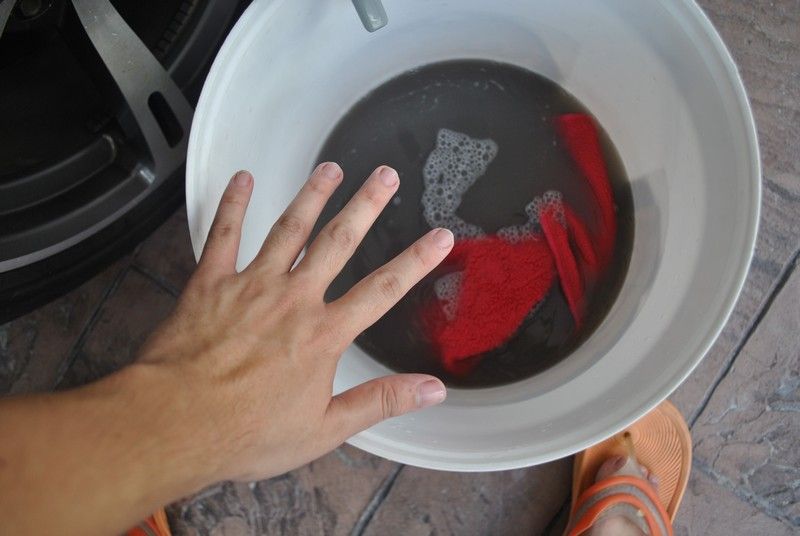
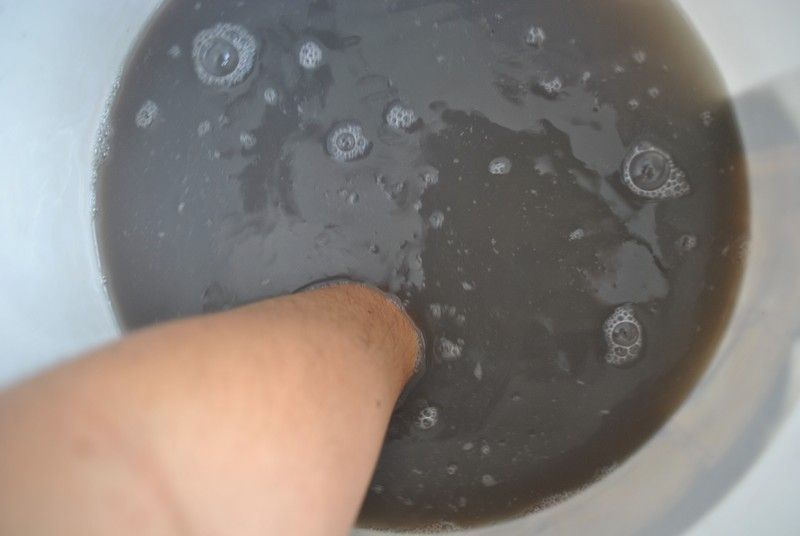
So from the rear seat.... how much dirt did we lift off?
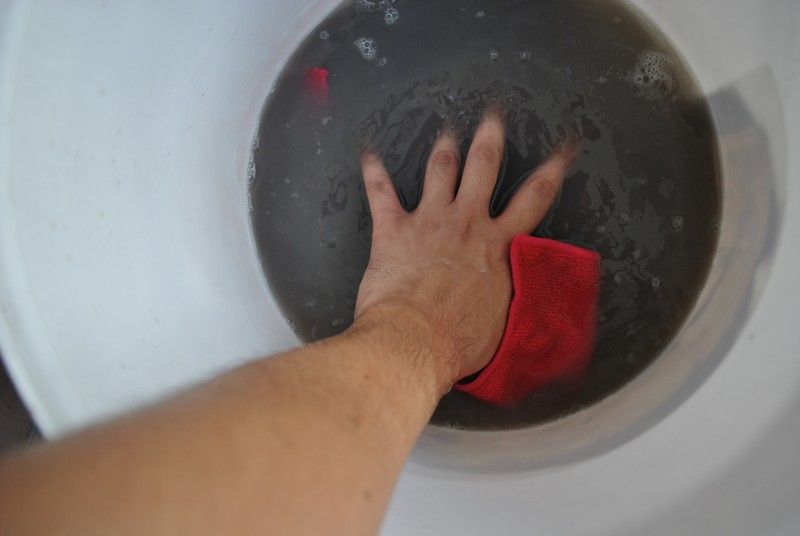
See my hands.... i am gonna do magic
TADAAAA......... my hands disappeared!!!!!
TADAAAA again.... like Houdini..... my hand reappears.... with the red micro fiber....
So...... we shall officially condemn this seat.....
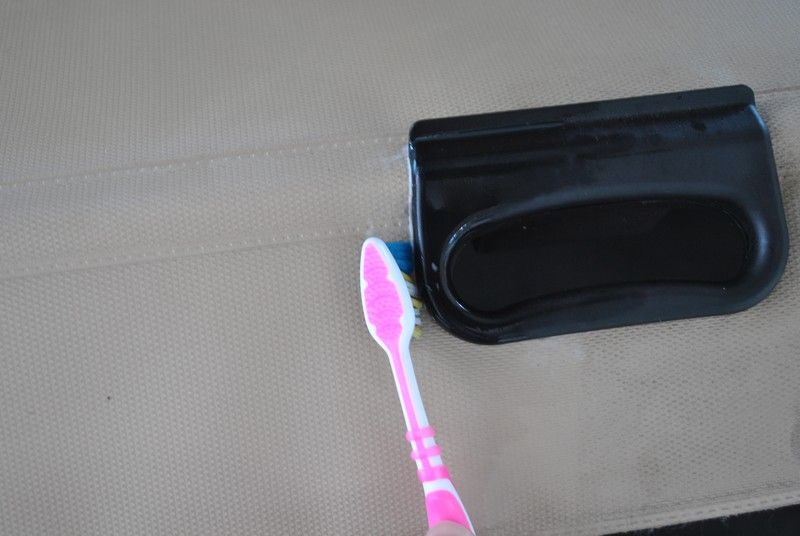
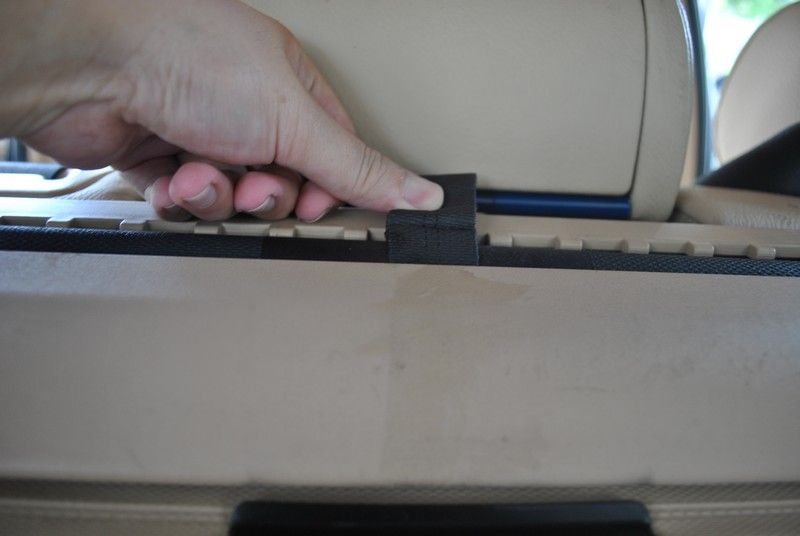
Even small gaps should not be spared......where is it that I am mentioning?
Obviously the small little gap here..... yes.... that was my old pink toothbrush....
On harder and less touched surfaces.... the 50/50 is not so obvious...
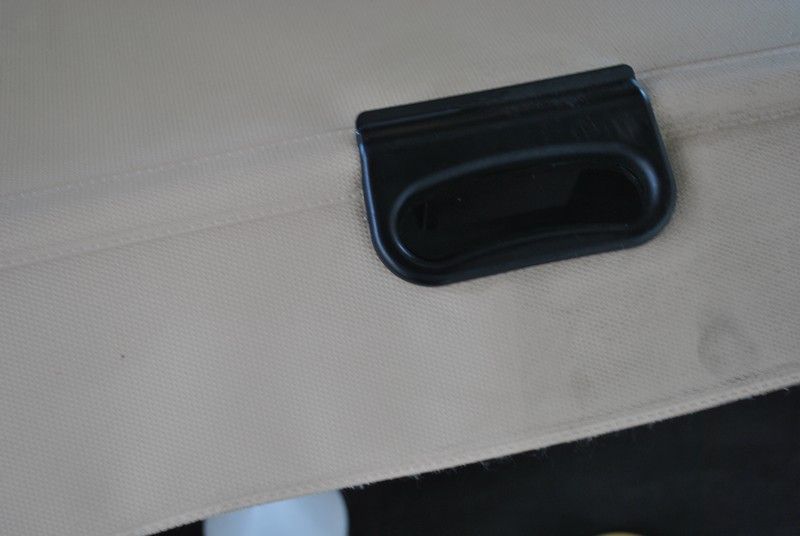
This part of the boot......
NOOOO, OCD me cannot stand...must clean....
Ok, That's all for the interior cleaning..... now lets move back to the headlights...
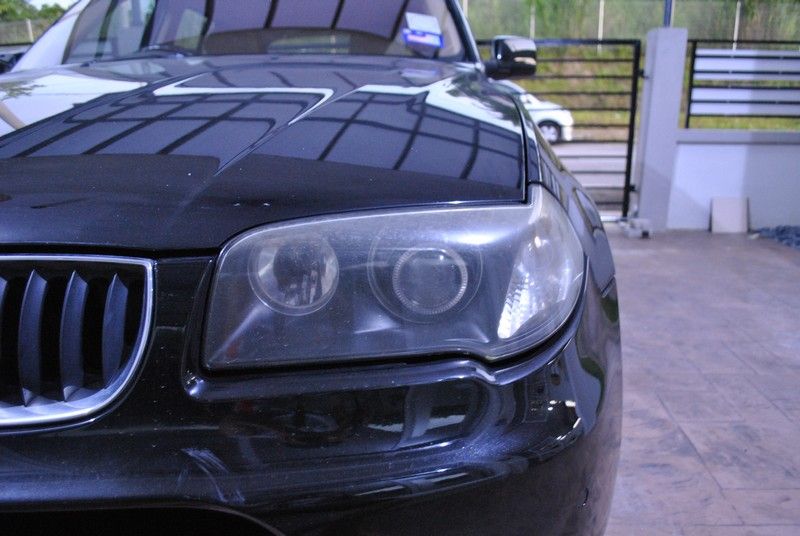
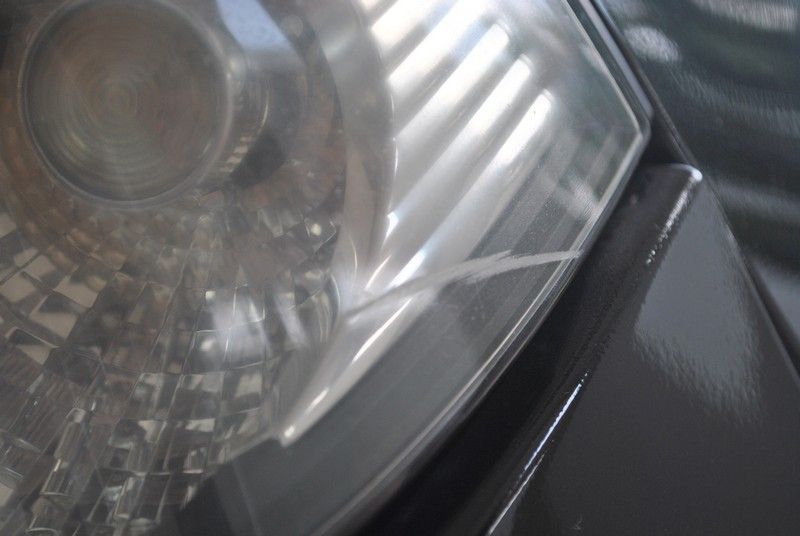
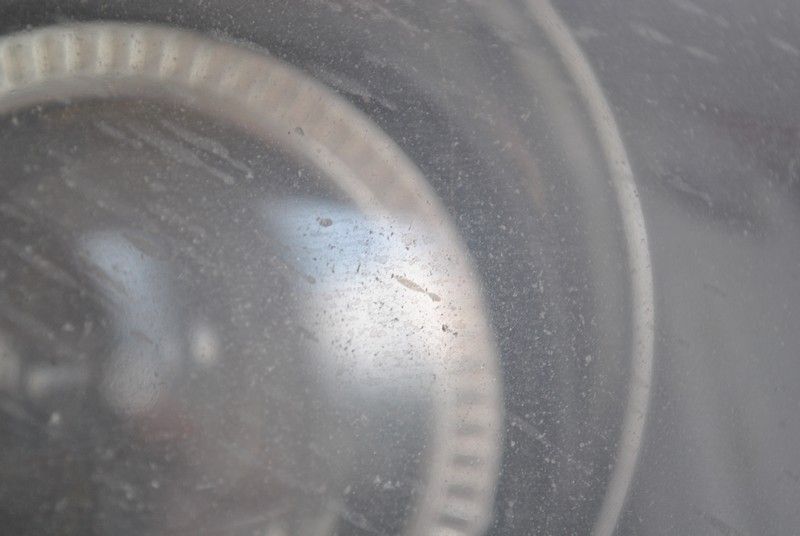
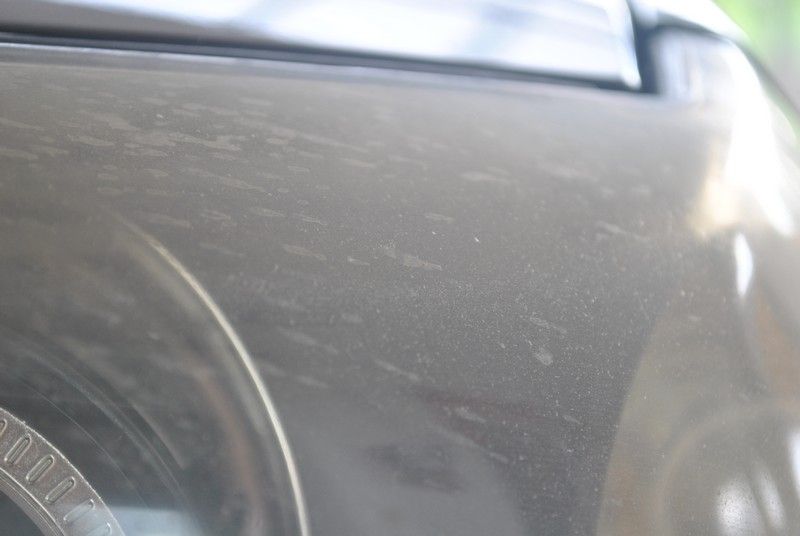
Closer look at the left headlight...... some scuff marks....
Besides the common oxidation....a lot of pits from small stones and pebbles....
Some weird water stain marks...
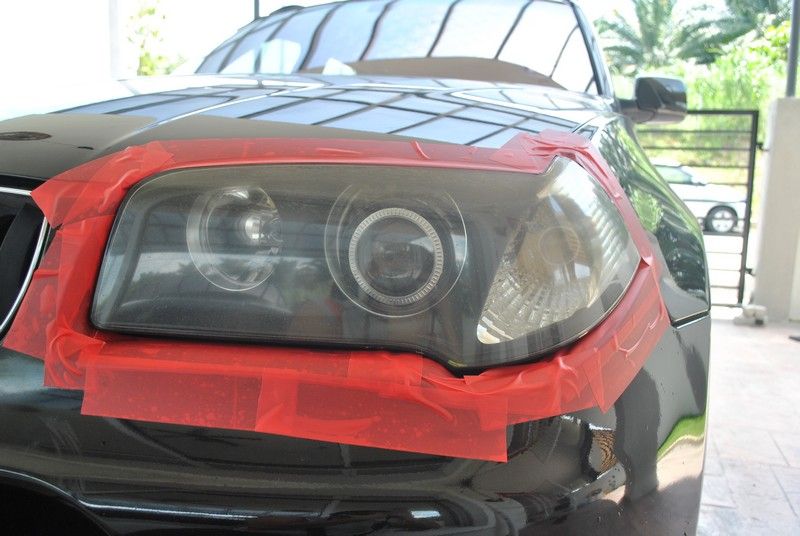
So we prep our patient for cataract removal....
After sanding for awhile with 1000 grit followed by 1500 grit and then finished with 2000 grit.... evenly hazed up
This is the amount of plastic I took off from the headlamps..... meaning to say one can only do headlamp restoration a limited number of times... so do it properly each time if you want your headlamps to last.
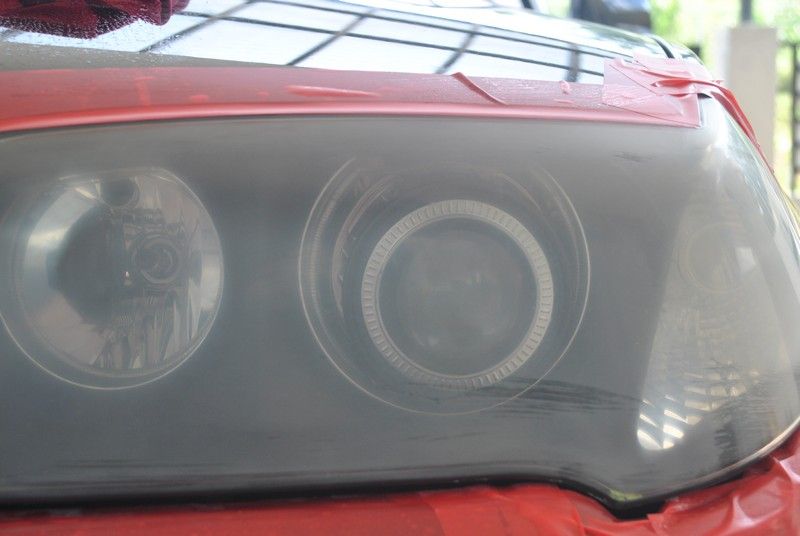
Now.... results... after compounding and polishing the living daylights out of it......Compounded with wool pad + hyper compound and finished off with Double sided sponge pad + Osren perfect finish.
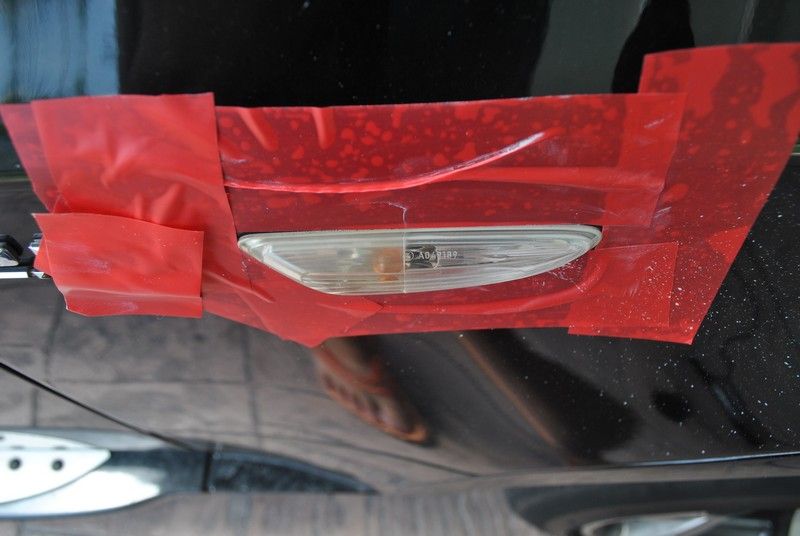
The side blinkers were given......... with these results.... try and guess what I did?
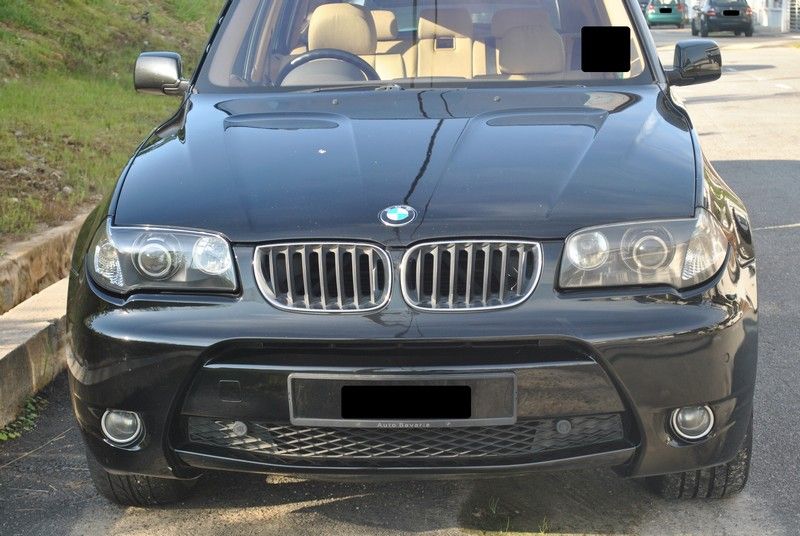
A final look at the headlamps before delivery to the owner....
Time Spend: 13hours or so.....
Product used: A lot........
Satisfaction level: Exterior.... not so....Interior.... EPICLY satisfied.
Note:
- Cleaning interior is more labor intensive compared to exterior. A lot of small gaps and hard to reach places.
- When cleaning leather, be sure to start with mildest cleaner possible. Last thing you want to do is to clean thru the leather.
- Agitate with a soft brush, hard brush may damage the leather.
- Do not allow any cleaner to dry on the leather as it will leave a stain, especially those stronger cleaners.
- All leather was protected with a coat of Optimum Leather Protector. I do have the Mequirs Gold Class Leather Protector but did not use it as I find it a bit too oily to my liking.
- The left headlamp was restored fully on the outside however the inside was hazed up by dirt and all which cannot be cleaned unless the headlamp is taken apart.
- The right headlamp was changed new as the original was damaged previously from..... some sorta accident that the owner told me and I forgot.
If you have any comments, please let me know (be it good, bad or gibberish)