As promised in the previous post, I am currently going to reveal what I have been up to the past year and 8 months. Well.... not too detailed but just a few highlights in my life during these hectic periods
First off...... I went and fulfilled one of my dreams which is to hike up Mount Kinabalu to see sunrise.

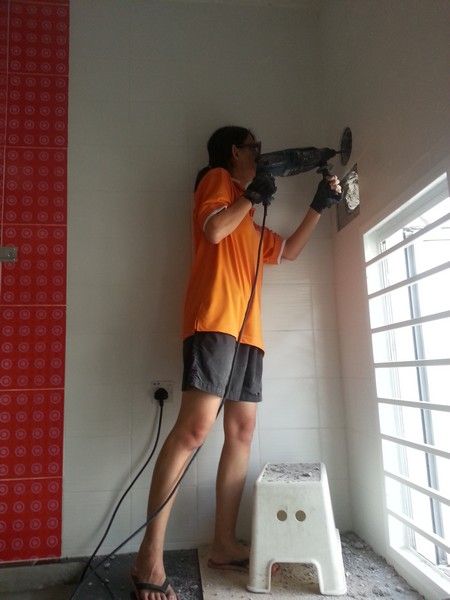
Then upon returning..... I got myself a really really MANLY DRILL.
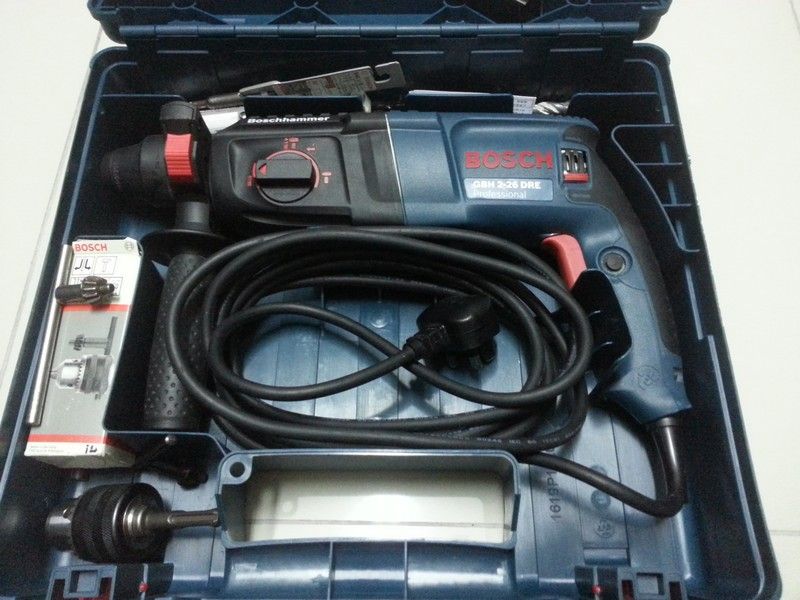
And teached my then GF........ how to use it to open a really big hole in the kitchen.....
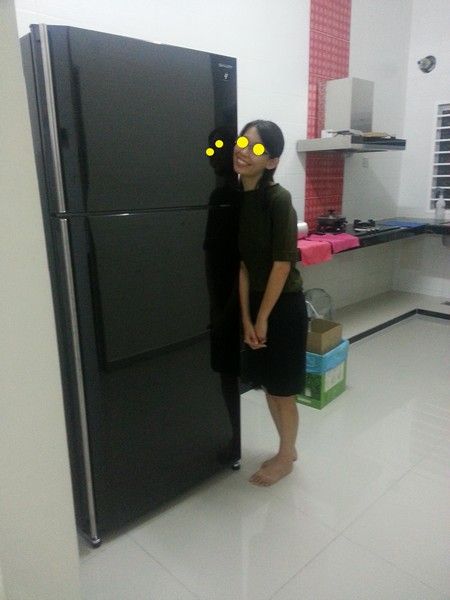
And rewarded her with a really REALLY big fridge...... dun mind the bottle stuck to the wall... just did not want cats or rats coming into the house from the hole she made.
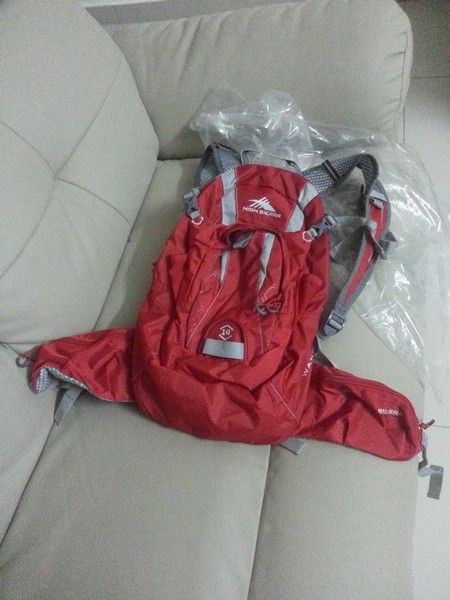
Bought myself a neat new red colored day pack for future hikes.
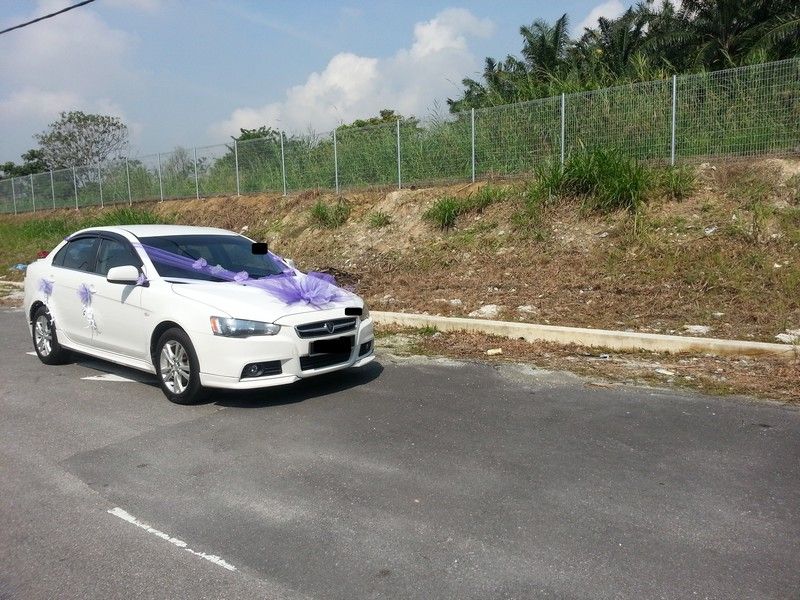
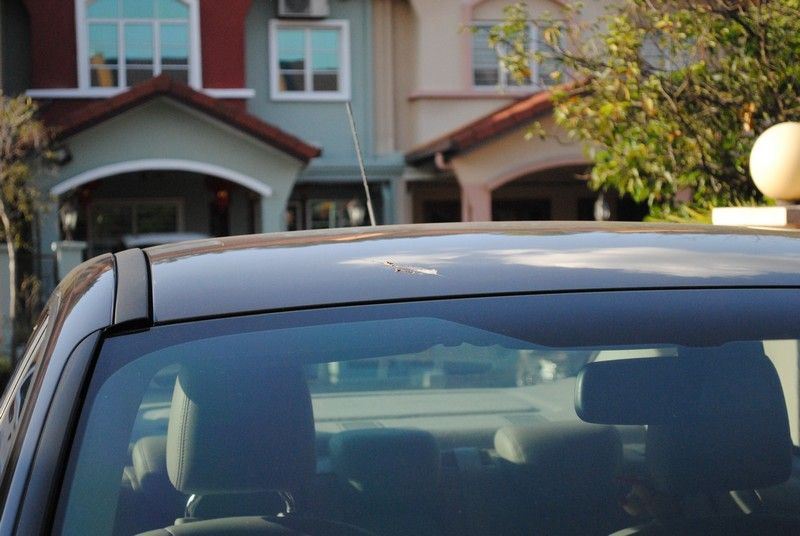
Got married....... this is my White Knight being decorated with all the wedding car thingy.
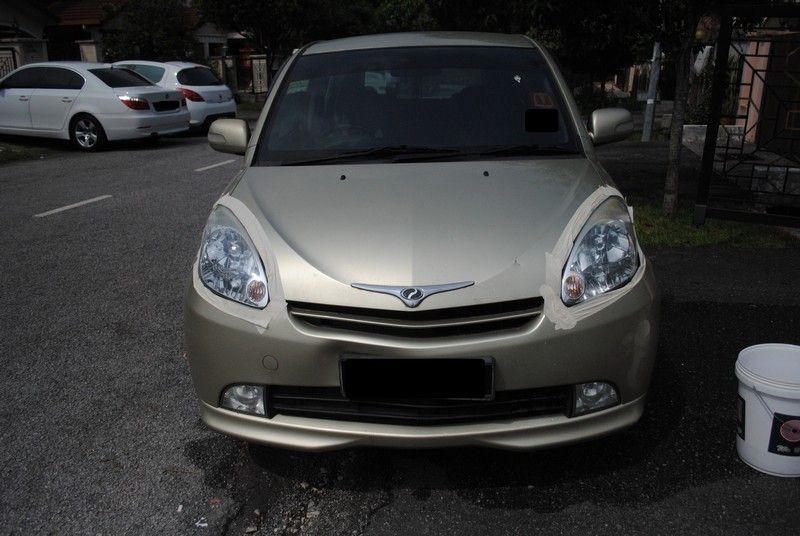
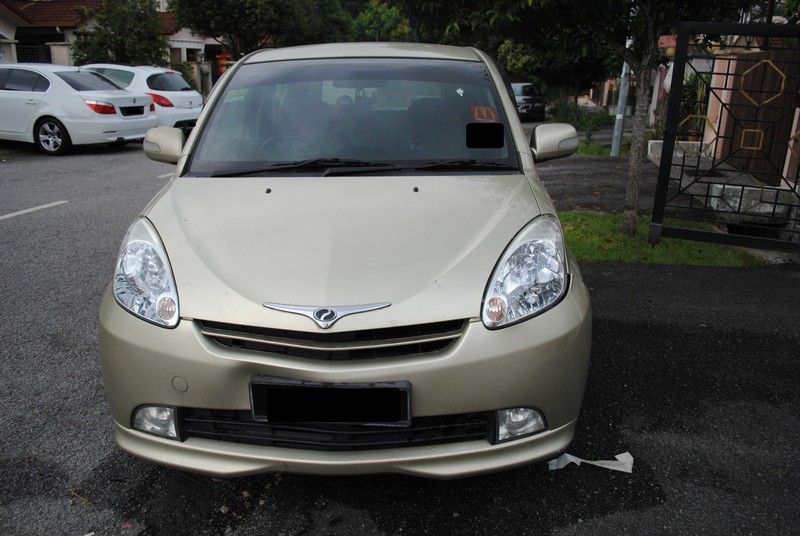
So.... OKAY, enough about what I have been doing.... lets move on to my detailing journey. This happened right after 2013 CNY...... yes 2013.
Peel here.....hmmm.......... why?
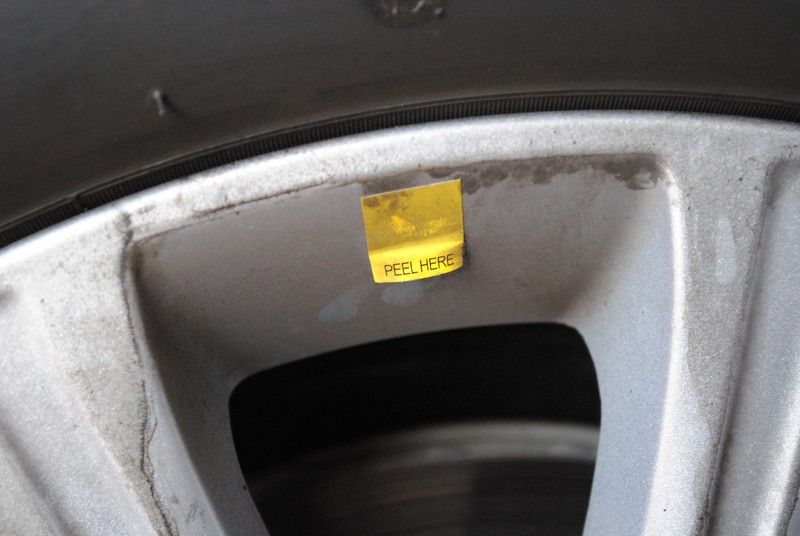
Cause all 4 tyres and rims were NASTY..........
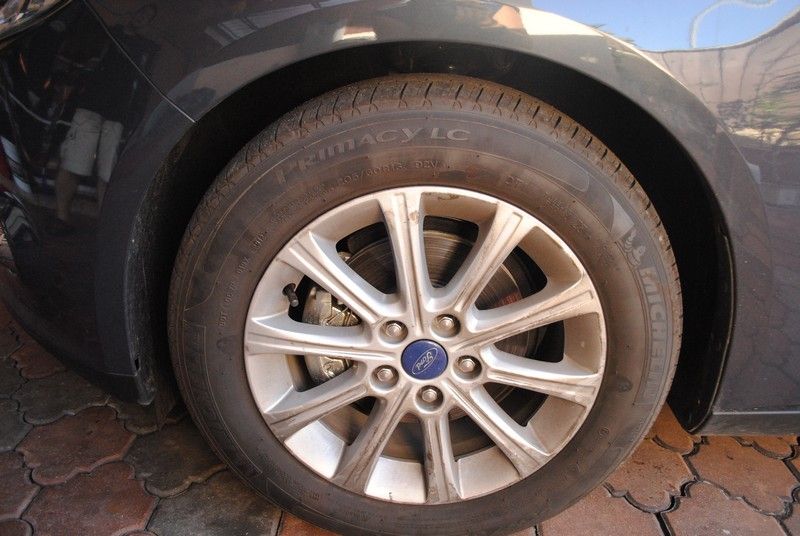
Check it out...........
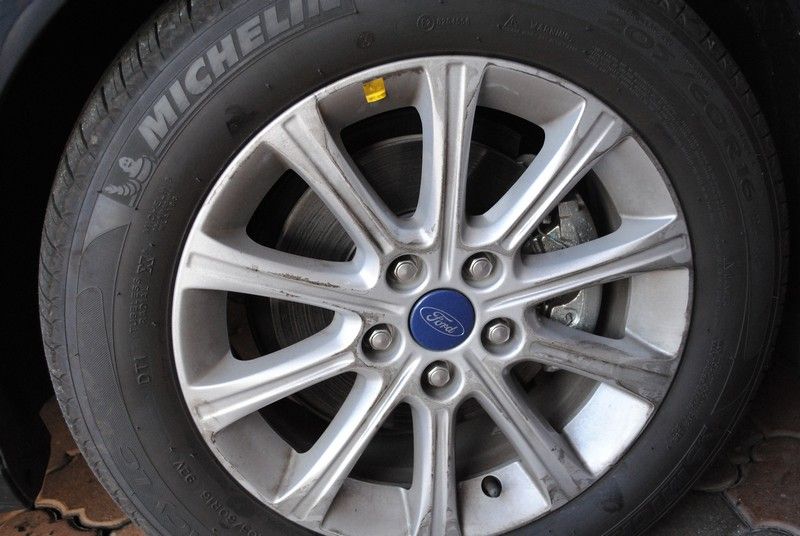
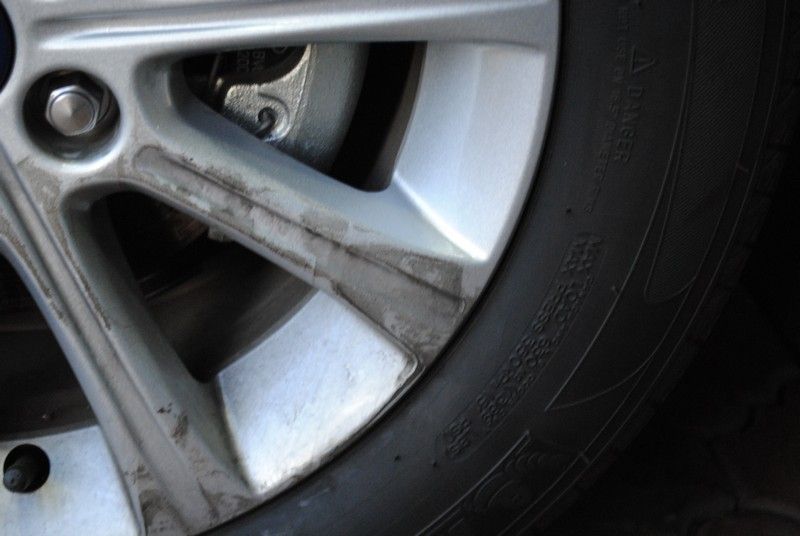
A 50/50 of the D.E.T.A.I.L.E.D rims vs the not part.....
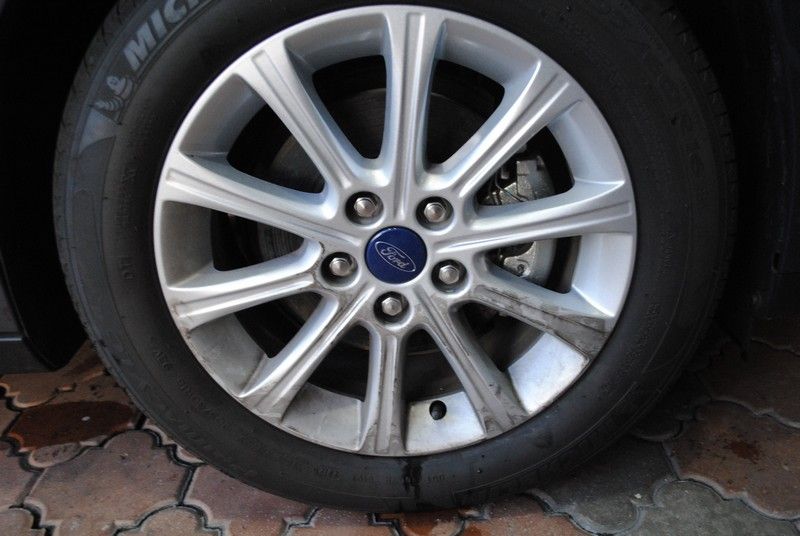
What were those NASTY stains...... GLUE MARK.... to be explained in the below comments.
After done cleaning the rims, its time to inspect the rest of the car...... dust all over..
Rear is not spared from the dust and water combo

Lots of dead bugs and dirt on the bottom half of the car....
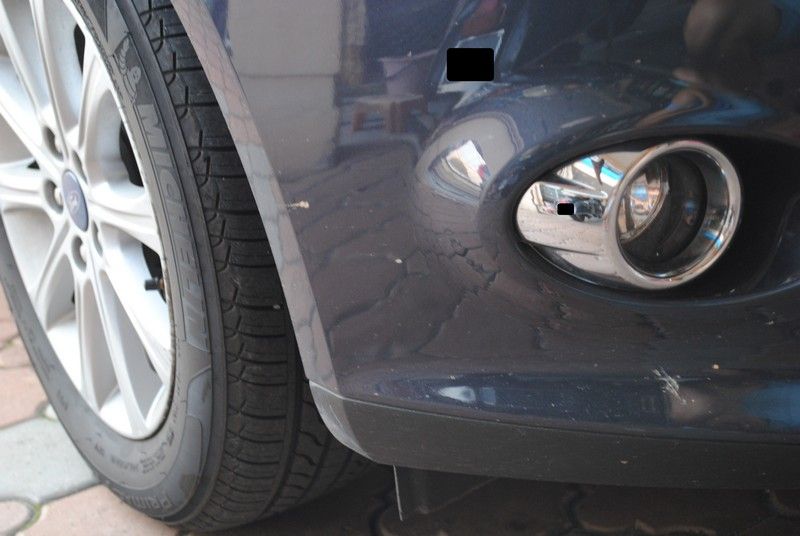
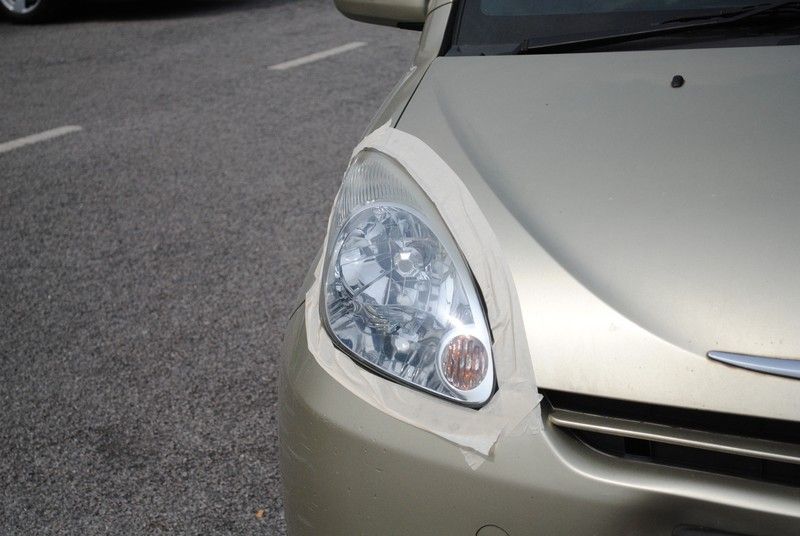
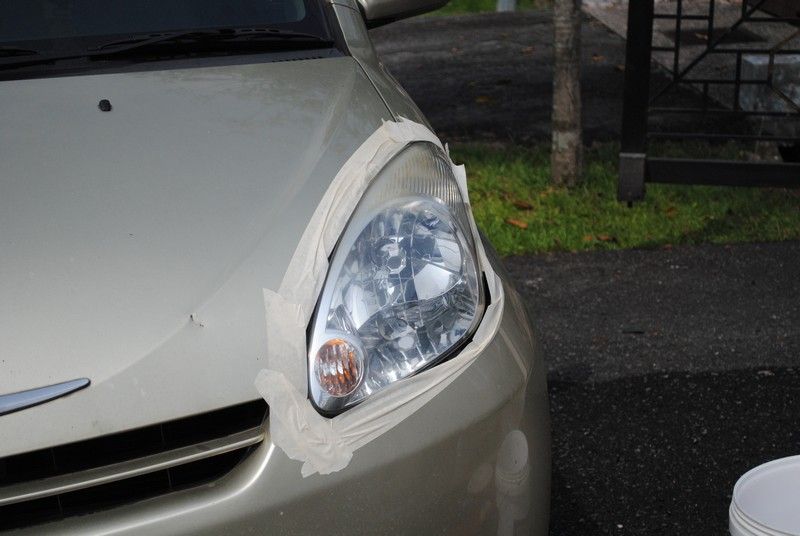
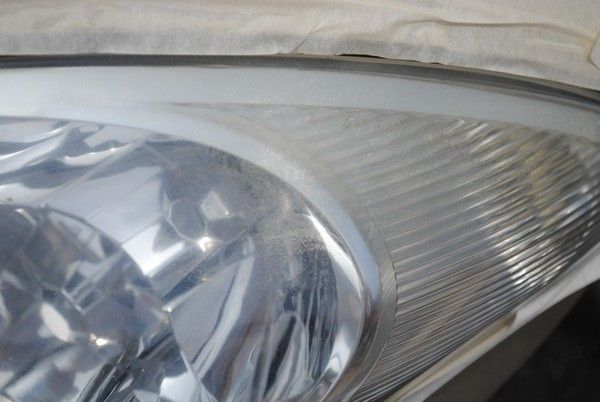
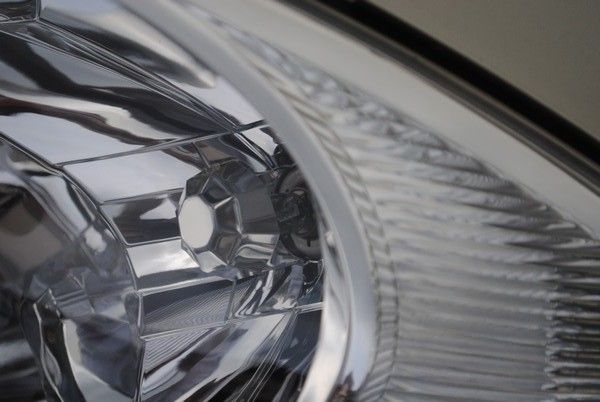
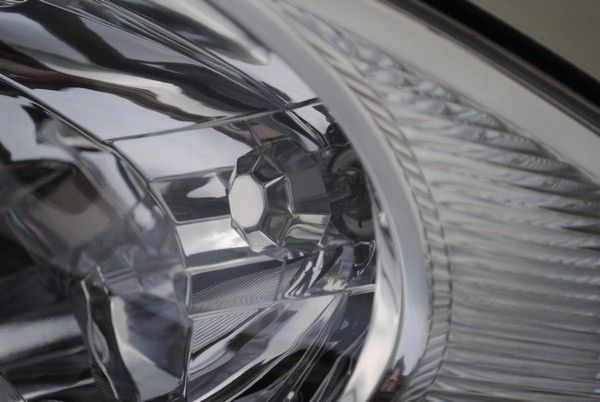
What da......... more glue stains... under the headlamp???
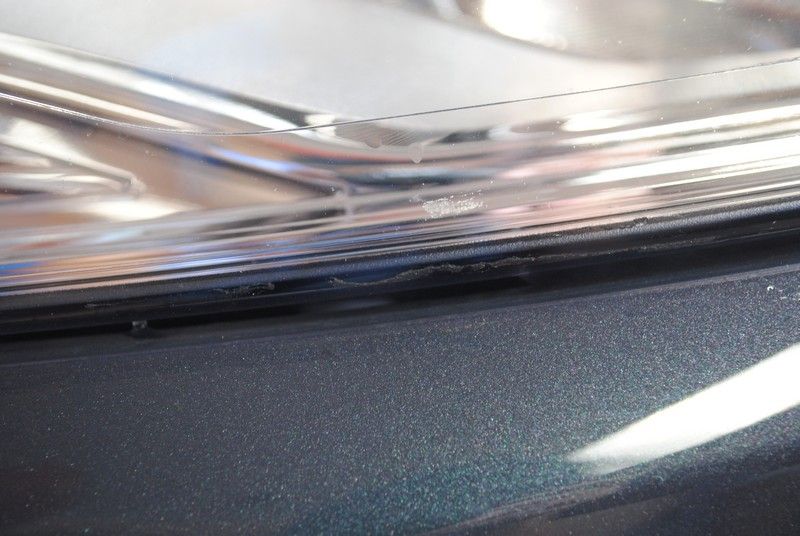
Glue stains on the clear coat as well.....
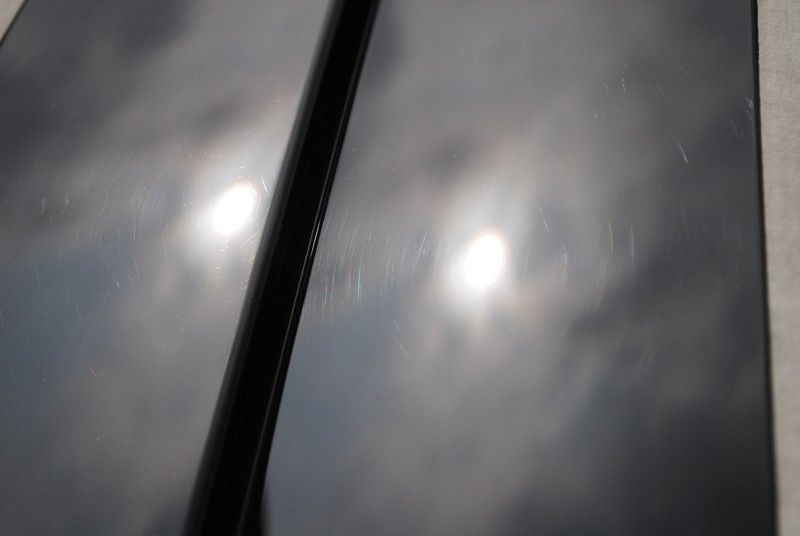
Swirls from the B-Pillar section of the car door...
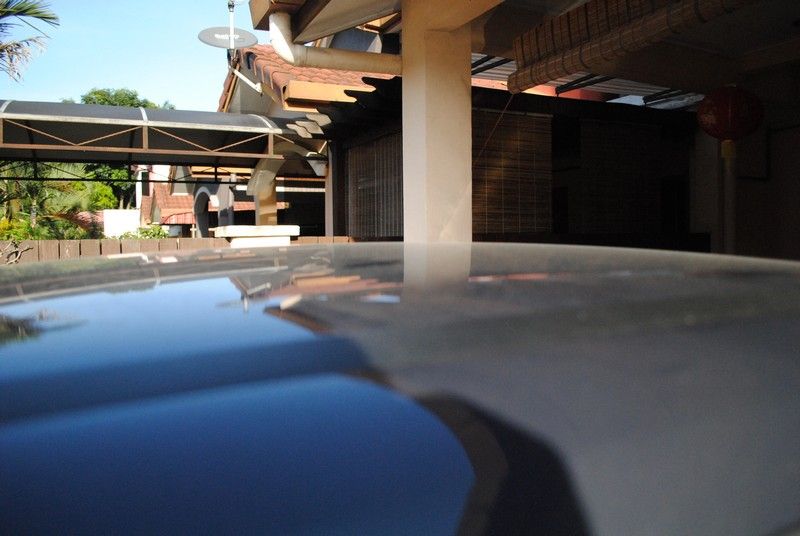
Ok.... so time to do some claying....... amount of dirt removed from the bonnet....
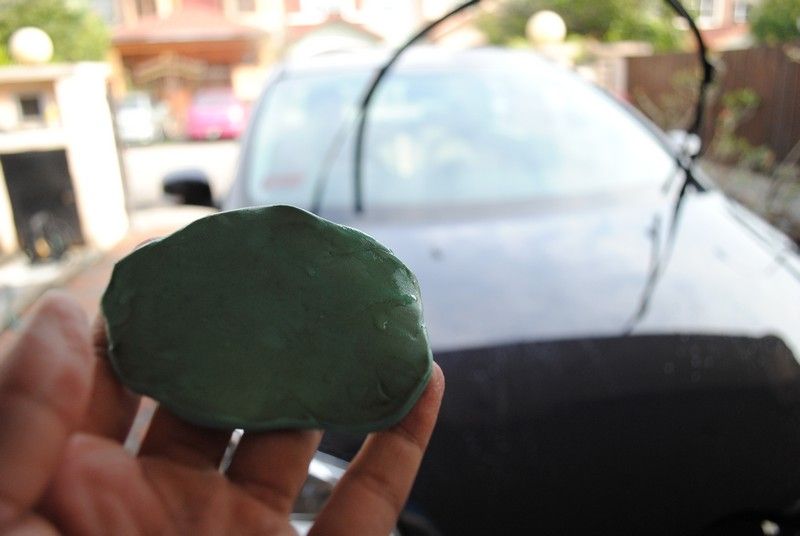
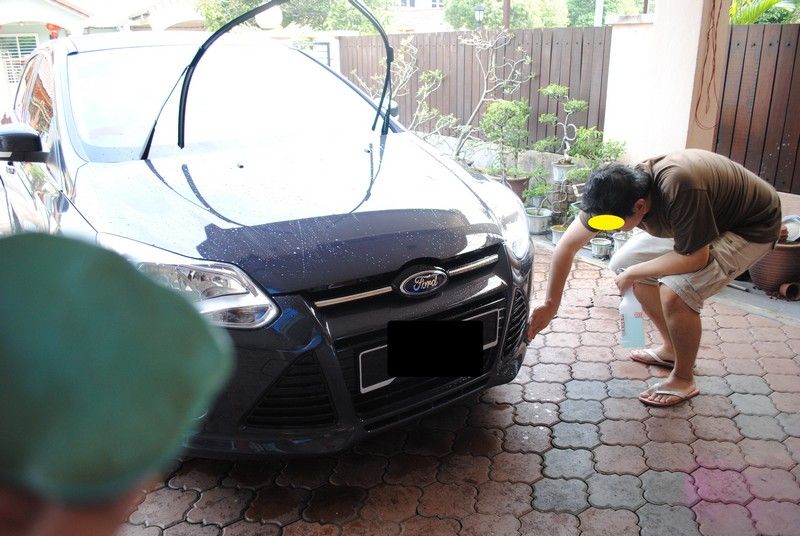
Owner of the car claying the lower section of the car...... nothing beats the love of the owner...
Some weird transfer from unknown things....
Polish it a bit.... and TADAA..... its gone.
Big car, not much time to document and snap photos..... by the time we were done, its already at night...... this is after coating was applied.

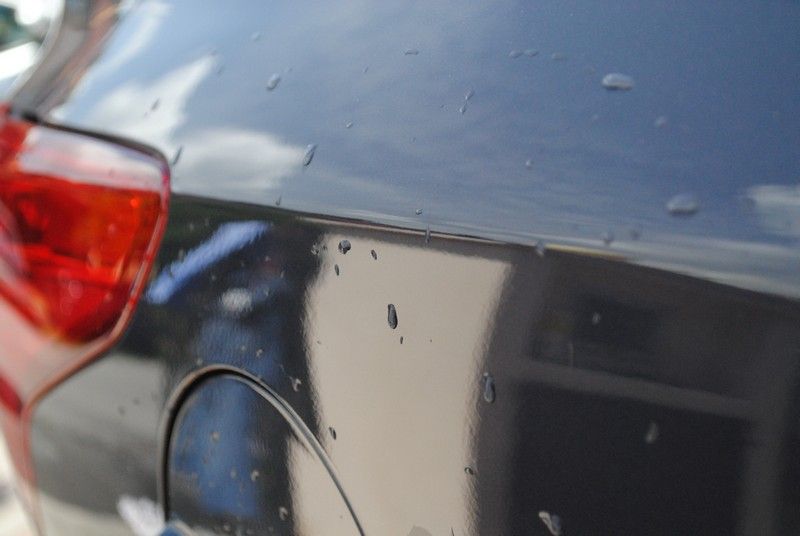
Some water beading test....... nope..... if memory serves me right (forgive me, this was completed more than a year back) there was a short shower thus the water.

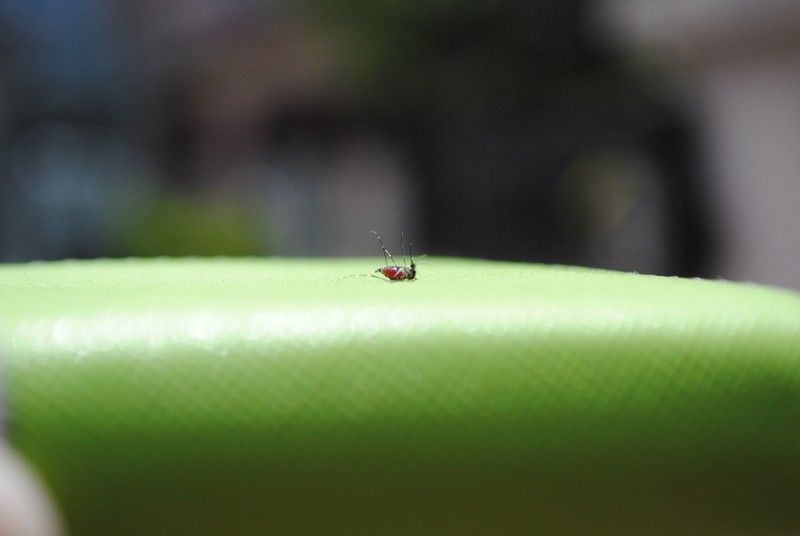
Stupid mozzie sucked my blood well.....
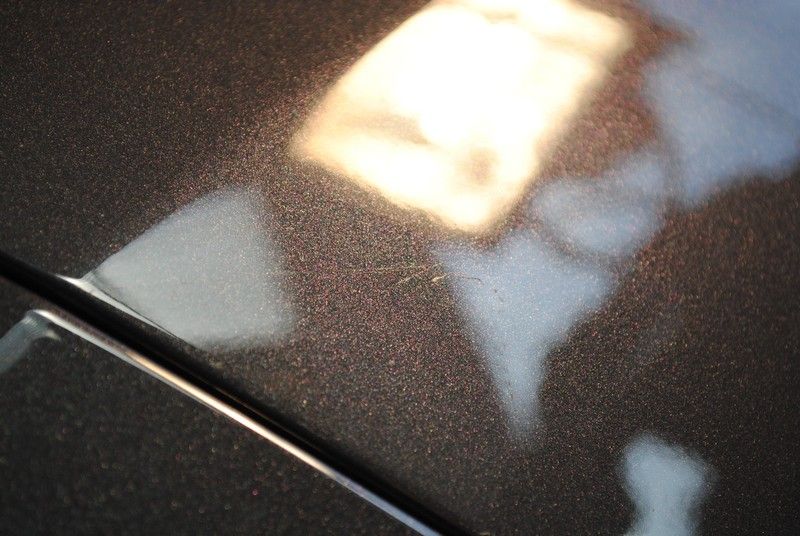
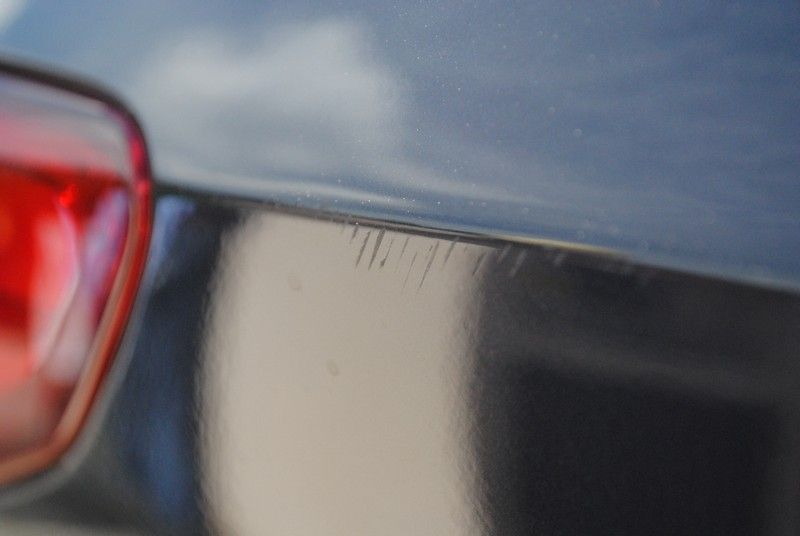
And now..... fast forward 1 year after the detailing was done...... I gotta love this time gaps...... car was scratched at the rear fender + transfer from unknown orange thingy...
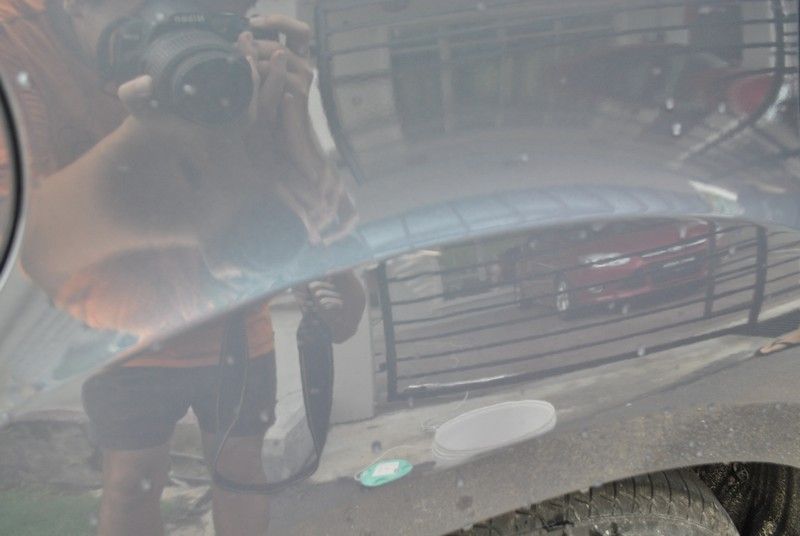
This is the orange thingy
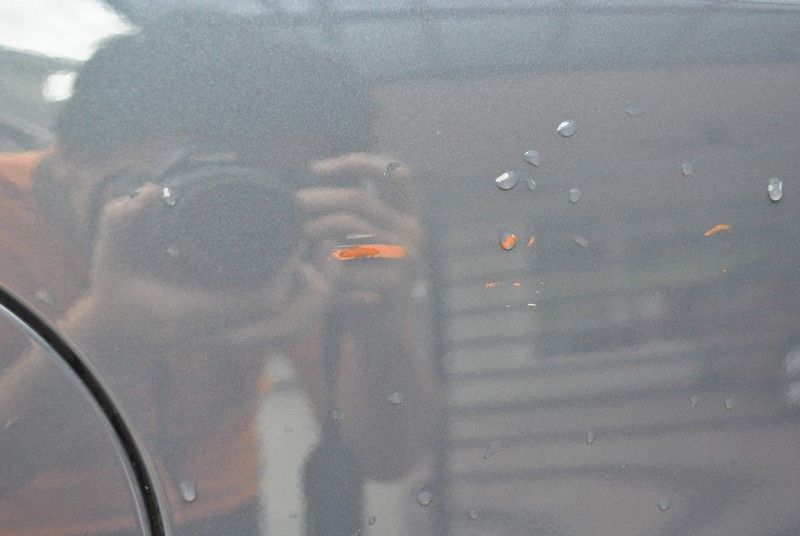
Combo shot of both orange thingy and scratch.

Close up shot of the scratch after detailing..... too deep and not much could be done. This is the best that could be done....

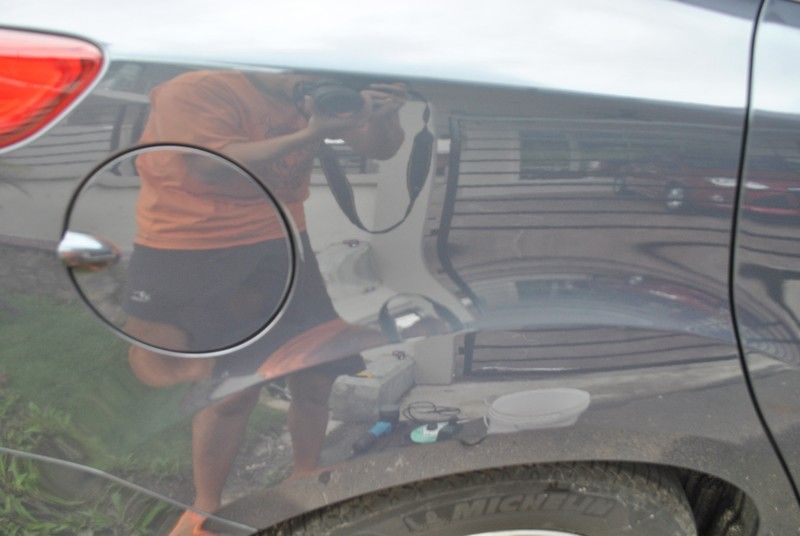
From a bit further..... you do not really notice the scratch.....and where da heck is the orange thingy.....
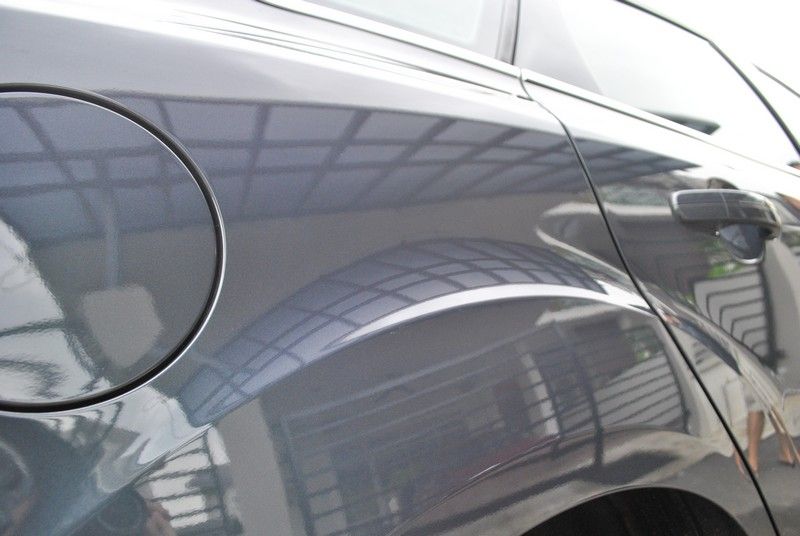
The orange thingy is most like transfer from other car doors or people carrying stuff walking pass. As this car was coated with Optimum Opti-Coat... the removal of such transference was made really really easy.
Time Spend: roughly 12 hours if not mistaken... i only remember from morning till night. And it was coupled with the Myvi cataract removal.
Product used: Opti Coat aka Opti Guard, Optimum Power Clean of different dilution.
Satisfaction Level: Awesome gloss but could be better if I had the time to document it. Just took too long on the correction.
Note:
- Bloody FORD should at least clean off the glue marks from the car prior to delivery.
- Delivering a car with such unsightly rims and glue marks hidden all over the car is a real turn off. If it was me, I would not even take delivery of the car.
- Opti-Coating your car does not mean you do not need to wash the car, it only means maintaining the car is easier. Weekly or at least bi-weekly wash is still recommended.
Please leave me your comments.... be it good, bad, nice, evil, constructive, non-constructive or even gibberish.