So this update.... is a bit more extreme.... BE PREPARE FOR 88 pictures. Interior to exterior to....mechanical thingy.
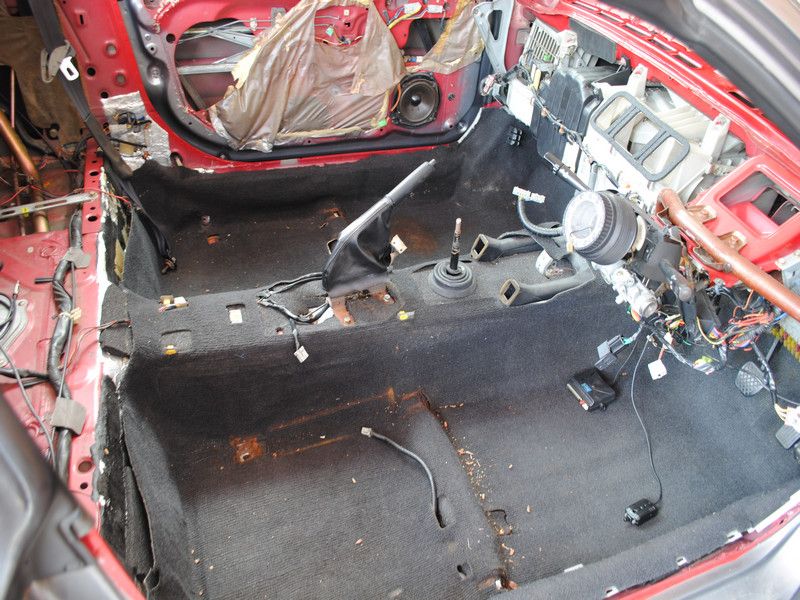
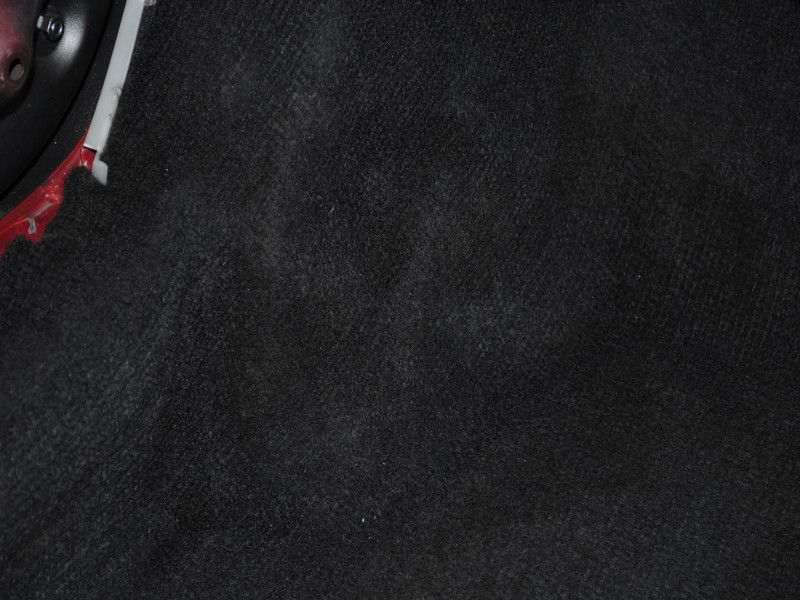
So all the tools have been removed and the carpet looks...... messy...
Some white fungus (not the edible ones) found on the carpet.
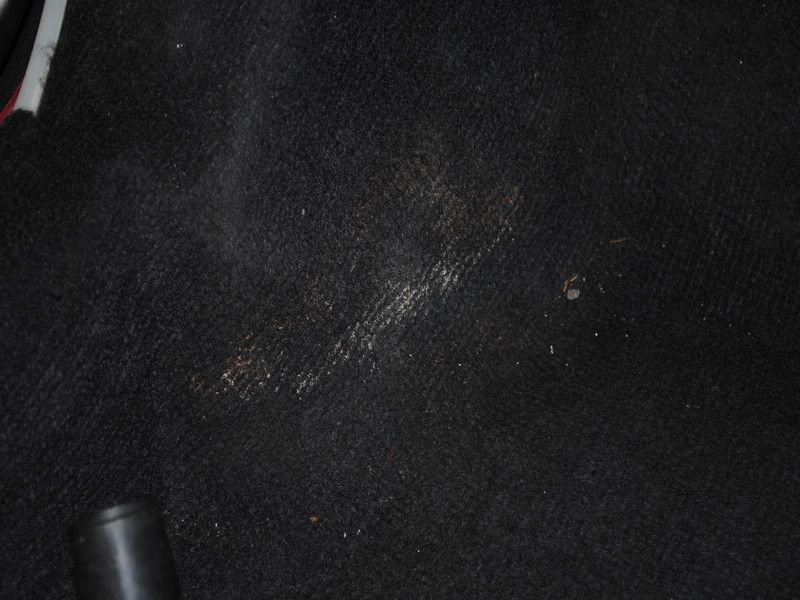
Zoom out to make sure you can see that it is a big spot.
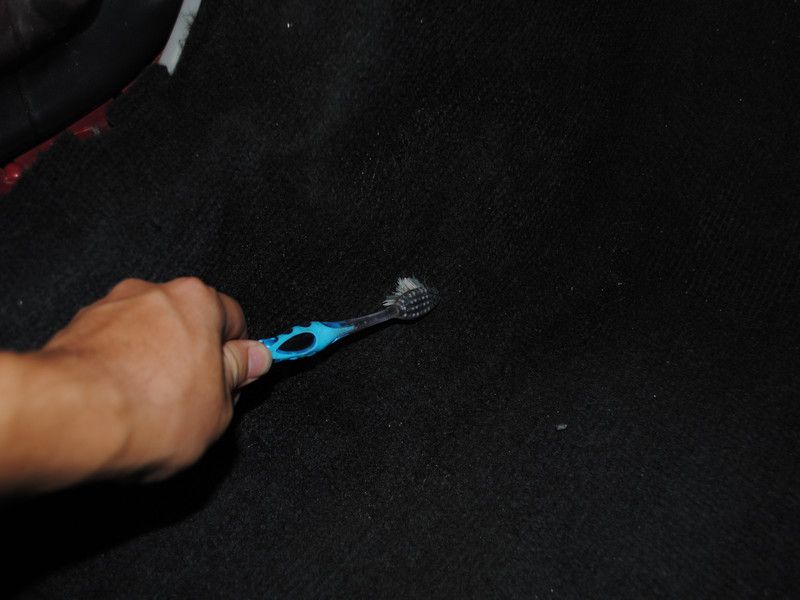
Spray with OPC 1:3 and brush with a........TOOTHBRUSH.....oh yeah.
After brushing.... no longer visible.
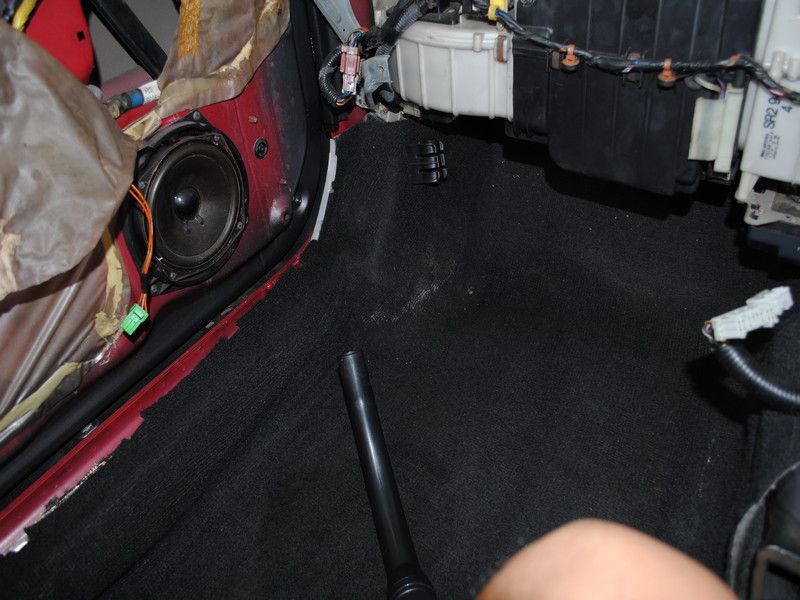
Proceed to vacuum the place....
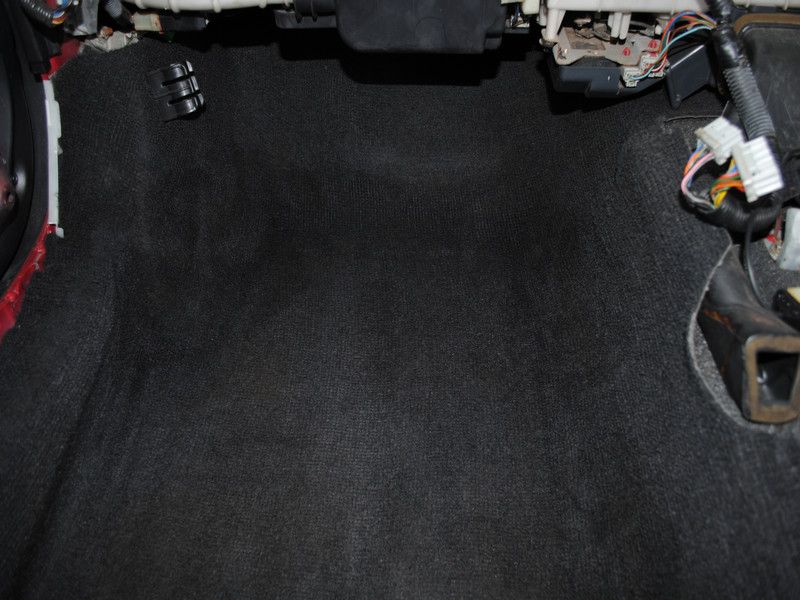
The entire carpet was spray with OPC 1:3, agitated with a brush and vacuumed....
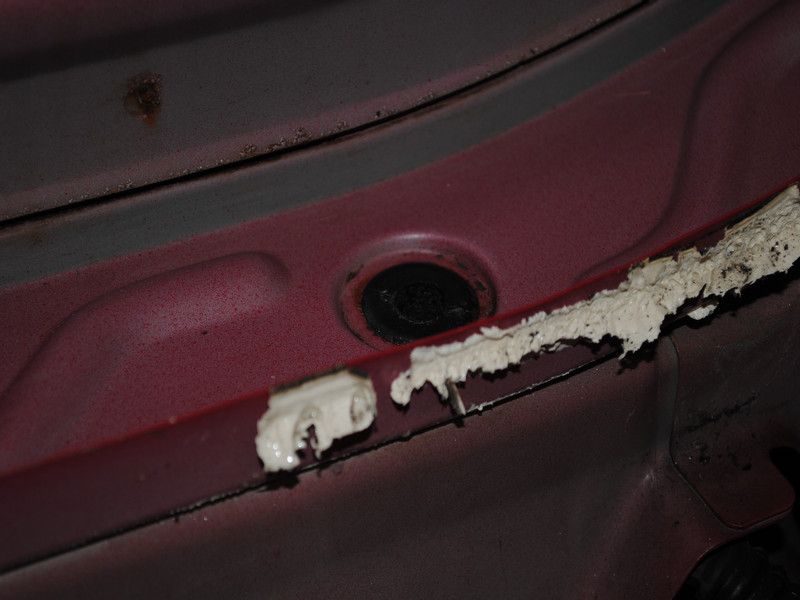
In the last update, the rear window was removed and this is the dirt inside the panel.....hmm... looks like hiding something
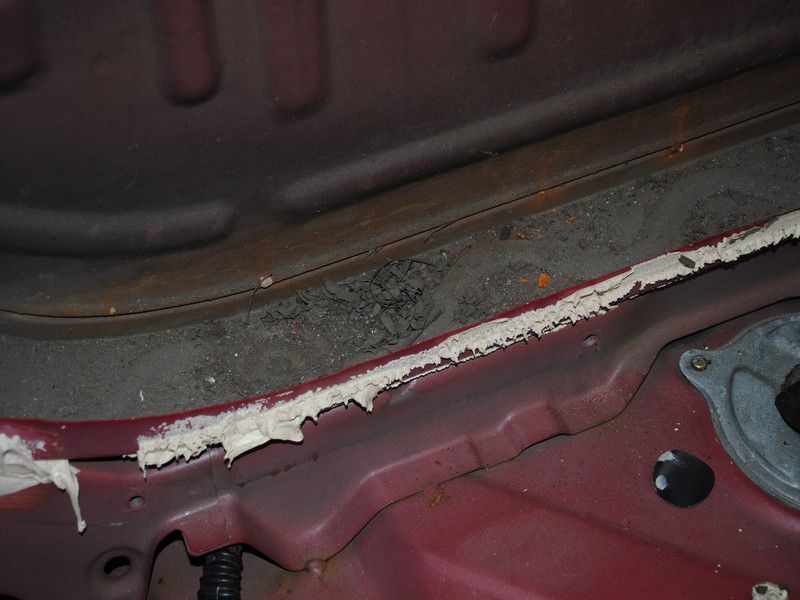
A 50/50..... reveals that indeed something was hidden
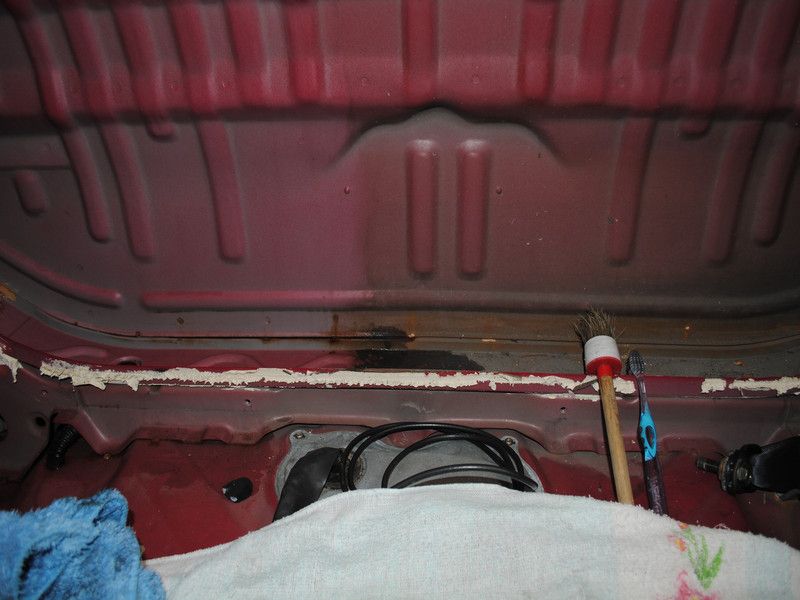
A closer look at the thickness of the dirt.... almost an inch (i love to exaggerate)
Yes, it was hiding a drainage hole.......which was blocked btw. So i stuff the vacuum and suck whatever I can and shot some compress air inside to clear it

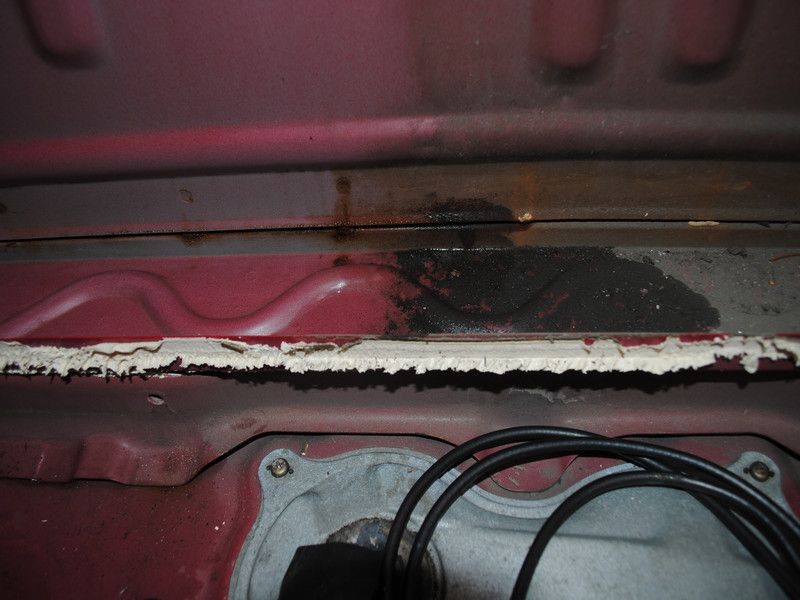
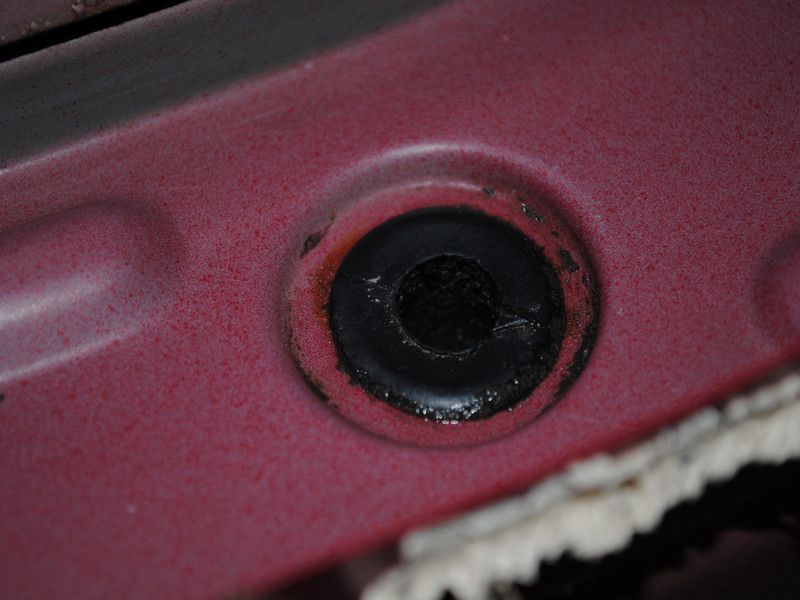
Hmmm... the other side seems to be hiding something as well....
Cleaned both sides and no more 50/50. This is an after shot.
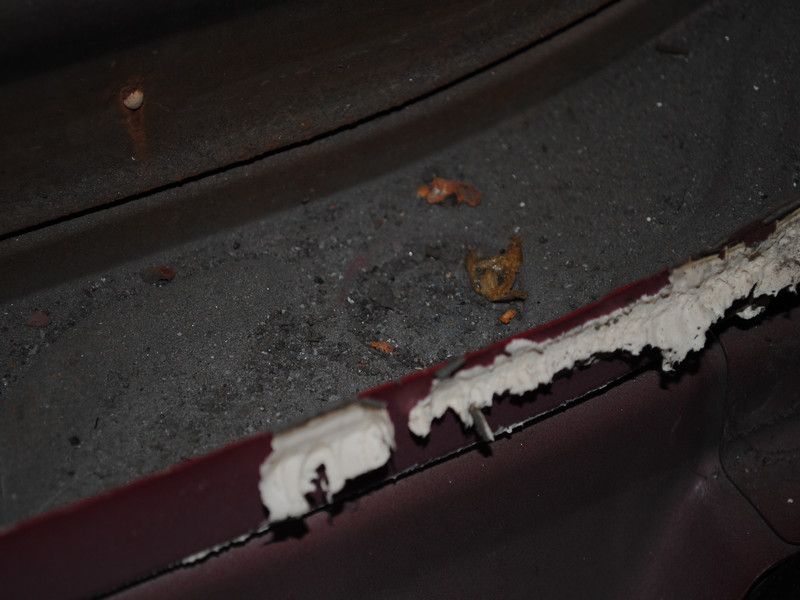
This is the other drain hole i was talking about
It has indeed been cleared... so no more water slugging around this area for awhile.
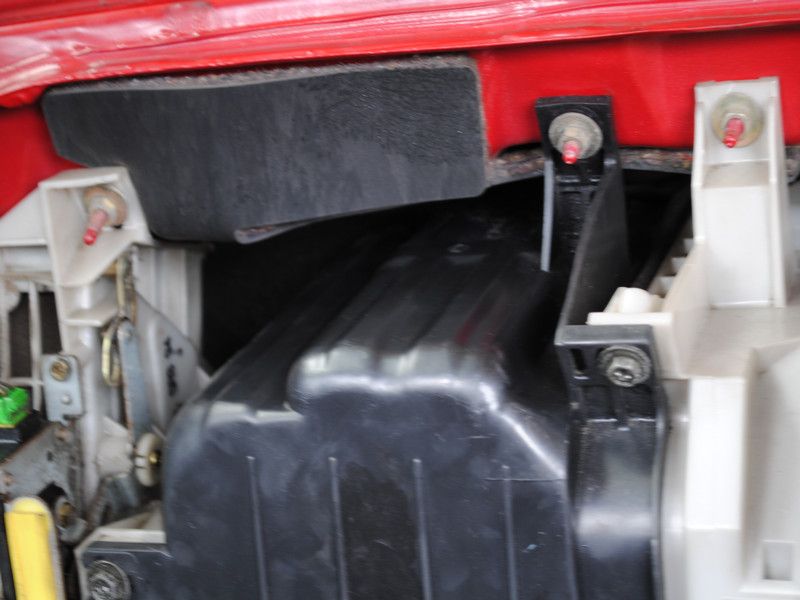
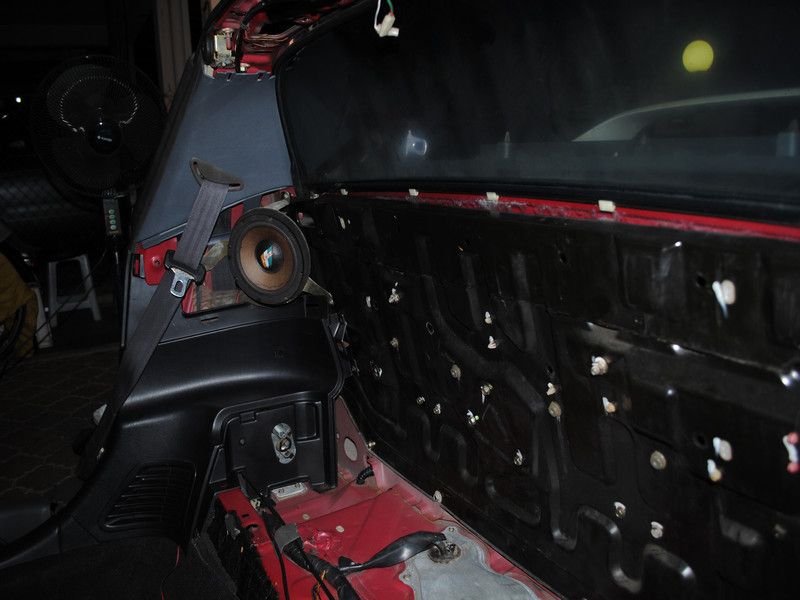
This is what the dashboard has been hiding....
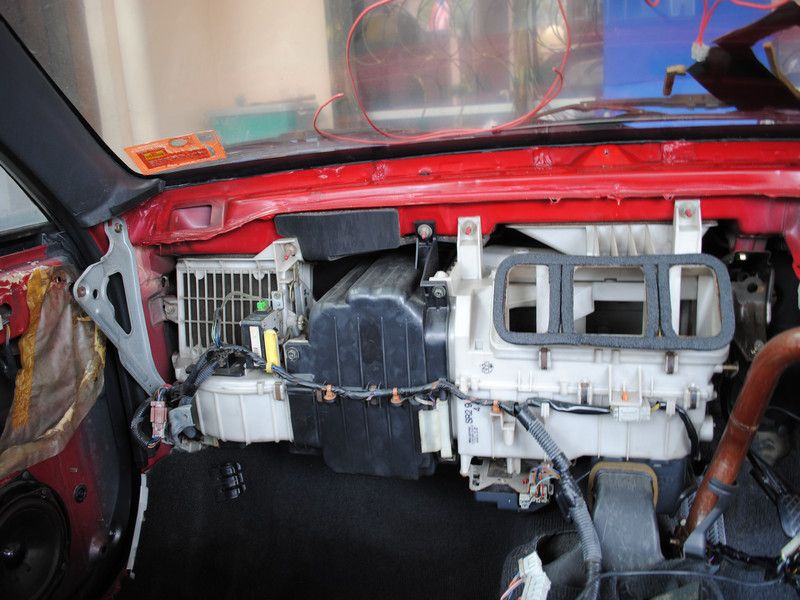
Dust everywhere.... luckily no fungus

A simple wipe with ONR and water.
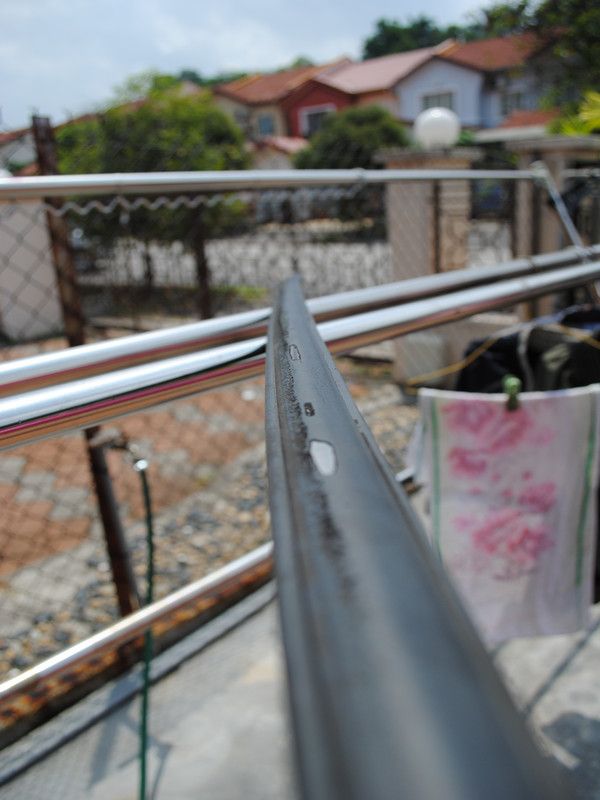
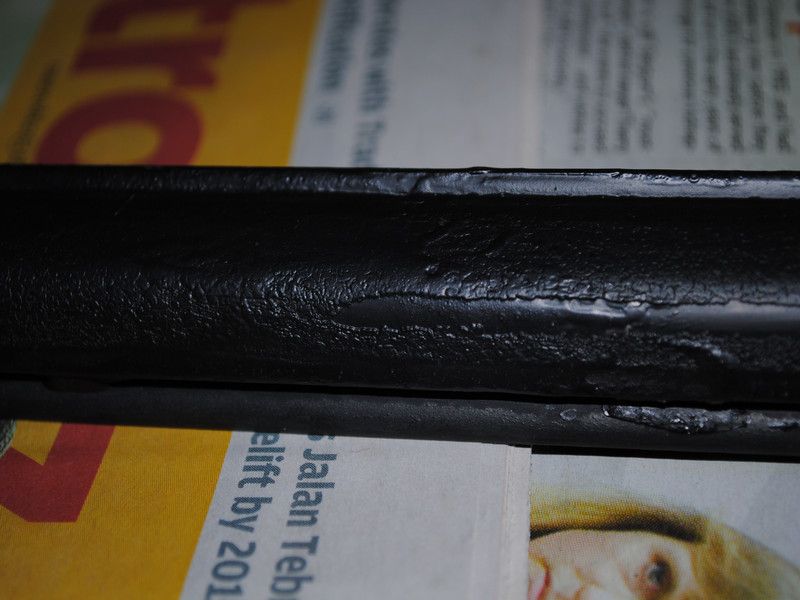
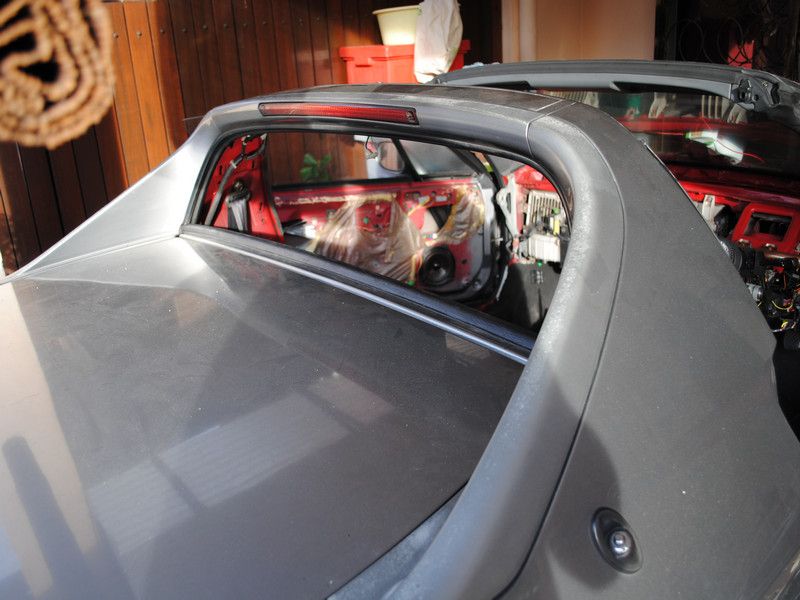
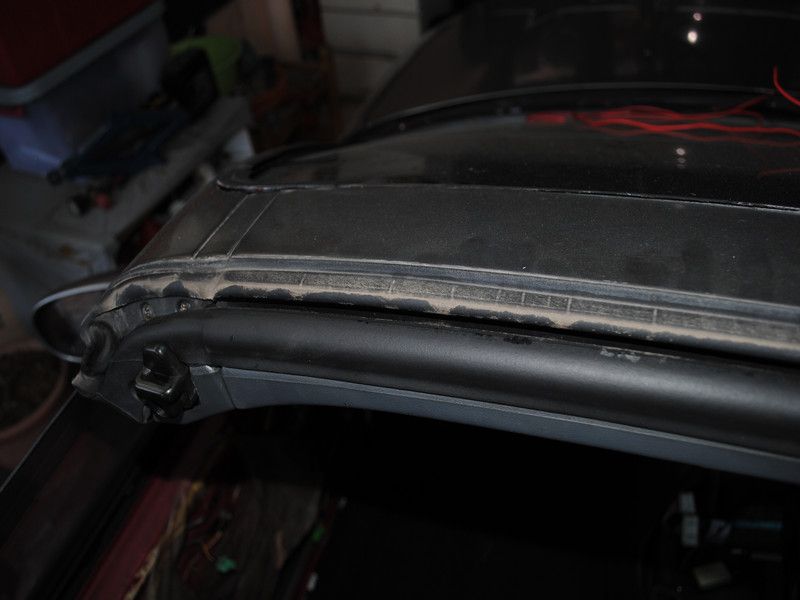
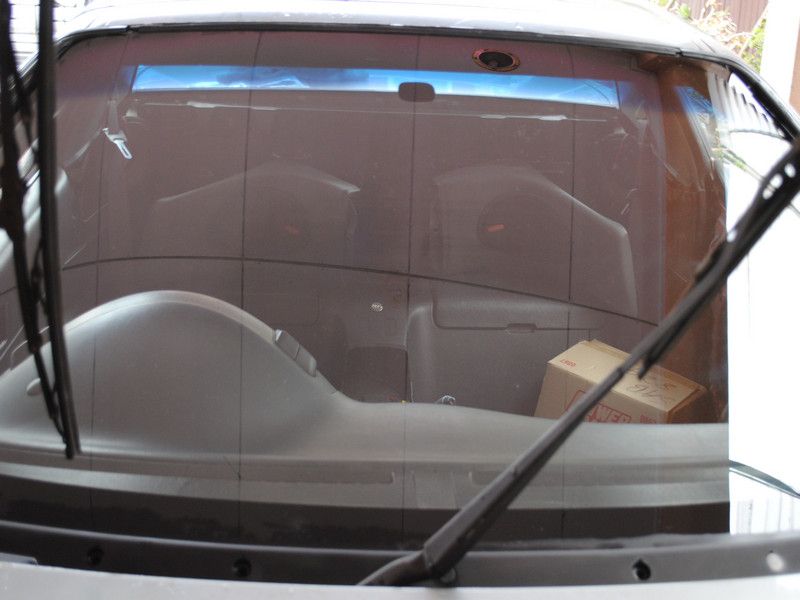
The rear window seals.... have seen better days. Over 20 years, it is bound to crack...
During the process of restoration... looks kinda ugly

Definitely not a nice sight....
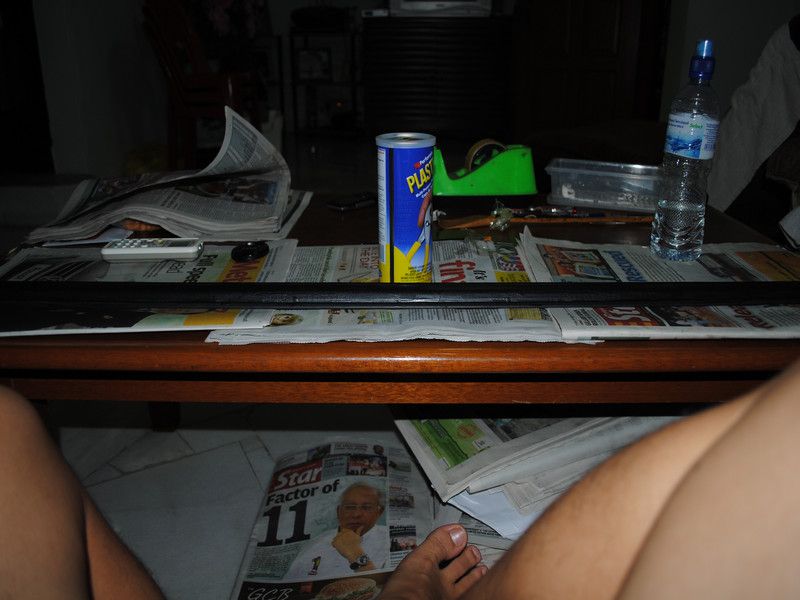
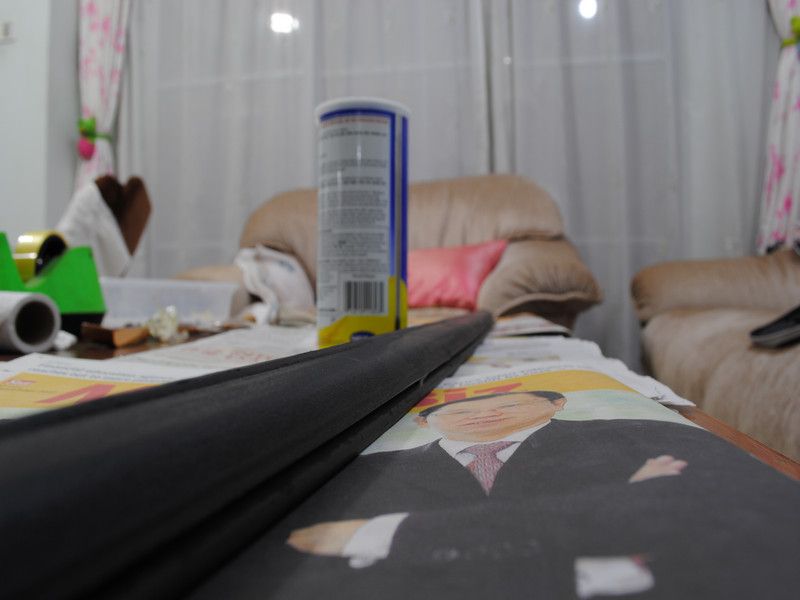
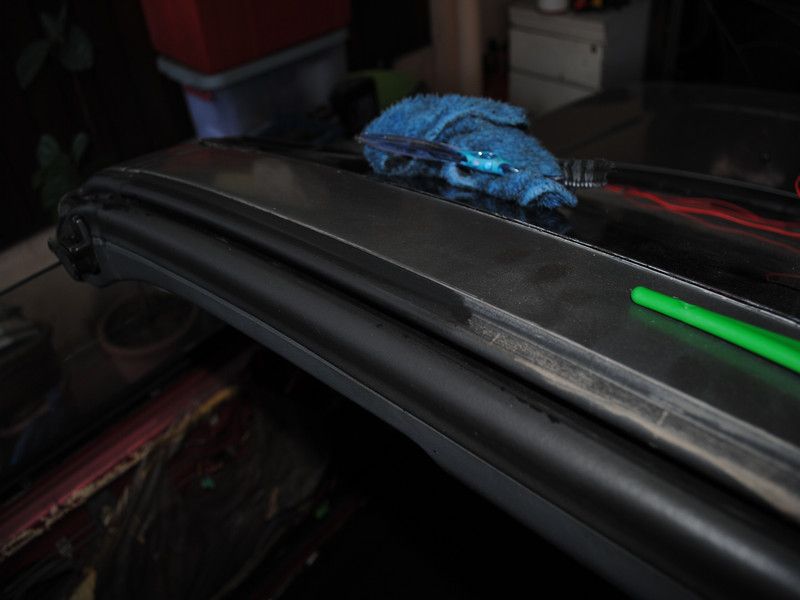
Yeap, this was done over a span of a long time..... each coat was given at least 12 hours to cure and this is 8 coats... so you do the math why this update took so long to come out....
And the end results.... sweetness.... sorta. To be explained in the notes area down..... wayw ay down below.
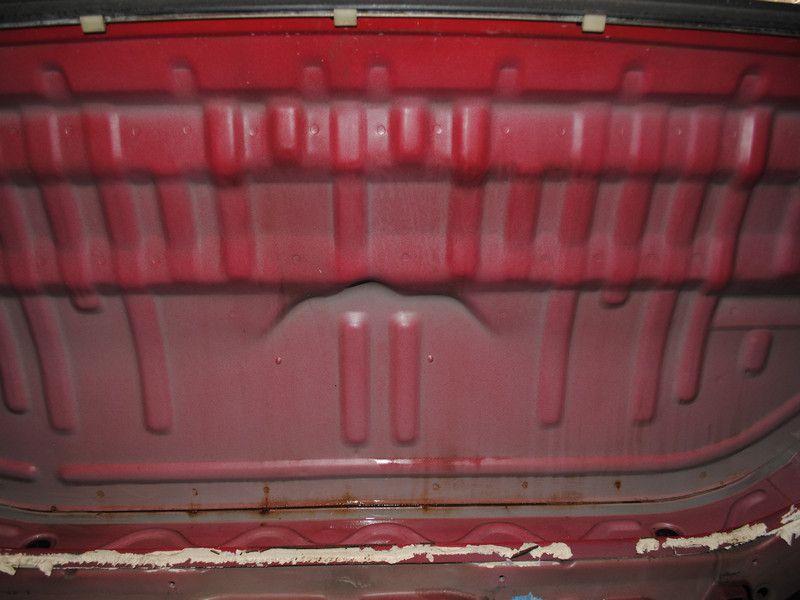
Installed back and it looks pretty good.
This is how it looks like after being installed back....
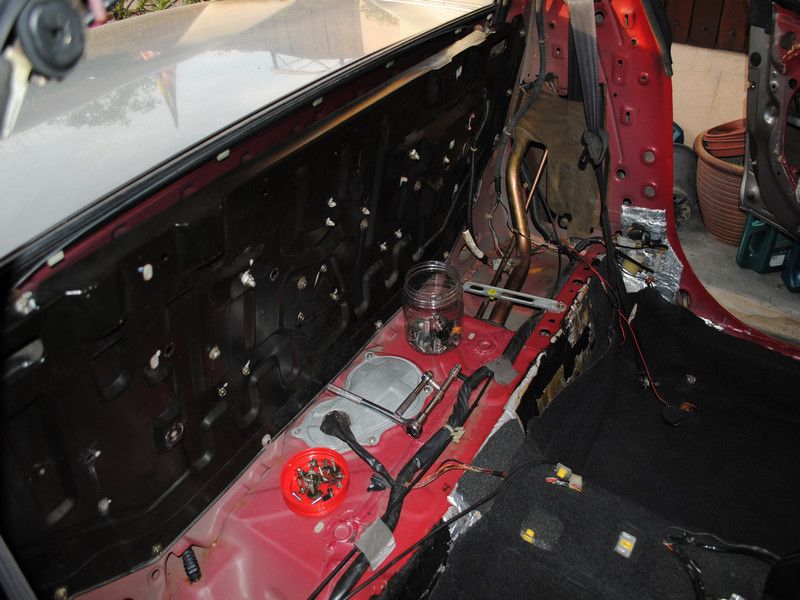
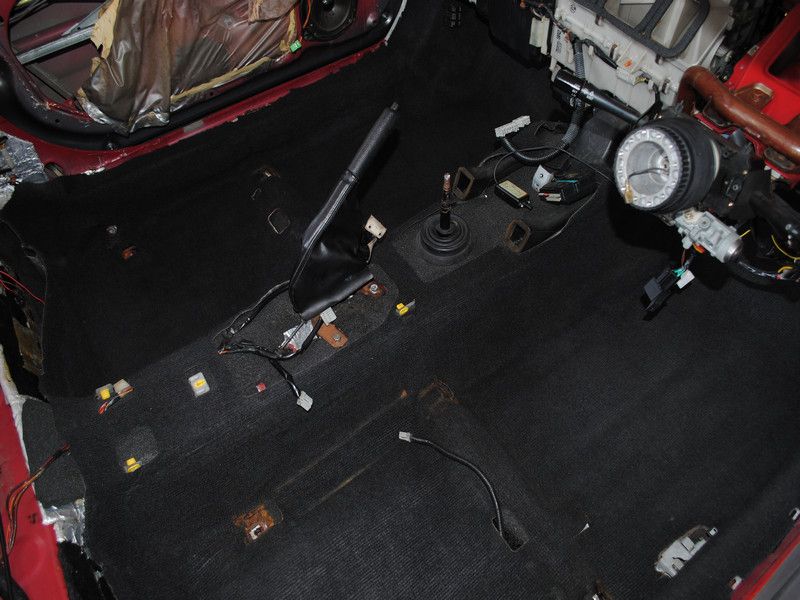
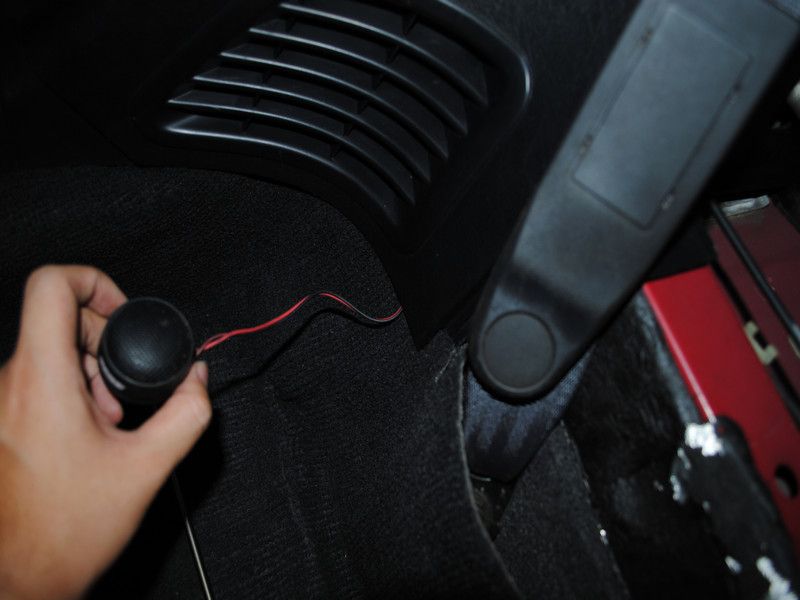
The messy wiring has been settled as well... looks neater right now.
So, this is what was vacuum out of the car..... this is water vacuum which explains why I can spray OPC and water unto the carpet and vacuum it out.
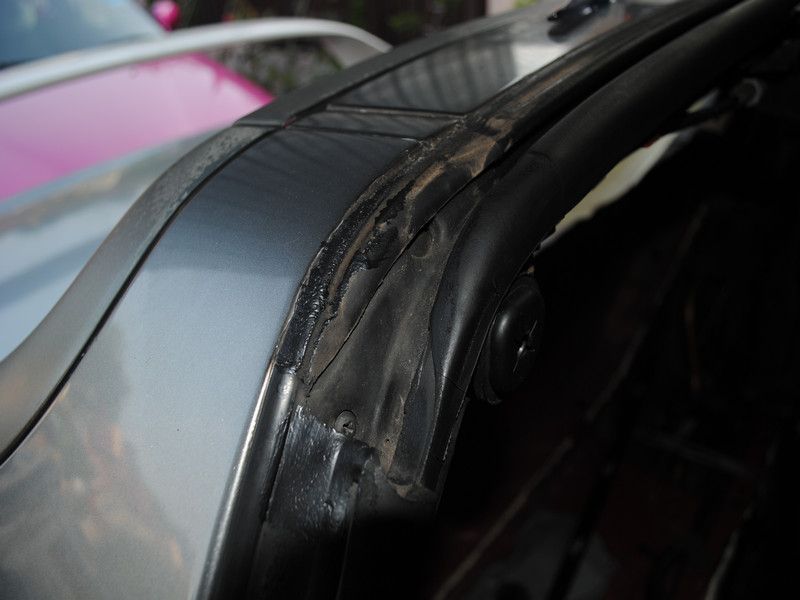
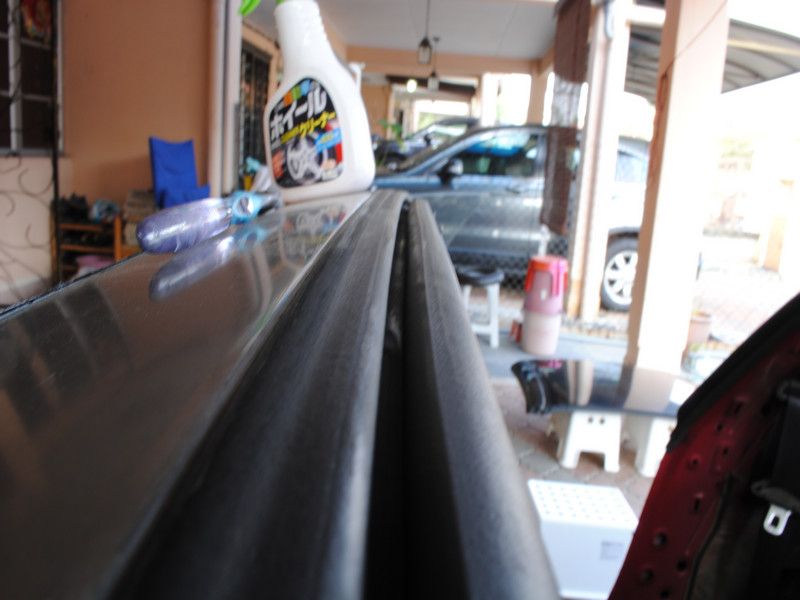
Now, we move on to the rubber seals. Hmm.... dirt dirt dirt everywhere.
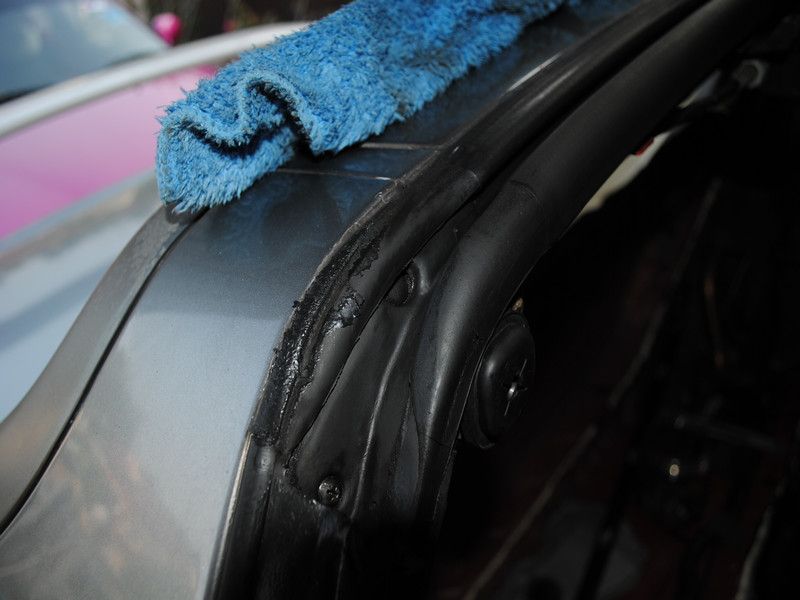
What dirt...... gone gone gone... HOW?
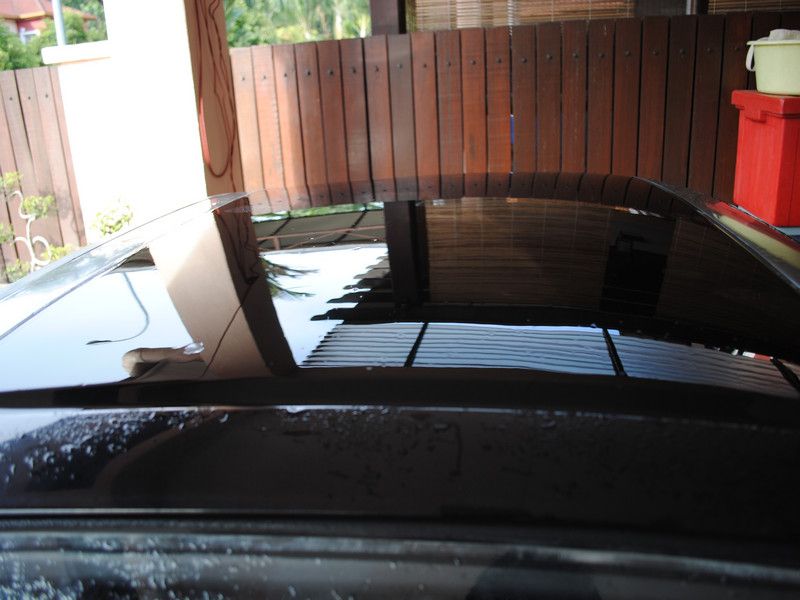
Ok, show you all magic trick. This is the top after removing the roof... pretty dirty ehh
A 5-/50.... i am quite surprised that this part of the rubber looks almost new after detailing.... considering that this is a 20 year old car.
Secret... OPC 1:5 and a tooth brush and microfiber cloth.
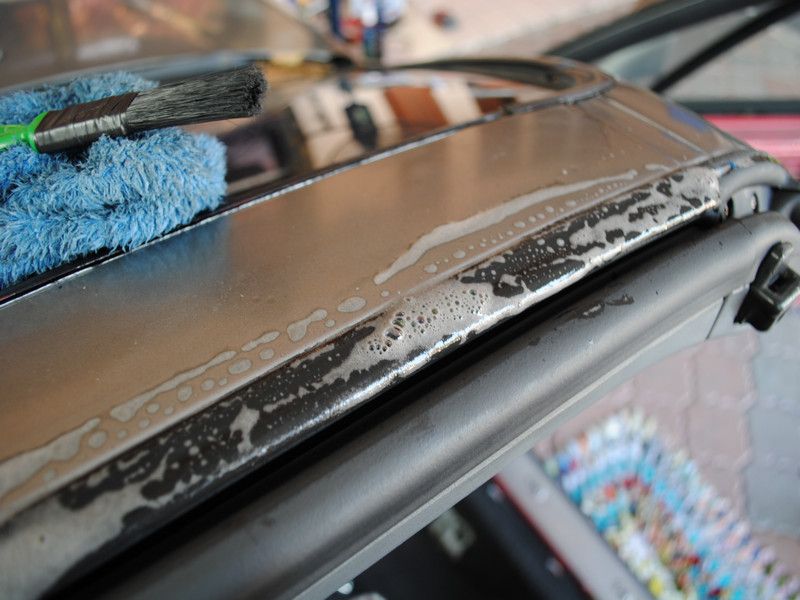
End results...... pretty good.
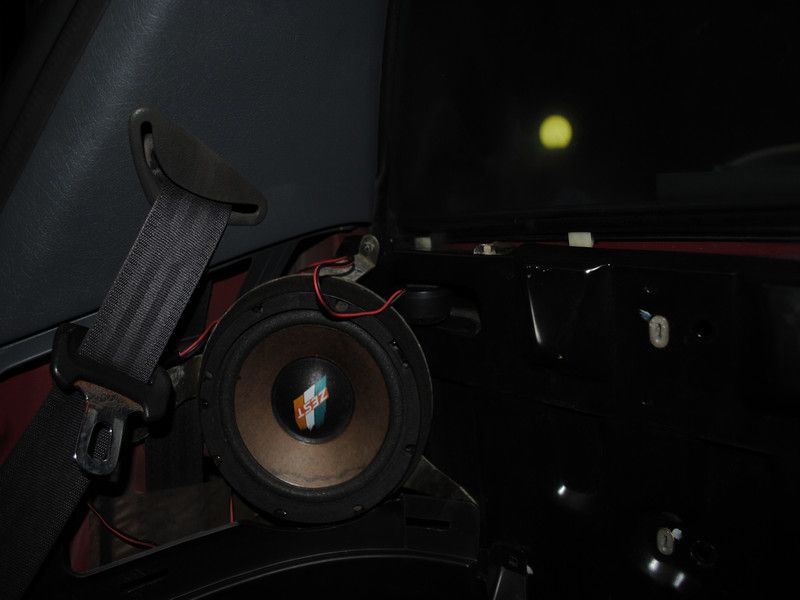
Now we move on to putting the interior back. Bits by bits and ensuring all screws are tighten so no lose sound is audible.
Crap...... I messed up, tweeter is suppose to be on top... not bottom... have to take out and do again...argh...
Placed in the correct place now..
So the entire rear panels have been installed...

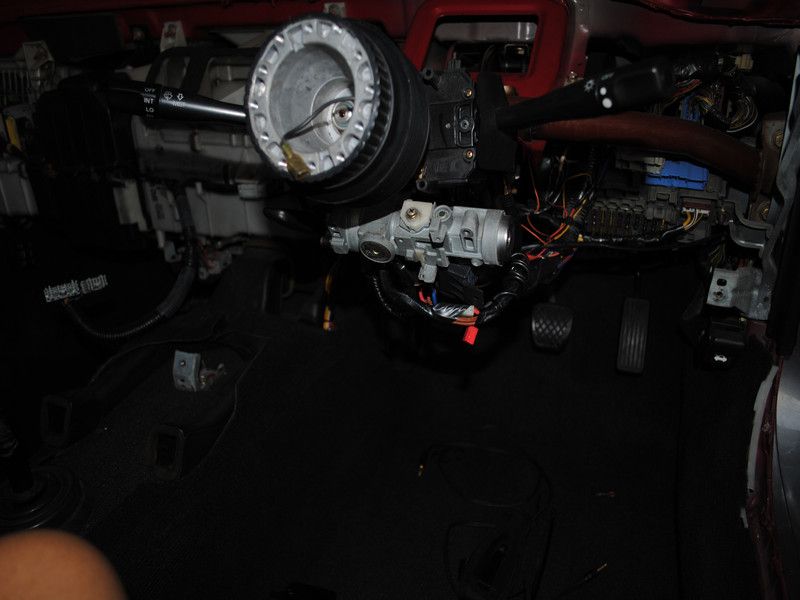
EHHHHHHHH, why take out again?
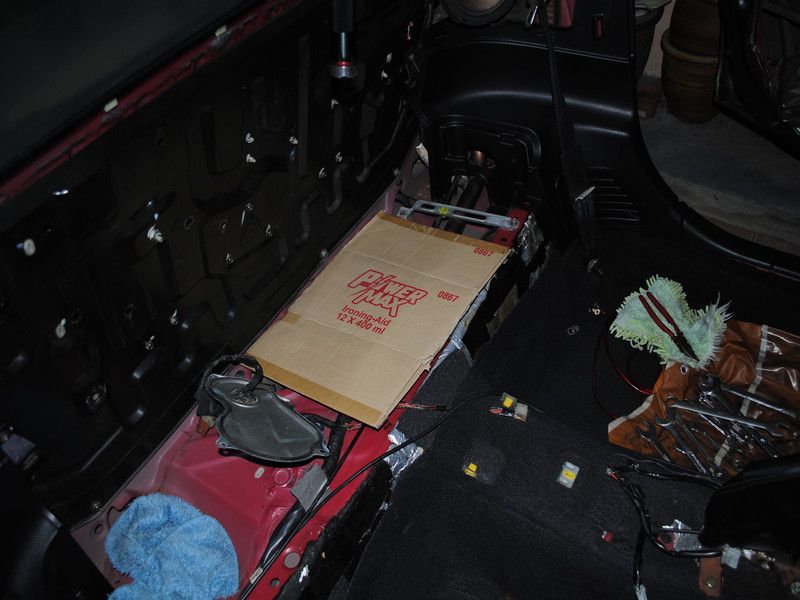
Cause the car cannot start and troubleshooting forced me to open back the panels and take out the fuel pump..... (Fuel pump was faulty before the car was sent to me. It was replaced and it broke again.... probably cause the pump is Made In China and this is a Japanese car.)
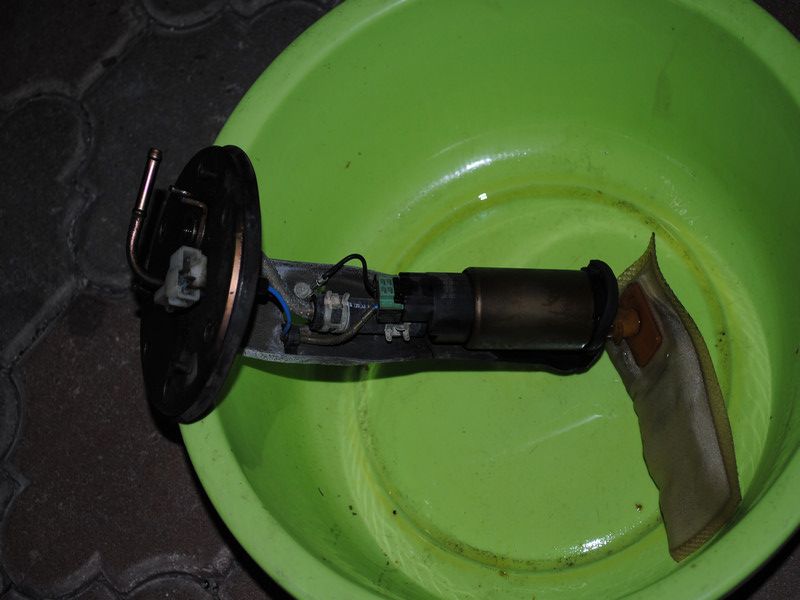
So I left the interior as it is as the owner is not free to have it replaced at the moment. Now, we fast forward to two weeks later.... fuel pump still not replaced cause owner went JAPAN.
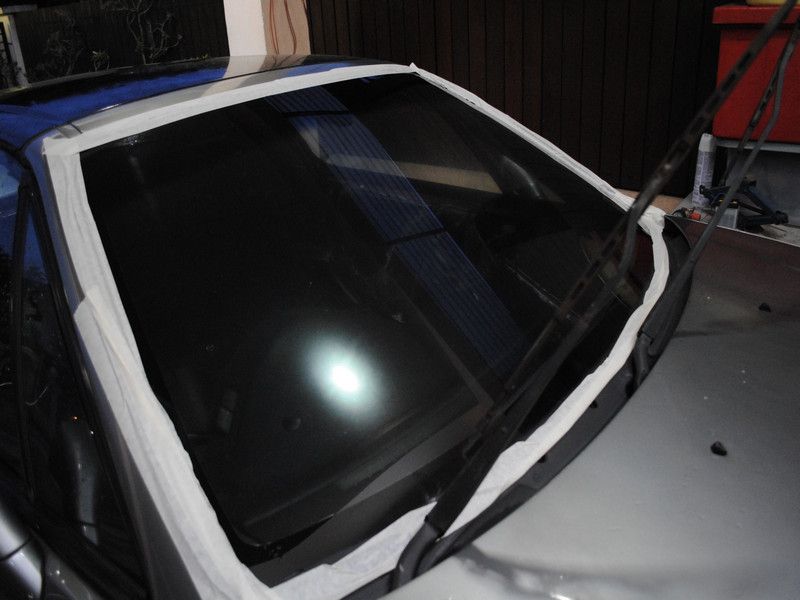
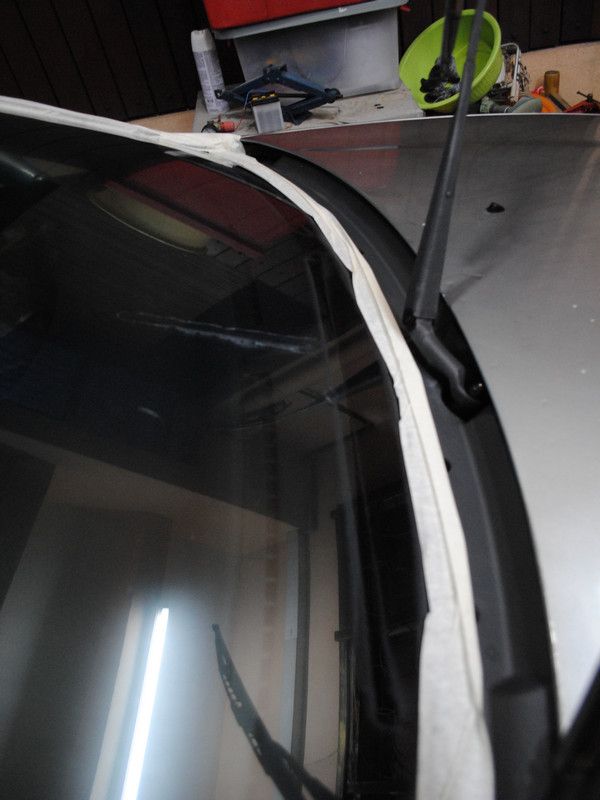
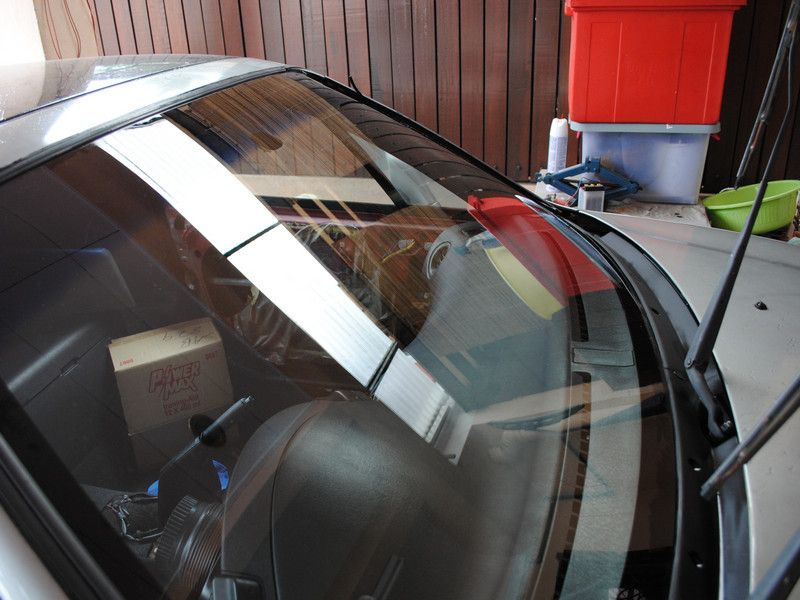
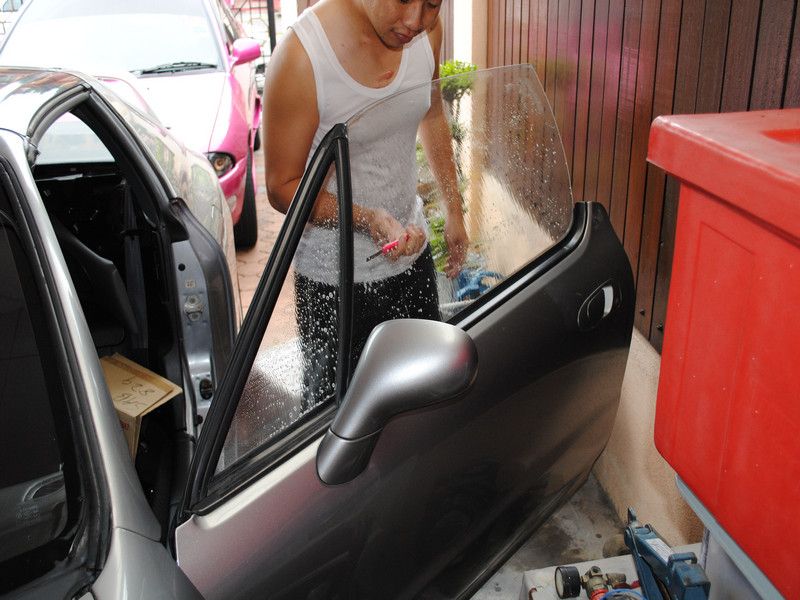
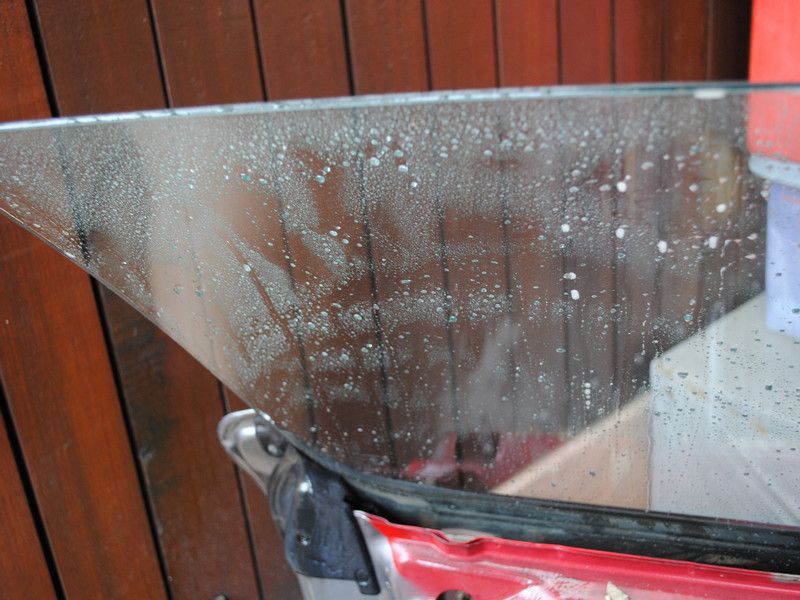
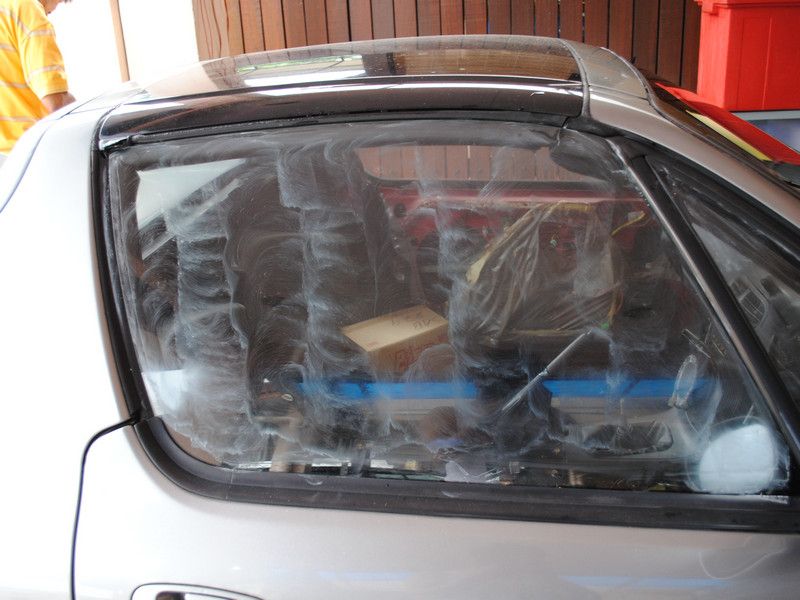
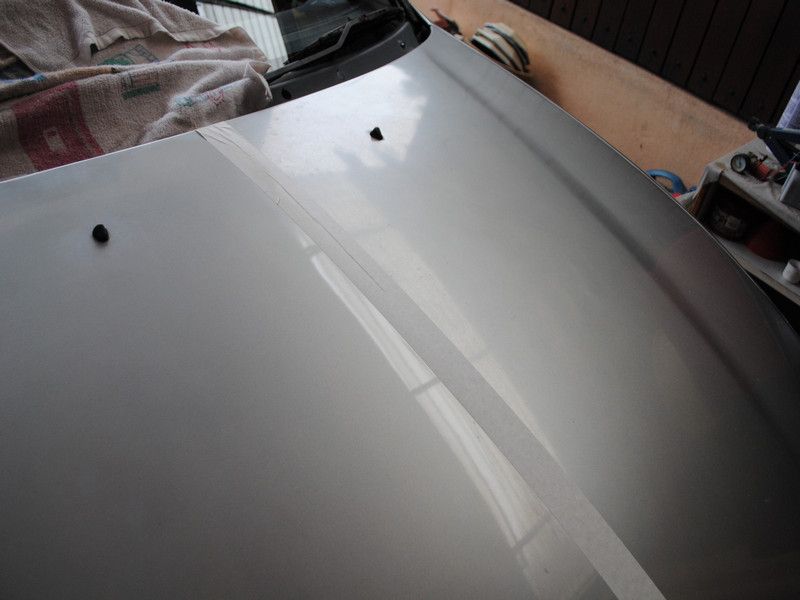
After taping the windscreen..... its time to see all the problems with this windscreen... mineral residue...
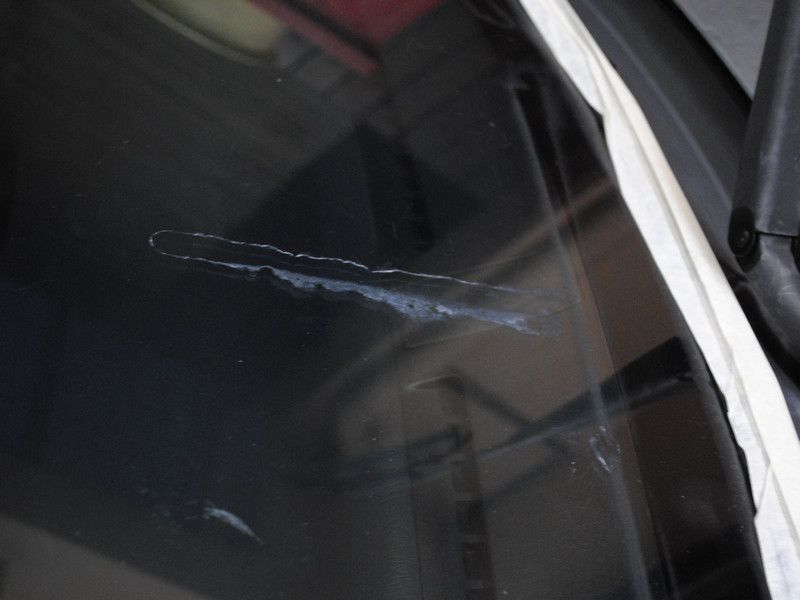
Wiper mark at the bottom as the car was not used for 3 years...
A 50/50 after removing the tinting and polishing

Another 50/50.... pretty good results.....
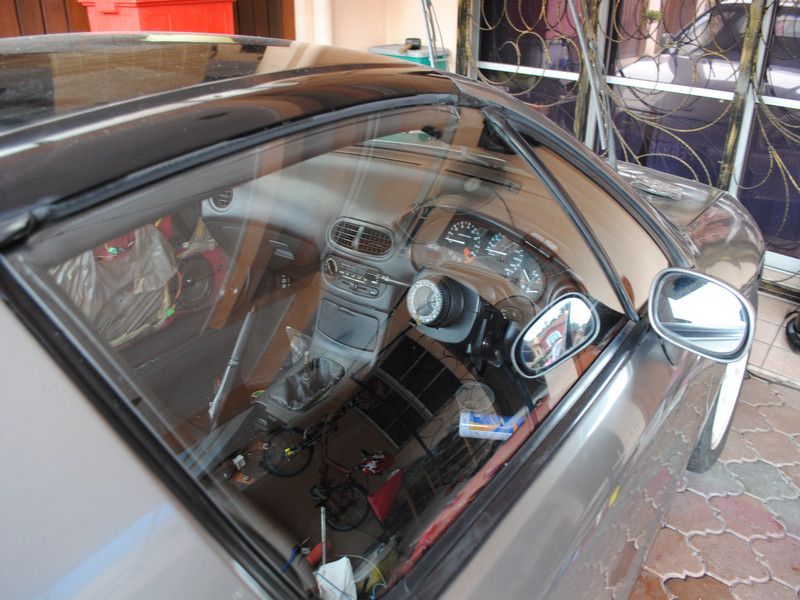
From inside, you can really see a WORLD OF DIFFERENCE.
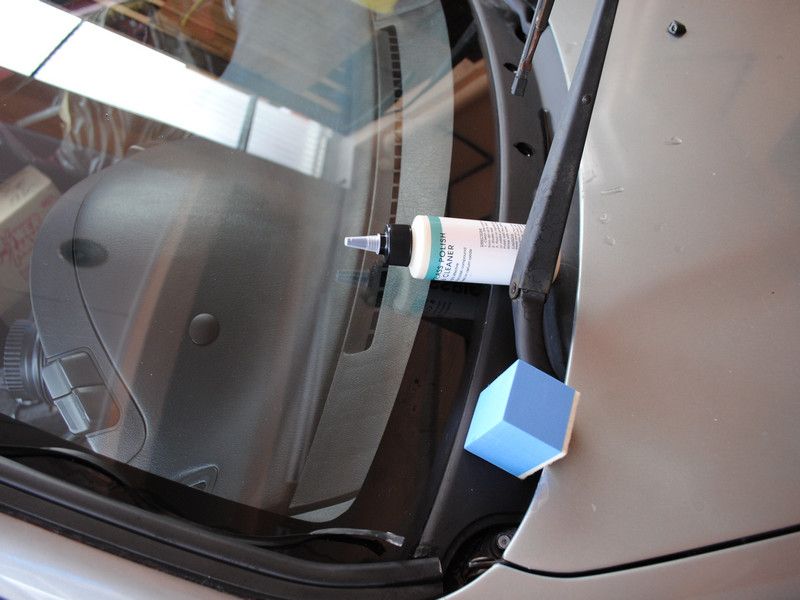
Secret technique...... using a Dual Action Polisher + Glass Polishing Pad + Glass Polish.
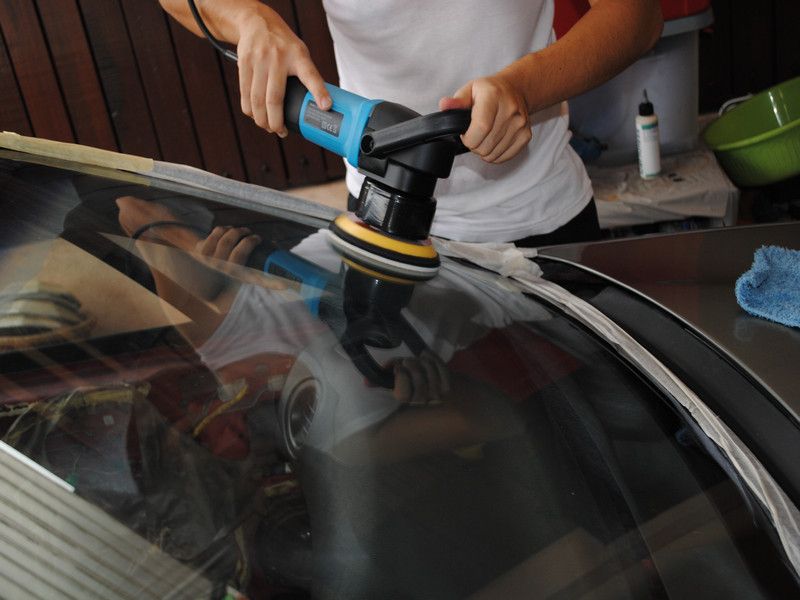
After done polishing, its time to wash the windscreen with Osren Bubble & Wax.
Then washed with OPC 1:3 to remove any polishing oil.
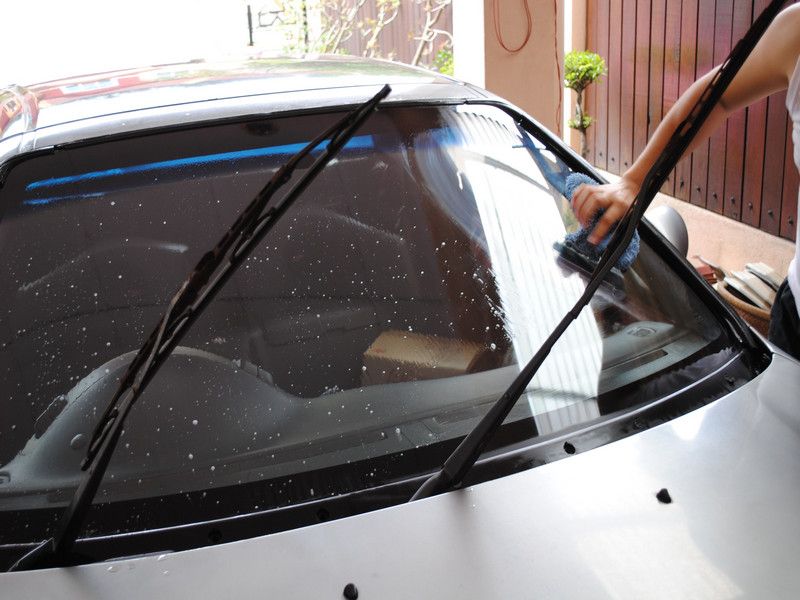
What do you think?
I would say its pretty shiny and would be a winner shot.
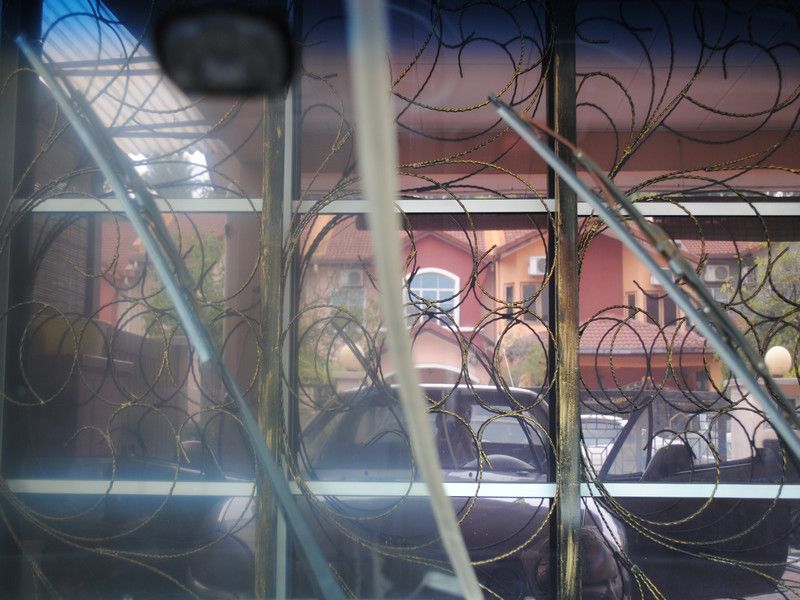
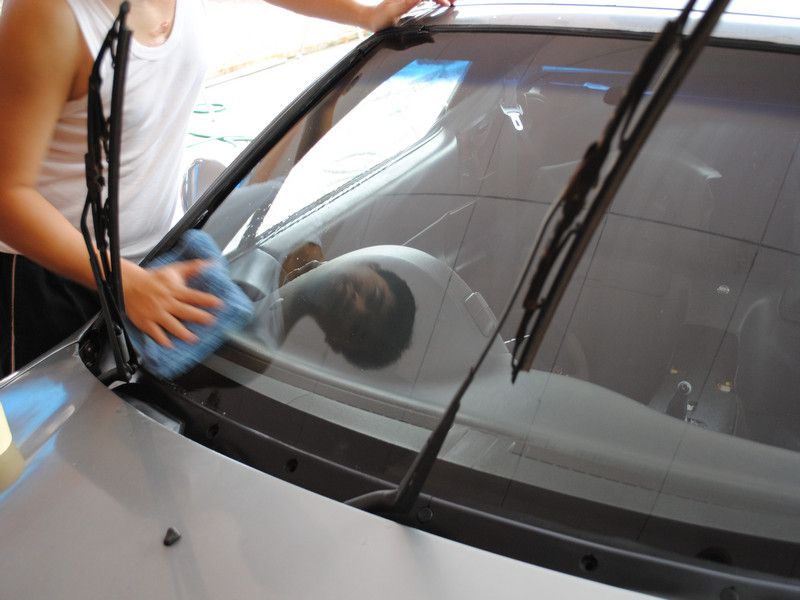
Why take a photo of the wiper.... btw, this picture is pretty clear.....
Even when it was taken from inside the car.... that is how clear the glass is now.
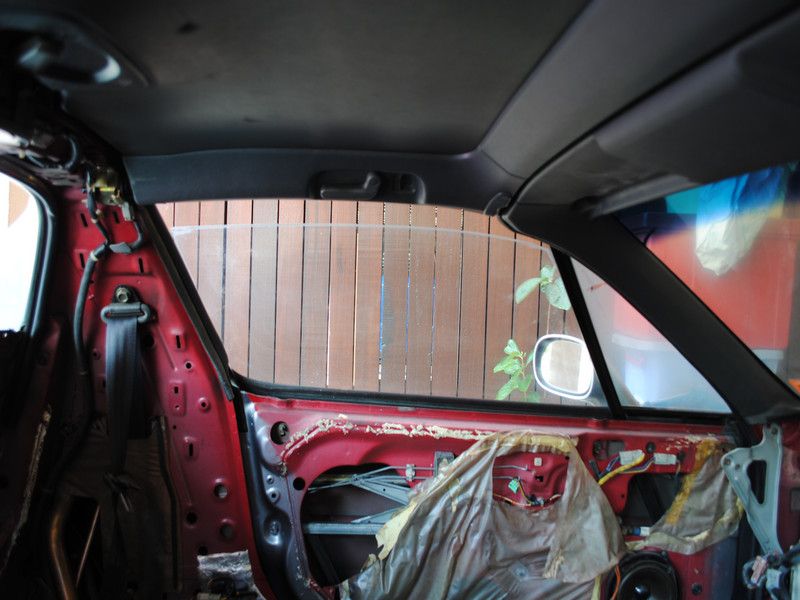
Remember this side window.... It seriously look as if I am shooting the dirt...

So I am now seriously removing the tint. Cause it is like a clear plastic and serves no purpose anymore.
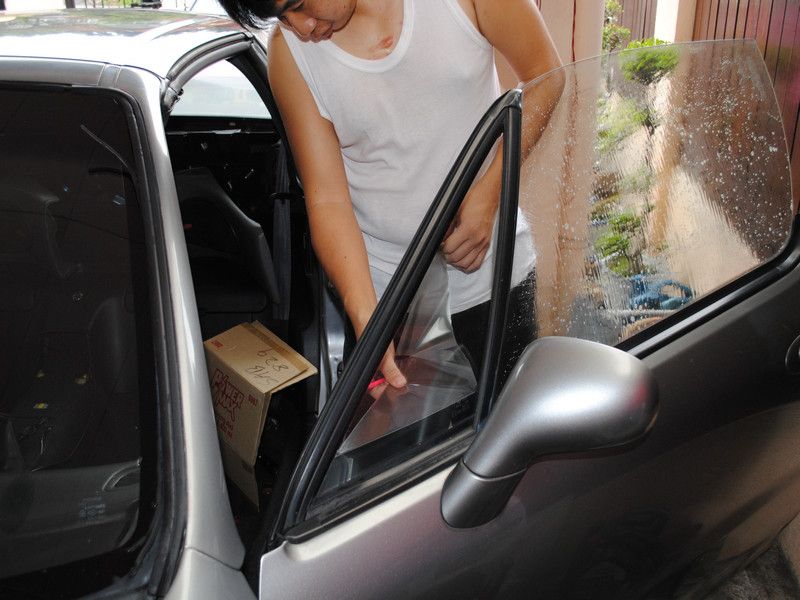
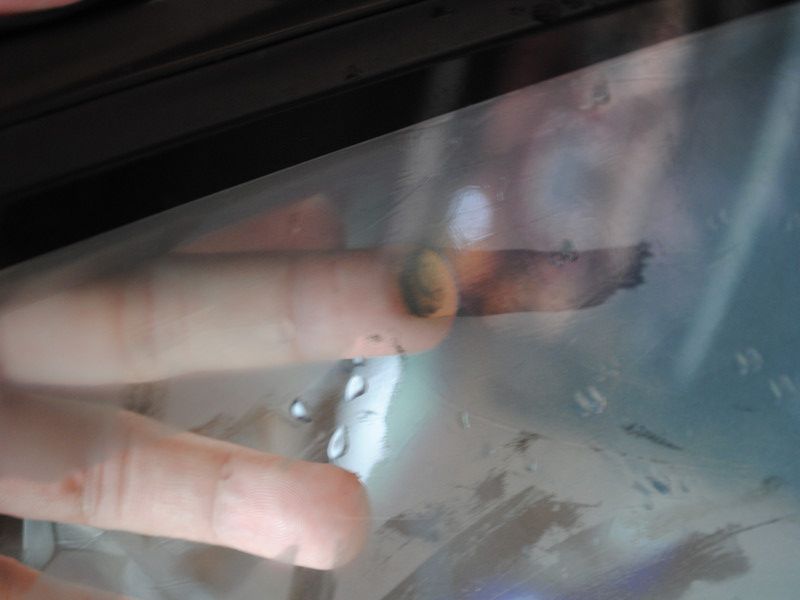
Cleaning the glass with OPC and a pen knife
After that sprayed ONR to the glass and you get water beading on the glass.... nice.
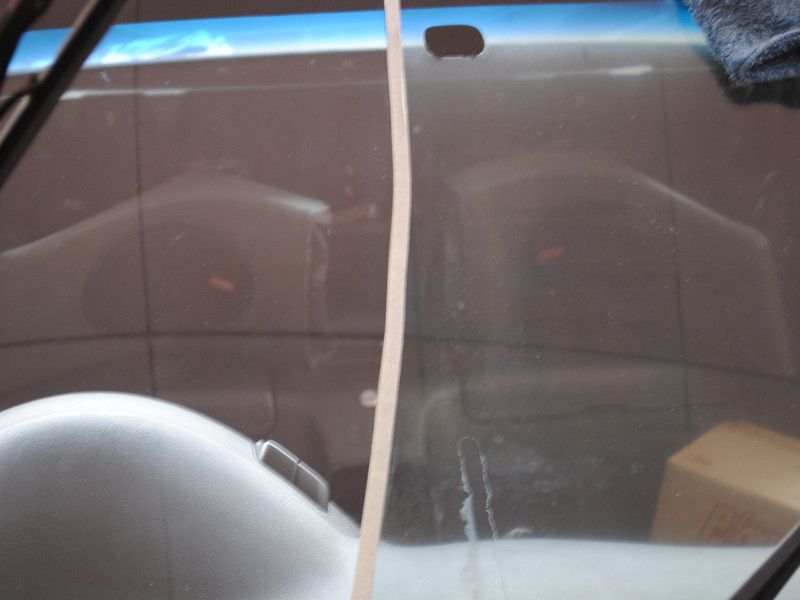
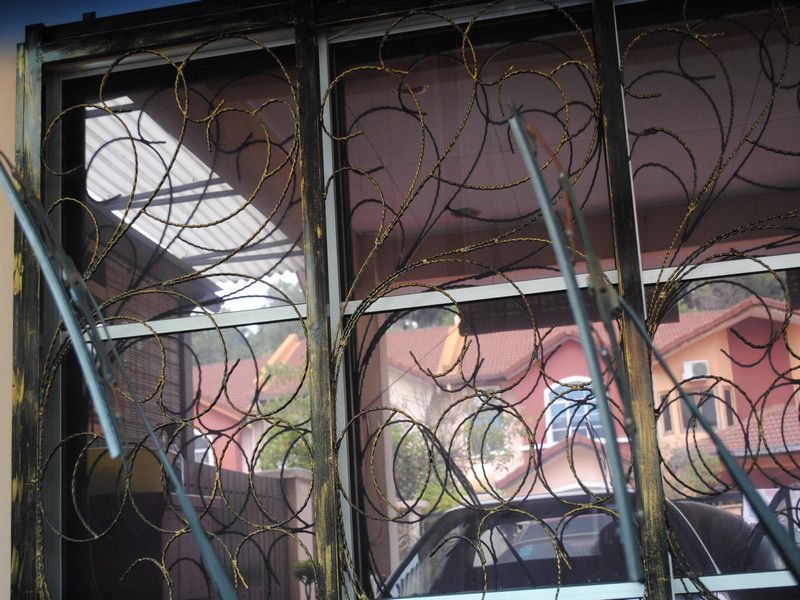
Can you see the watermarks on this glass.....
ZORRO came to the rescue...
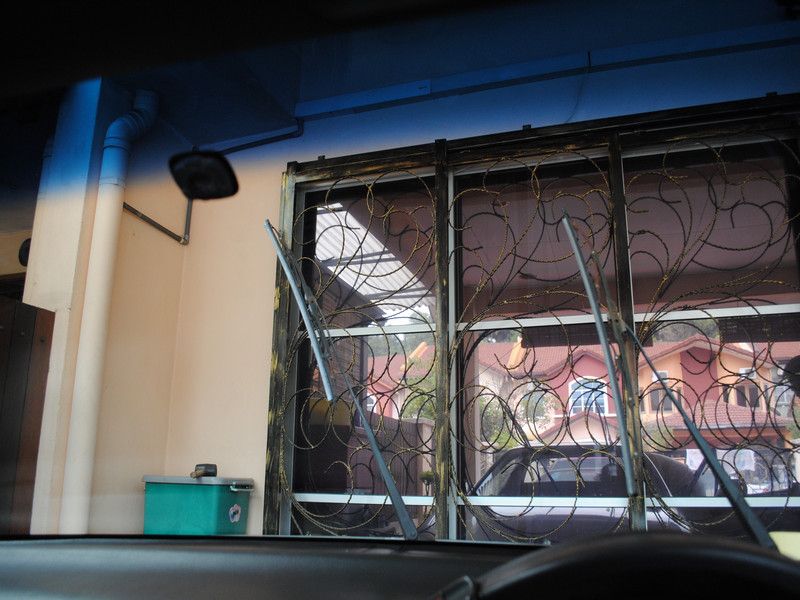
This is before Zorro came..... note that this is taken awhile back hence the plant is still there....
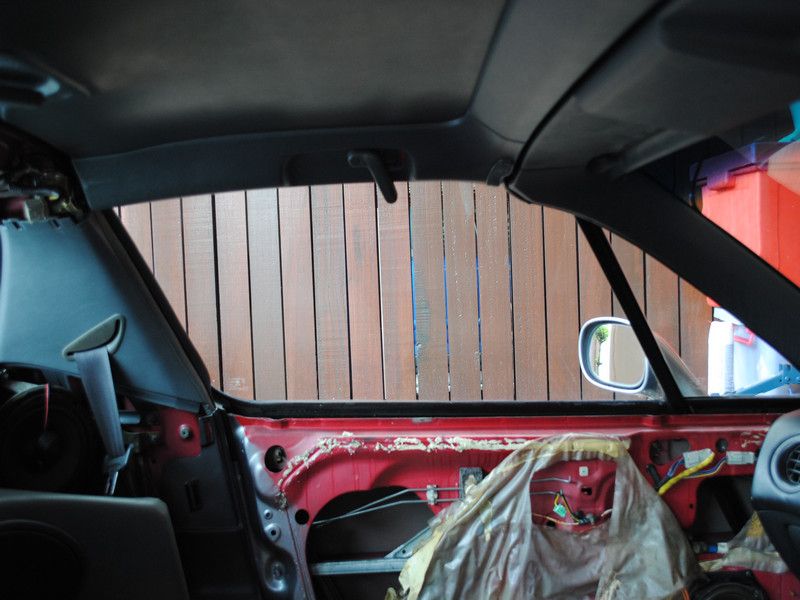
See, plant gone..... this is after Zorro came and stole the plant. Btw, the glass is indeed up even if it is not visible... that is how clean the glass is now.
So we go to the driver side windows now.... dirt is that thick...
Secret to the side windows..... cannot use Dual Action Polisher here as the windows has no frames, the vibration and force may just break it... so use hand...
Not so consistent with hand power....
But still, end results is a shiny glass, definitely a winner shot.
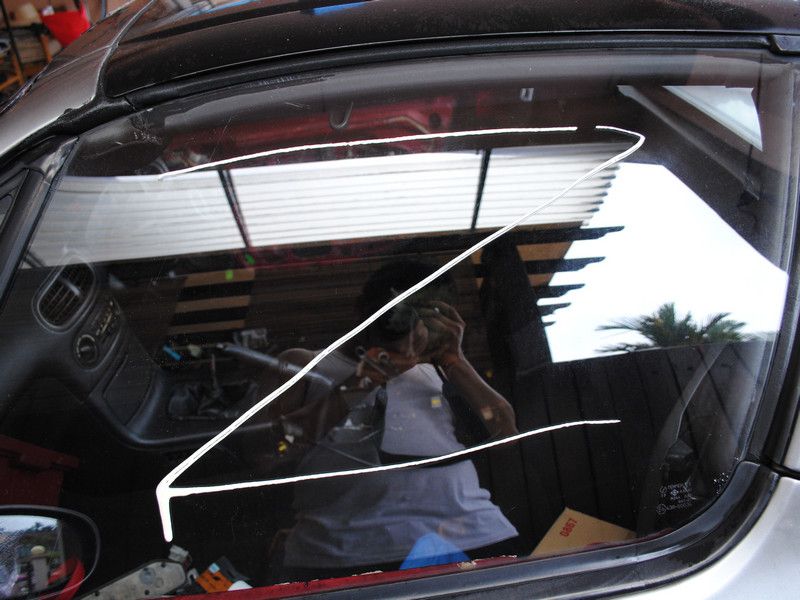
Until this shot came along, try and spot the glass..... pretty easy if you follow the window line.
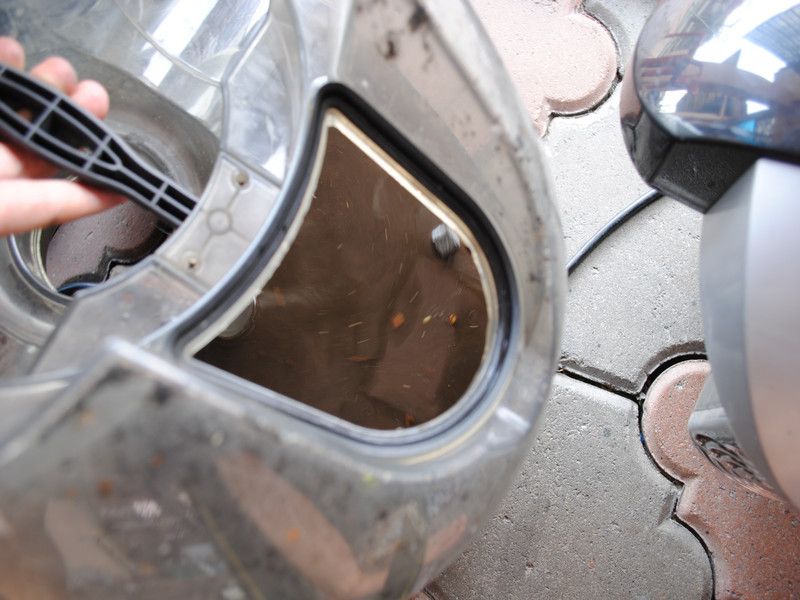
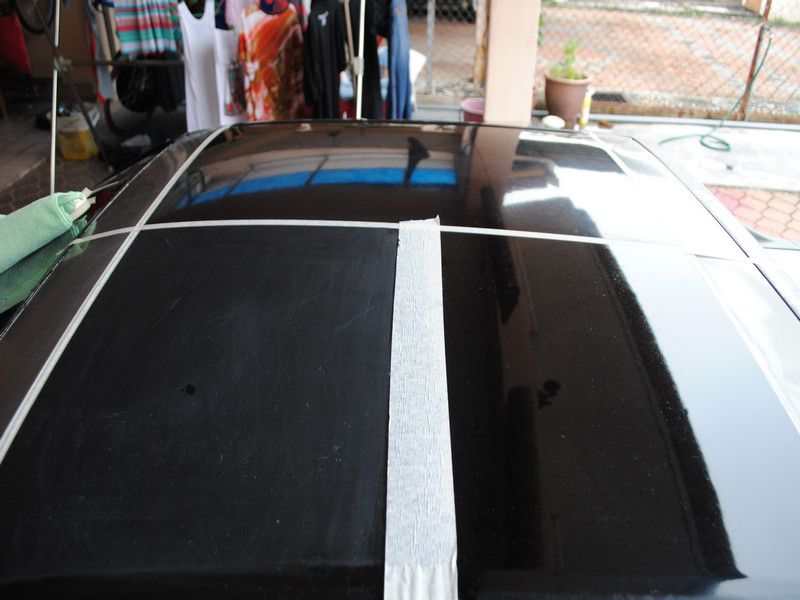
Now we tape up the headlamp.... for some fun.
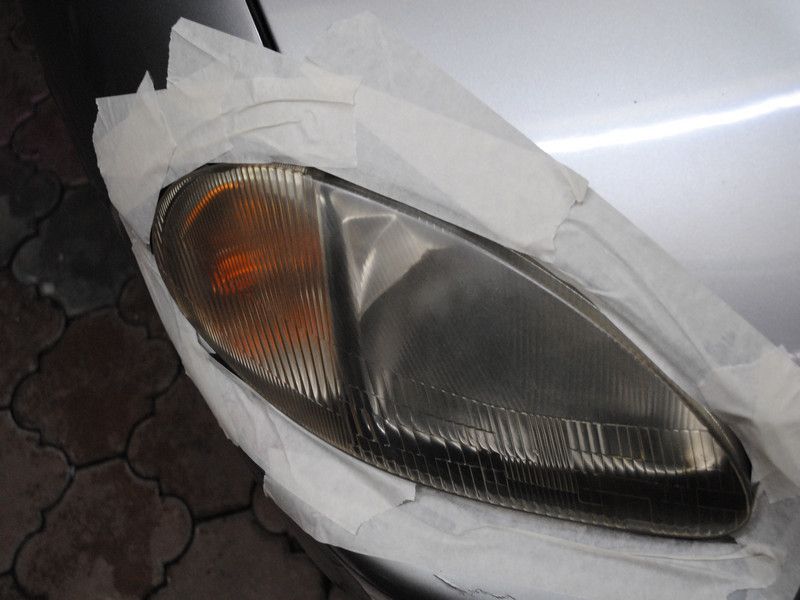
Sanding starts with 1500 and followed by 2000 grit.
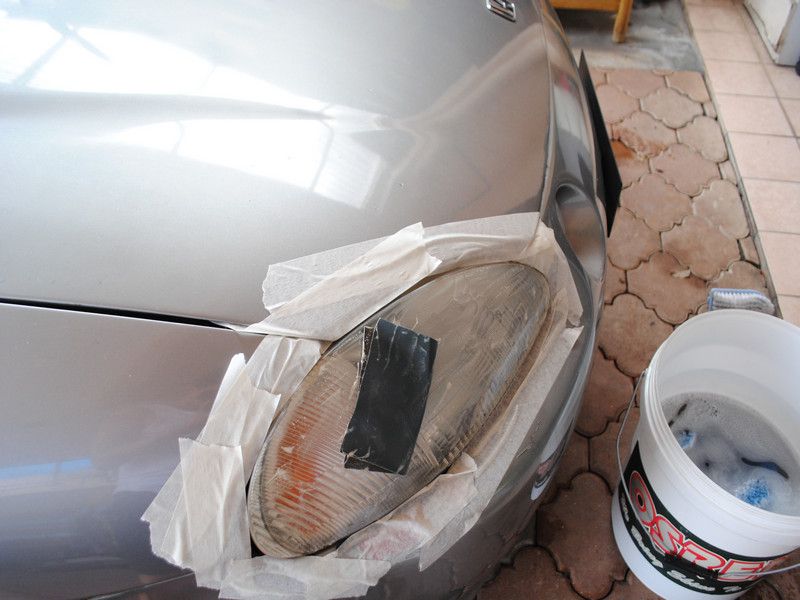
See the amount of residue and plastic is removed.
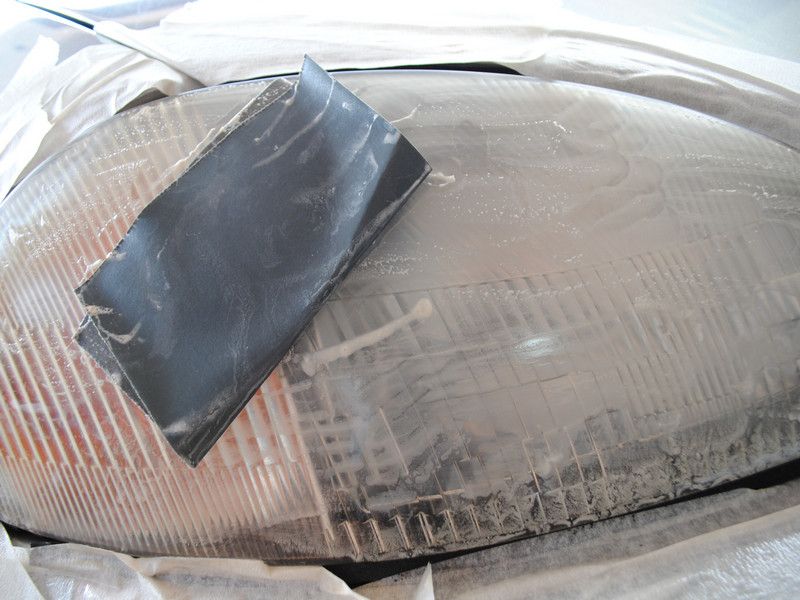
This is after sanding, can see the difference between both sides. One is whitish, one is yellowish. To be picked up on another day. Move on to other things.
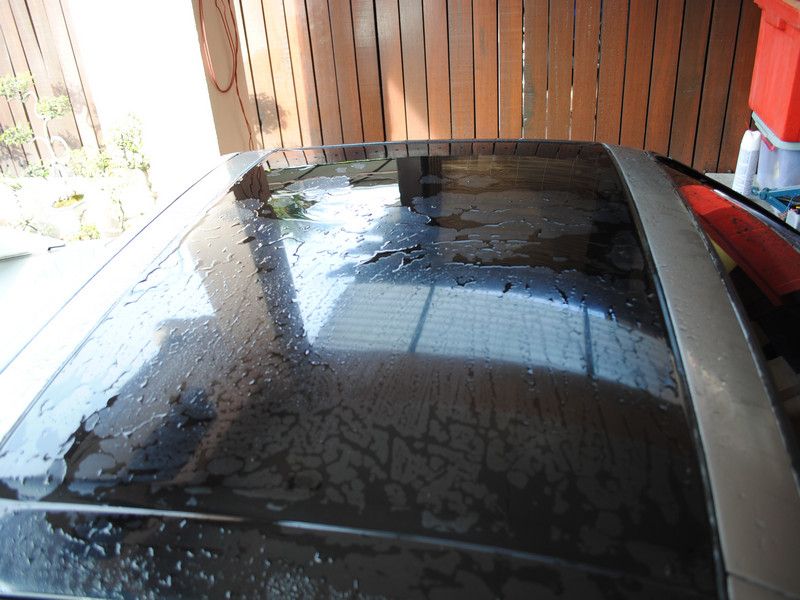
Dusty roof.... left around for too long,

Going to clay the car after giving it another wash with Osren Bubble & Wax. Using ONR as lube.
After wash..... water sticking, whole roof feels gritty.
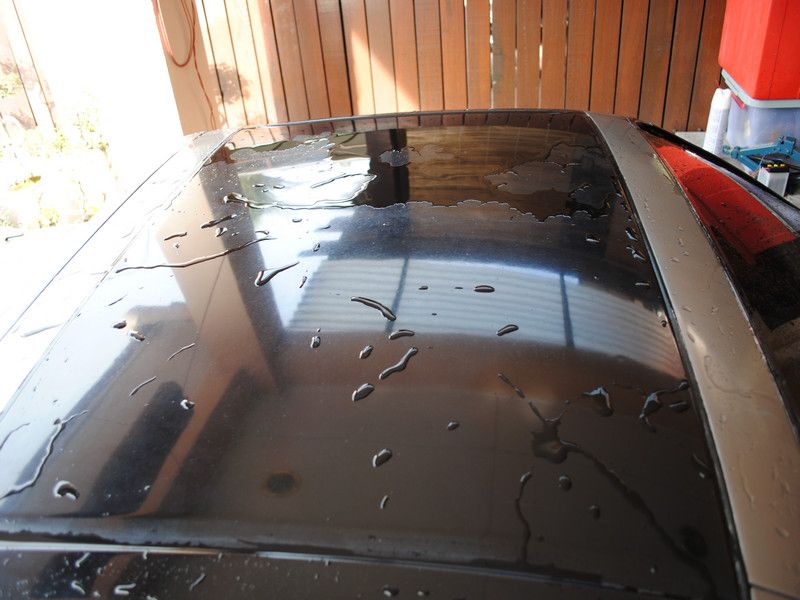
After claying half the roof.
Cleaned again with water and you can see that water sheets away from half the roof (also partly because of ONR was used.)
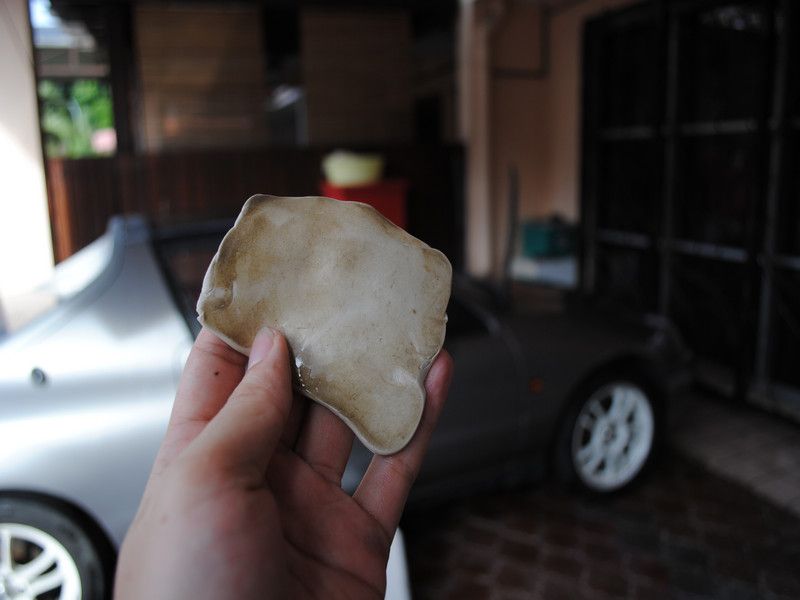
This is what was removed from half the roof..... and its a really small roof.
After the roof is done, proceed to the bonnet and this is what was removed.
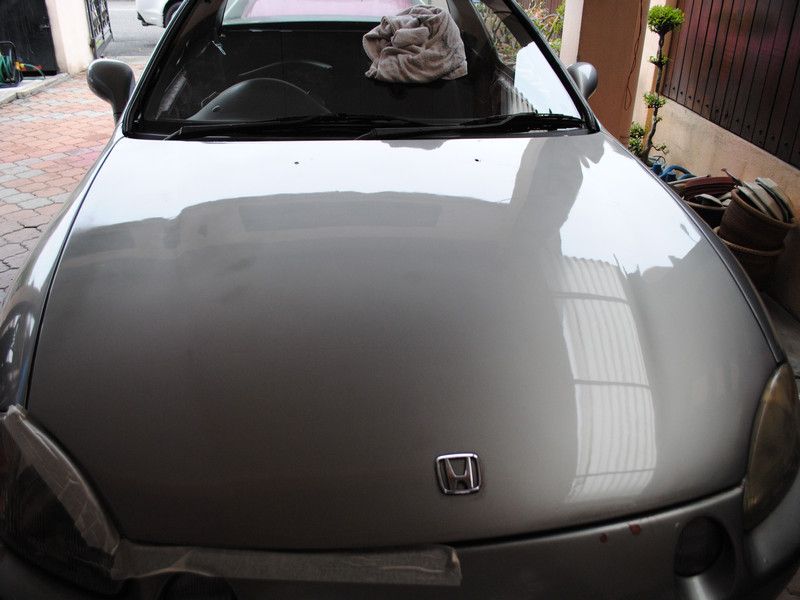
Did not take more picture of the claying as that would bore all of you all. By now, it should have probably taken you guys/gals bout 15 minutes to reach. So now, we tape off the bonnet and went towards restoration. After one pass of Optimum Hyper Compound > Optimum Double Sided Wool Pad + Makita 9227c.
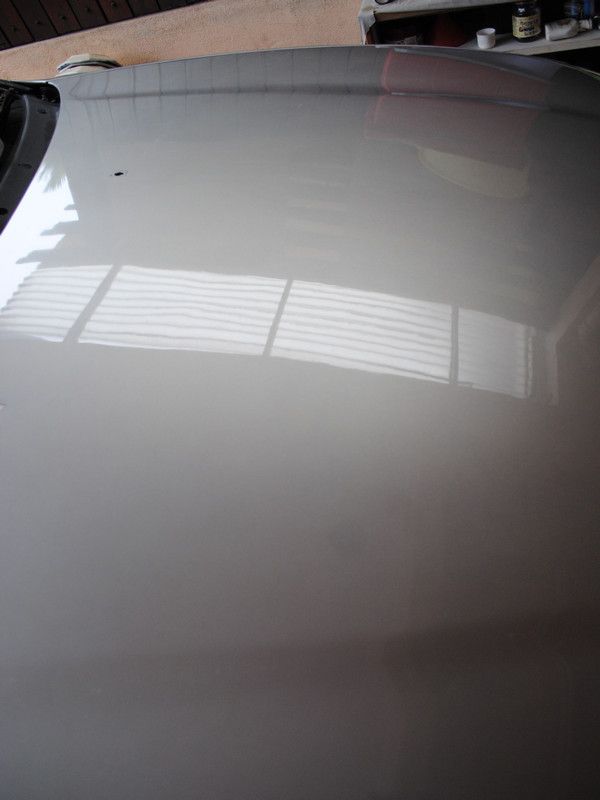
Pretty good for one pass.
Went at it a few more passes and you get sweetness.

Notice how the reflection is restored. Cause compounding removes oxidation and scratches. Basically removing the top layer of your clearcoat.
This clearly shows how big a difference it is. Btw, do not polish and compound your car too often as it thins your clearcoat which overtime would cause lots of problem.
Difference.....need not be pointed out.
And I went and pose the 9gag FUCK YEAH pose...... camera a bit off focus.... very off focus. And living to my theme... SINGLETS... the real white, thin and APEK singlet.
Why the pose... cause I completed compounding the bonnet.
Sweet? Note that the some parts of the bonnet, the color is off, cause of bad prep by the painter and also neglect by the owner. Could not be corrected.
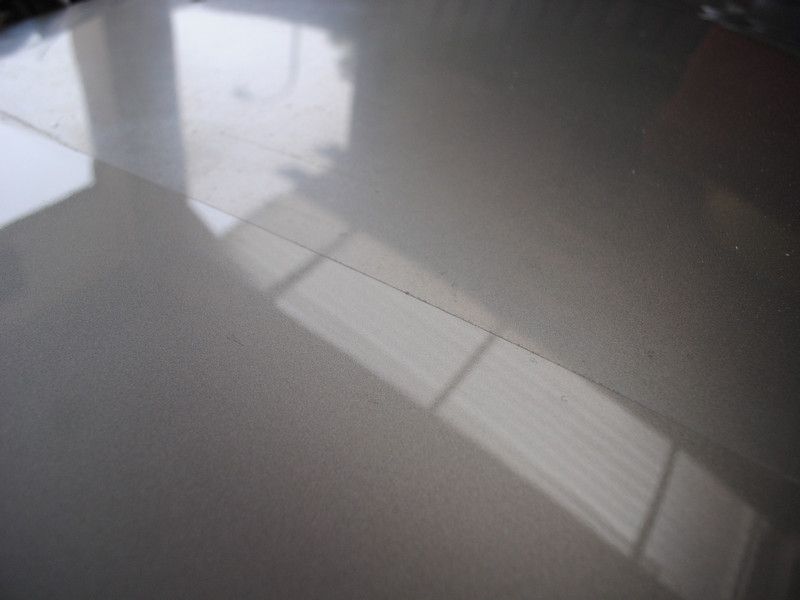
Now, I move on to the roof.... wet sanding quarter of the roof...... made a mistake here as I used insufficient water as lubricant so you see some slightly deeper scratches.
Here you can see the compounded side and the untouch side. Look at the reflection.
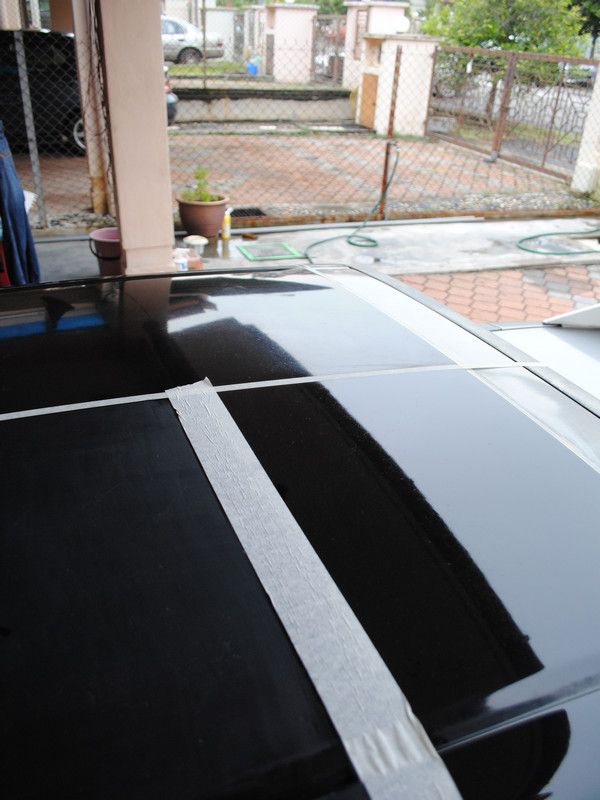
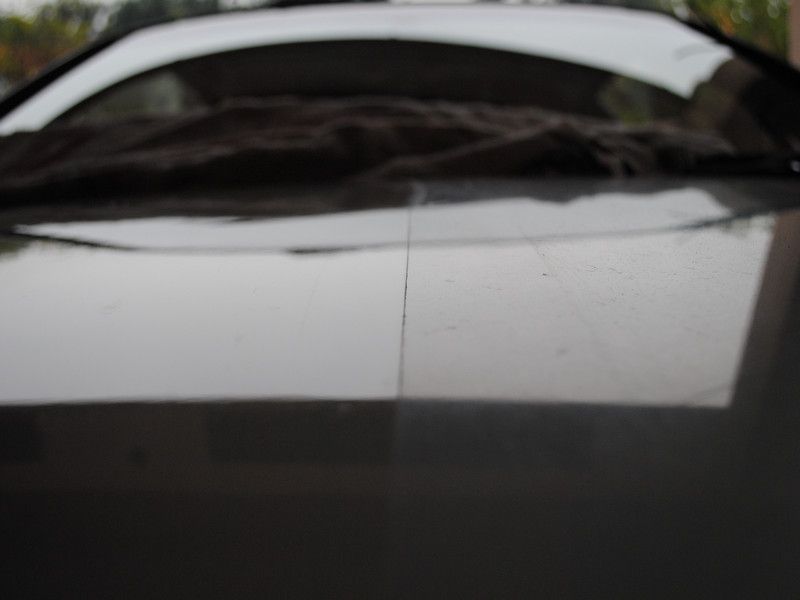
And after compounding 5 passes (to remove those scratch marks), you get this 50/50.
If you have managed to read until here without flash glancing the pictures, I applaud you.
Note:
- This was done over a period of 1 month plus hence the pictures are kinda jumbled here and there.
- Total time spend: Glass polishing: 5 hours, Bonnet: 3 hours, Roof: 2 hours. The rest, cannot remember.
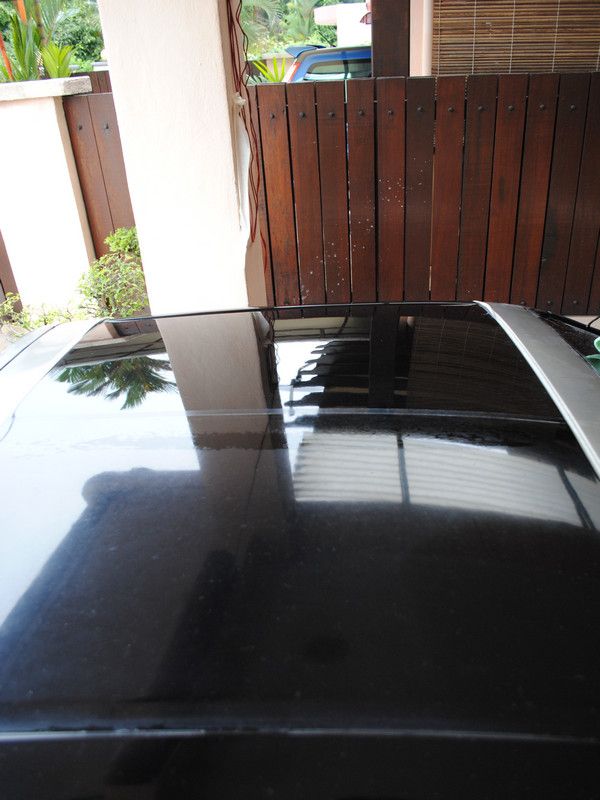
- Roof was completed but no picture as I stop here for the day and will pick it up again when time allows.
- Hopefully the fuel pump gets replaced soon.
- I spend almost 4 hours arranging the photos, renaming them, resizing them, uploading them and typing this long essay.
- Still work in progress, so lots more to do.
Btw, would you guys prefer higher resolution? Leave your thoughts at the comments below. Thanks.