So I was in Melaka with my wife driving her Myvi around when suddenly she felt that the brakes were not biting. It has this sinking feel to it. I tested it and thought it was the brakes overheated. Looked around and found no leaking. So I left the car for a night and tested it in the morning, same sinking feeling with minimal braking power. Something is wrong and requires further investigation.
So I drove the Myvi from Melaka to Selangor with minimal braking power (dangerous but in a controlled situation.) I drove at least 10 cars away from the cars in front where I know i have enough time even for a super last minute emergency stop. So all is well.
Further research and I found what could be the possible cause. A leaking master brake pump. So even more extensive research was done and found the below website:
http://me2kimi.blogspot.com/2012/02/myvi-brake-master-pump-repair-kit.html
I believe the author of this blog is also a member of the ZTH forum where I normally post my work. So I would like to take this opportunity to thank me2kimi for the guidance on his blog which proves useful. Not forgetting Izso on the brake bleeding part.
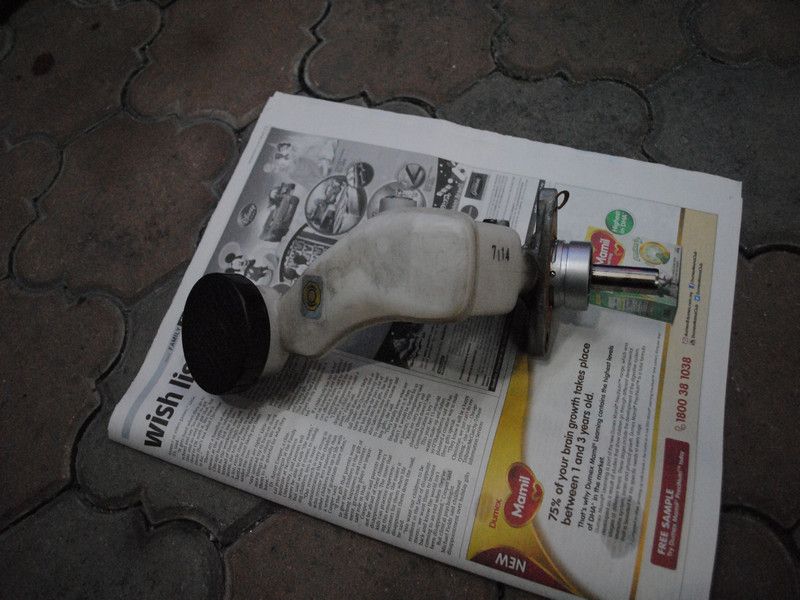
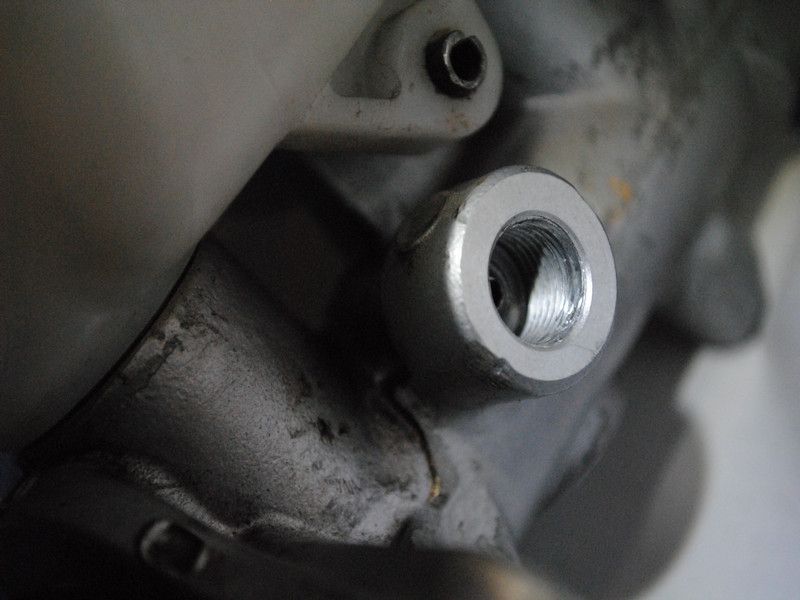
So, this is the master brake pump... no leaking on the outside. A bit dusty
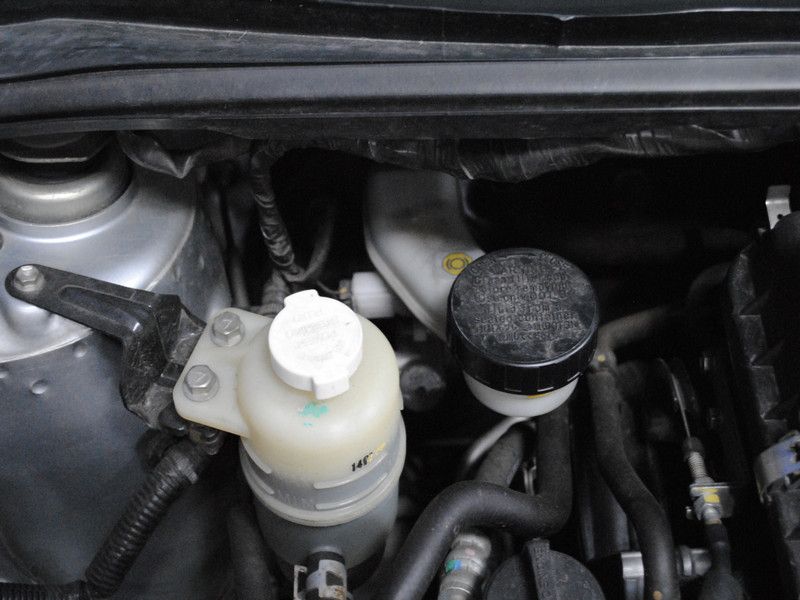
Like me2kimi, i removed the power steering reservoir for easier access.
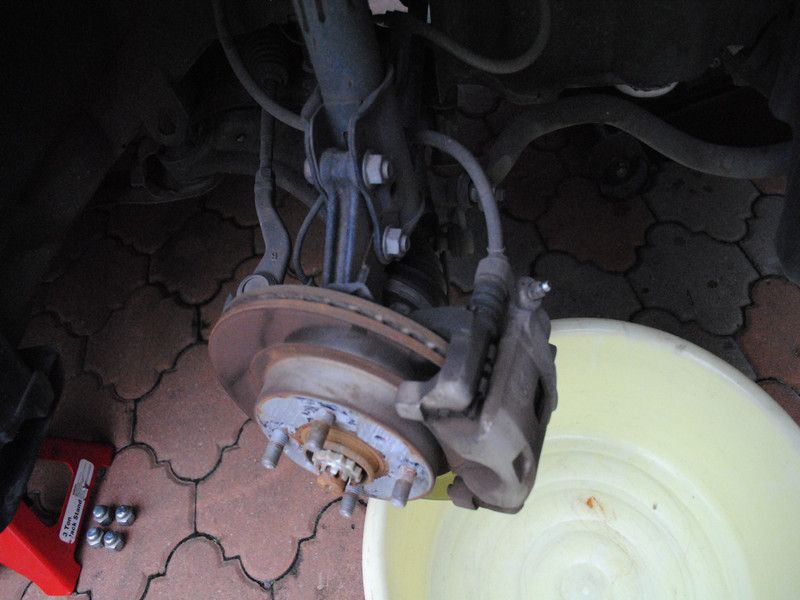
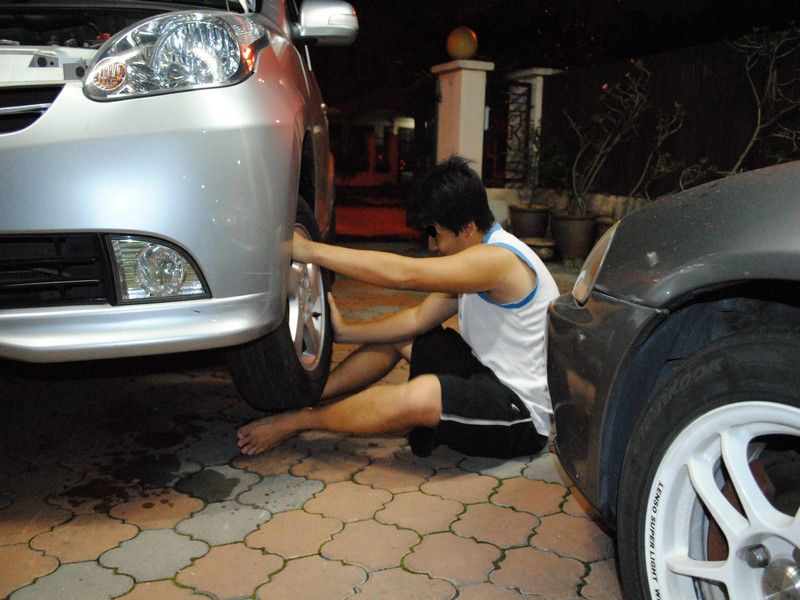
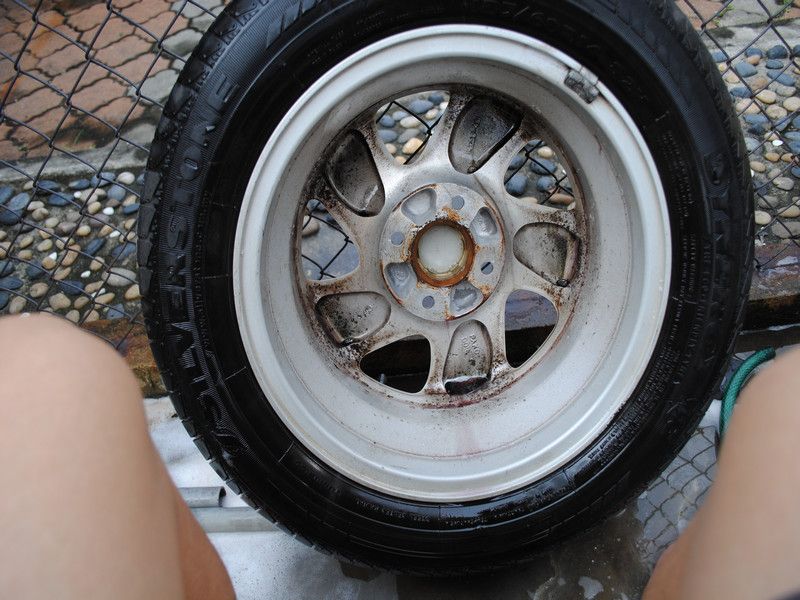
Removed the wheels to prepare to drain the brake fluid.
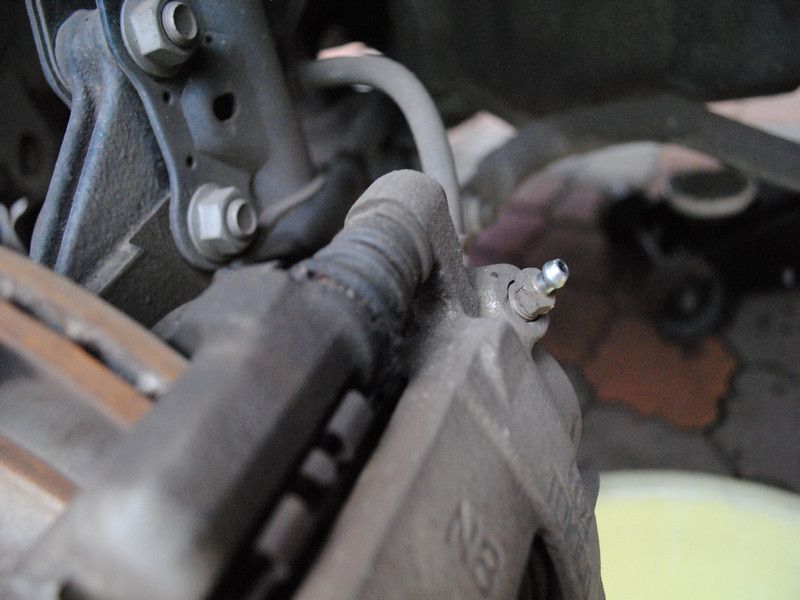
This is the nipple to bleed the brake fluids. It is actually covered with a rubber boot but I removed it to complete this job
Drained enough fluid to make sure the master brake pump is empty or at least mostly empty. Yeah its kinda dirty cause the brake fluids have not been changed for 5 years/66k km
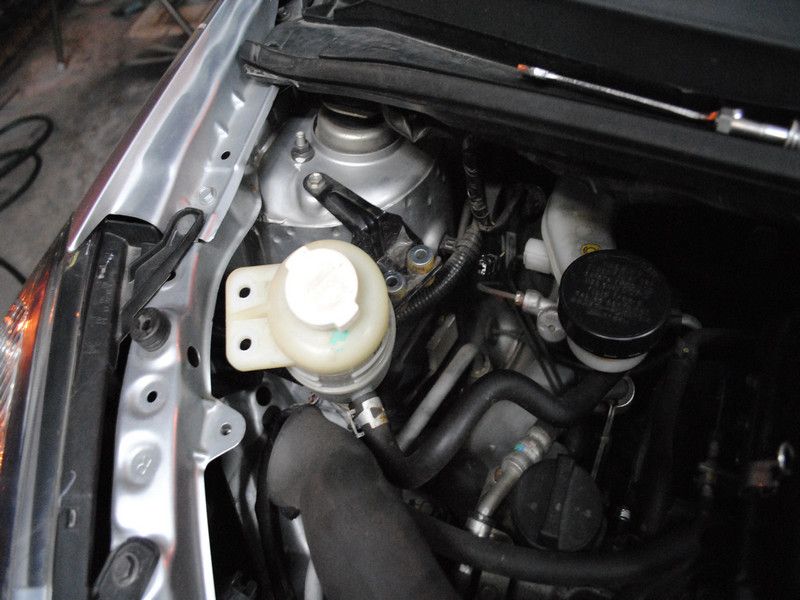
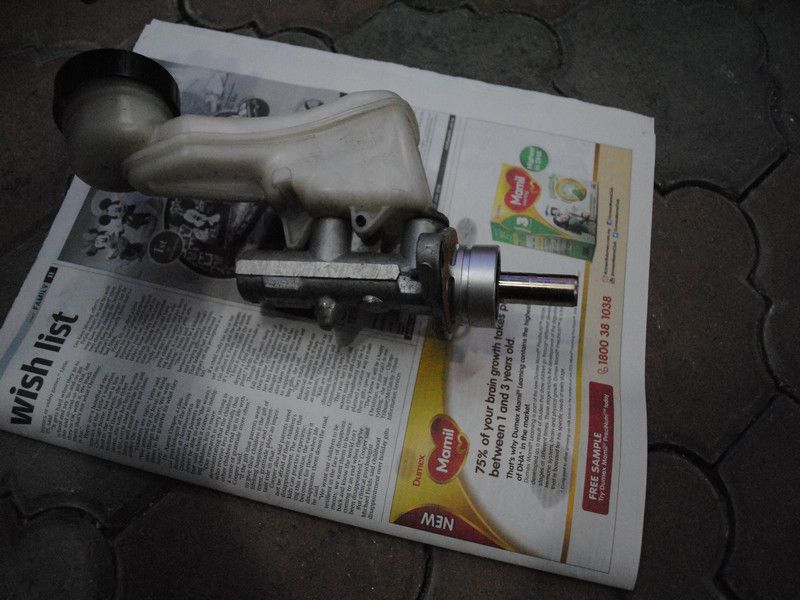
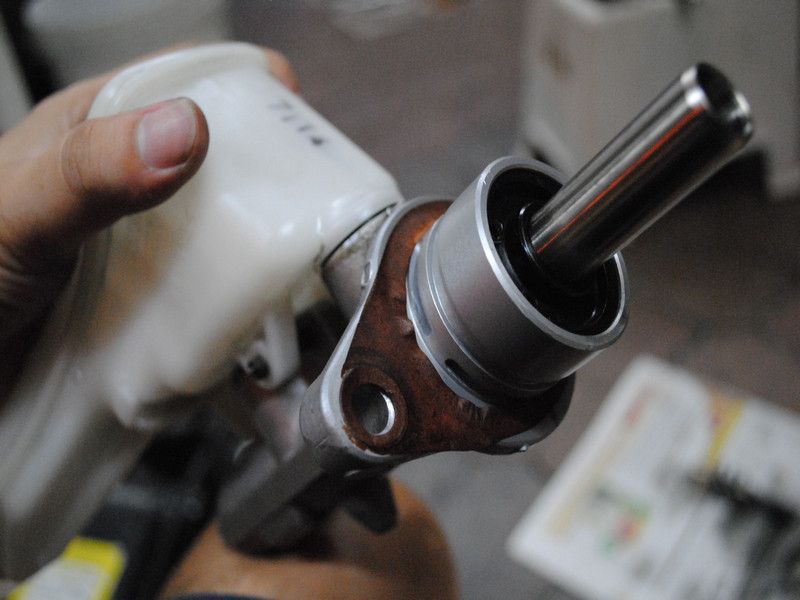
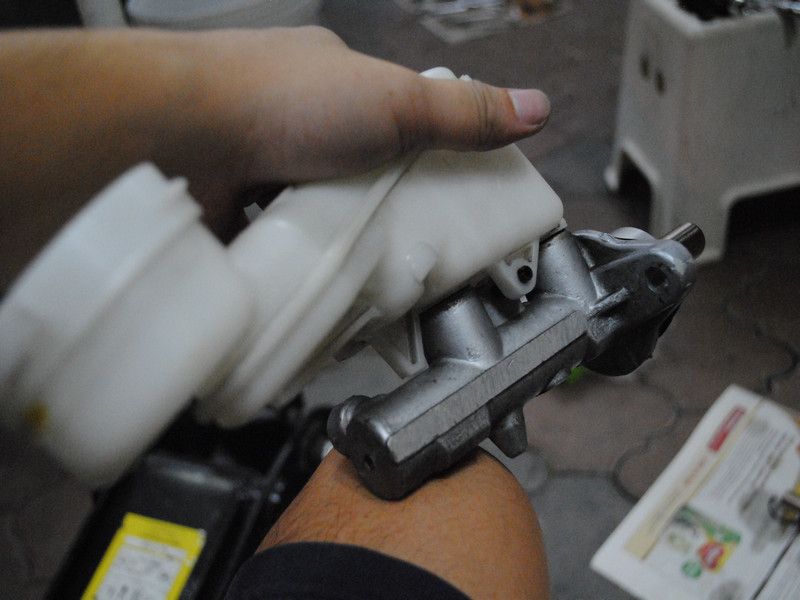
One side view of the master brake pump
Another view of the master brake pump.
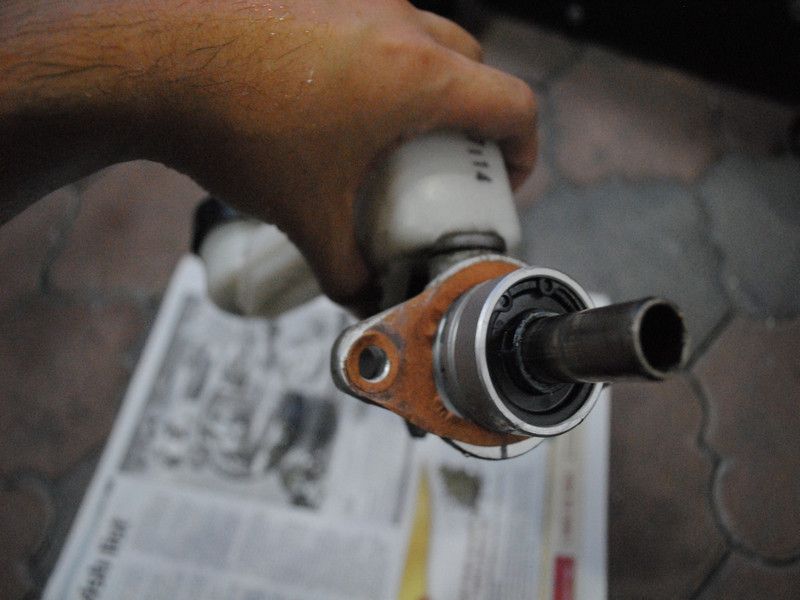
This is the connecting rod to your brake servo..... make sure not to break the gasket... else have to buy new gasket.
After removing the first part which was kinda easy. Use a c-clip plier. Can be purchased for RM 9. Some call it the electronic plier.

Removing the 2nd part is a bit more tricky. Use a flat screw driver and compress the spring inside the master brake pump and turn it upside down so the pin locking it falls out.
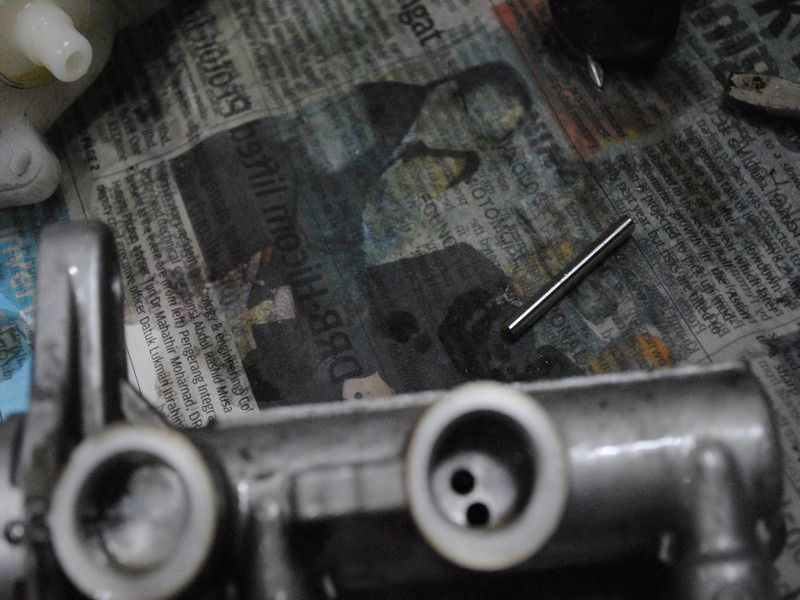
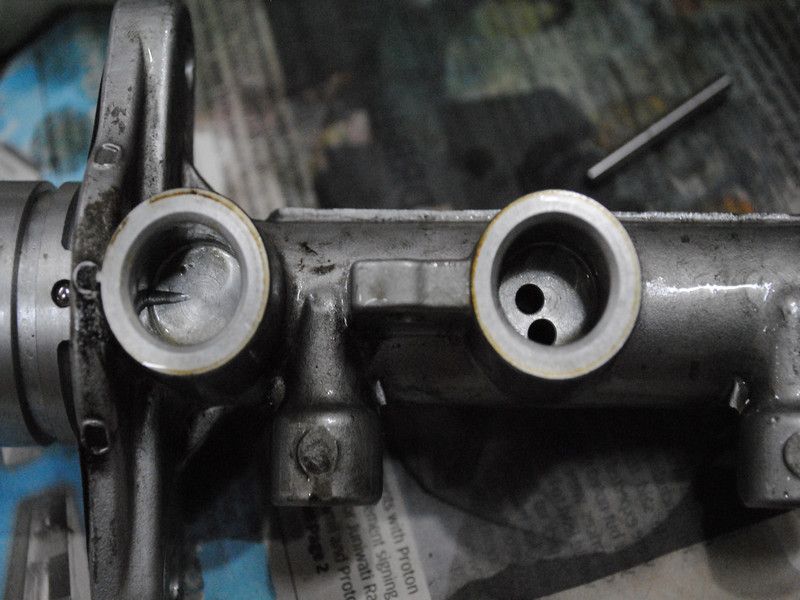
After removing, you will see two holes instead of one.
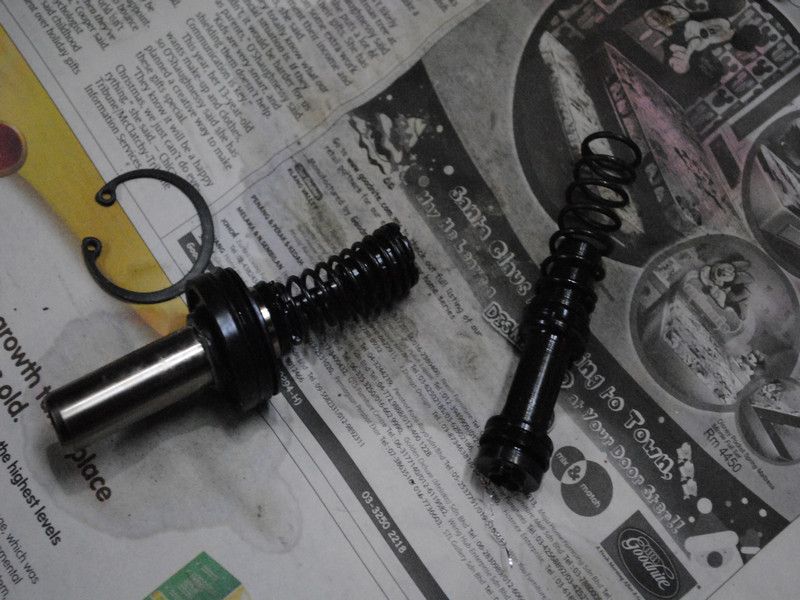
All the parts out. You can see that I arranged the brake service kit next to the old one in the same order so that I do not mess up.

Installation of the servicing kit is exactly opposite of removing it. Just back track and you should find this an easy job.
Installed the reservior again.... making sure there is no leakage and it is sealed nicely.
Was installing it back when disaster happen at the last screw...... the thread is....... gone.... thanks to stupid me and my thick muscle head.... it was tight and i continue screwing it in till the thread is broken....
Have to wait till the following day to sent it to the machine shop and have it re-threaded. This is after re-threading.

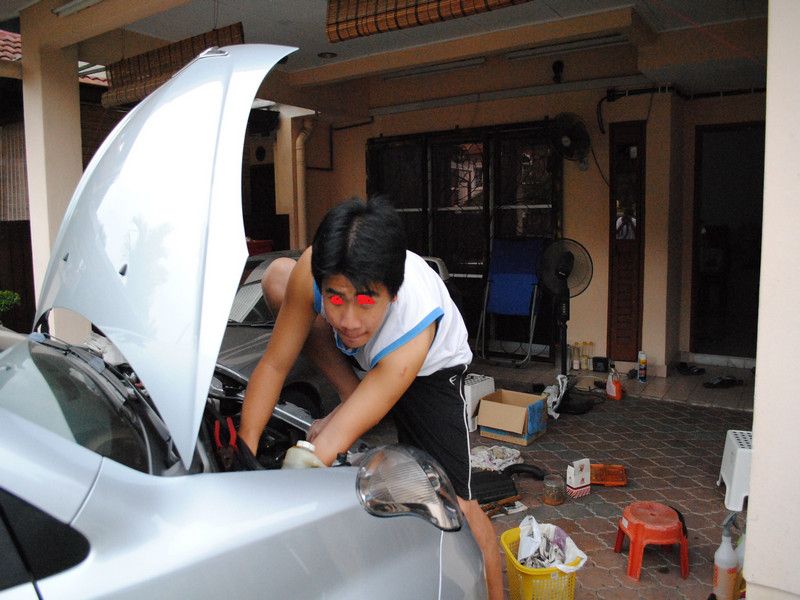
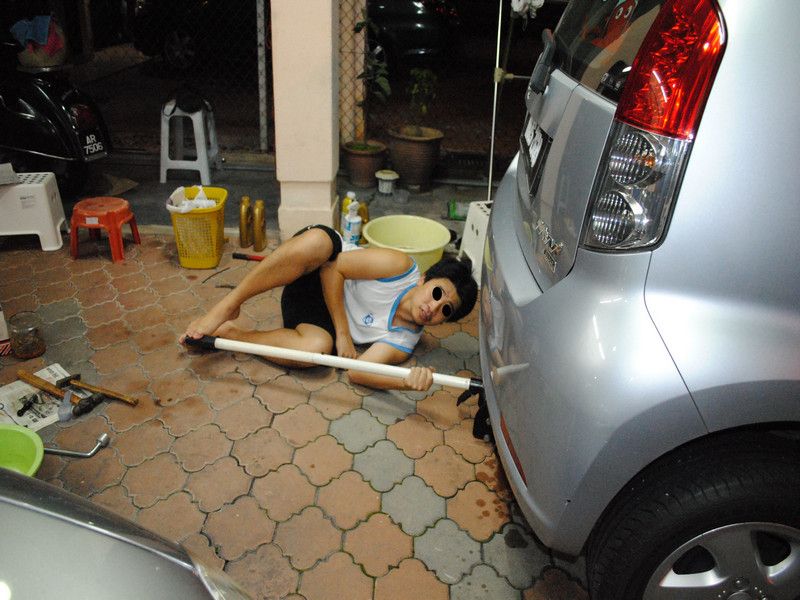
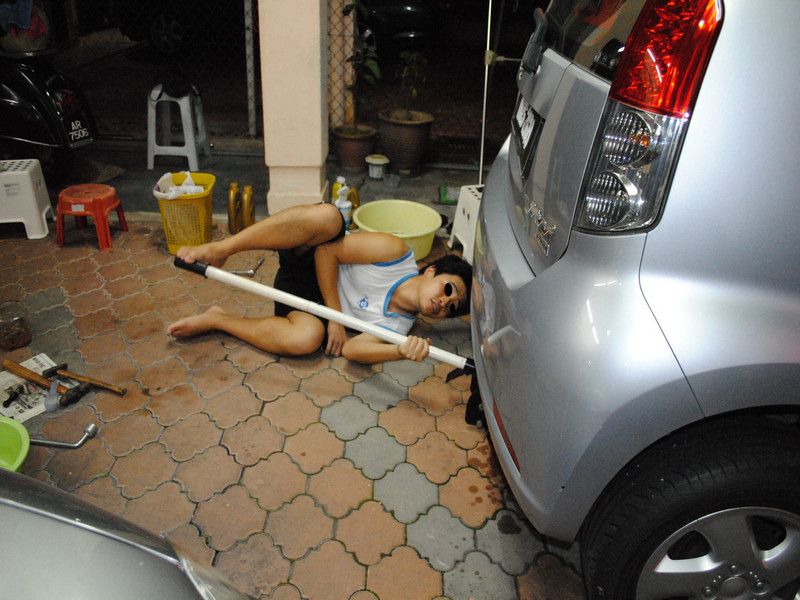
Yeah, the master brake pump is a bit hard to reach so I was literally climbing unto the car.....
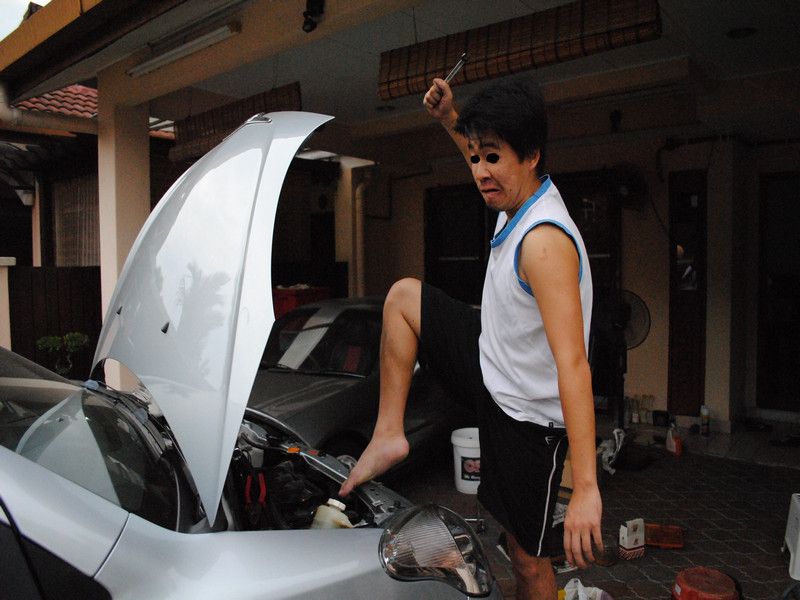
I was getting pissed cause the nut still refuse to enter..... it was only after almost an hour before it got it in properly.... btw, the post is just for fun..... proof that one can have fun while working on something.
And I install rims with hands and legs.....
Heck... I can even operate my 3 tonne jack with my legs....this is DOWN position
And this is my spreading my legs position..... UP position lar.
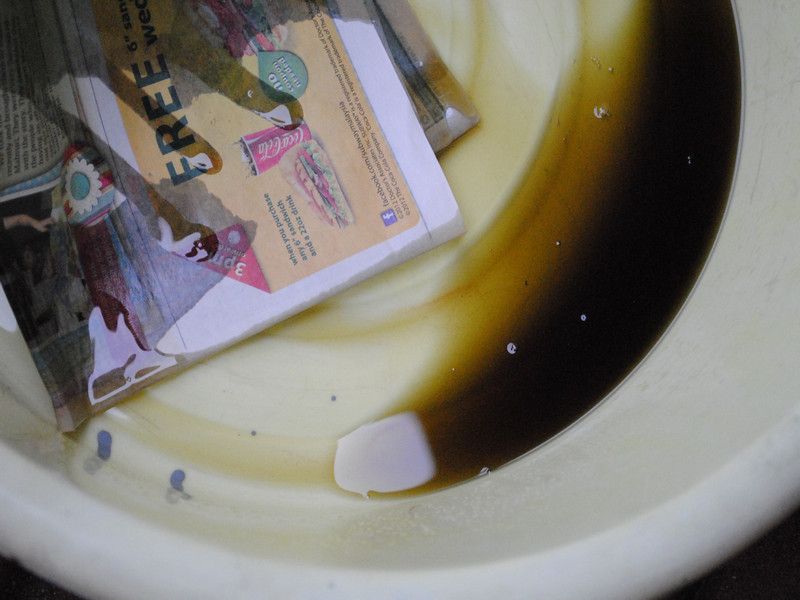
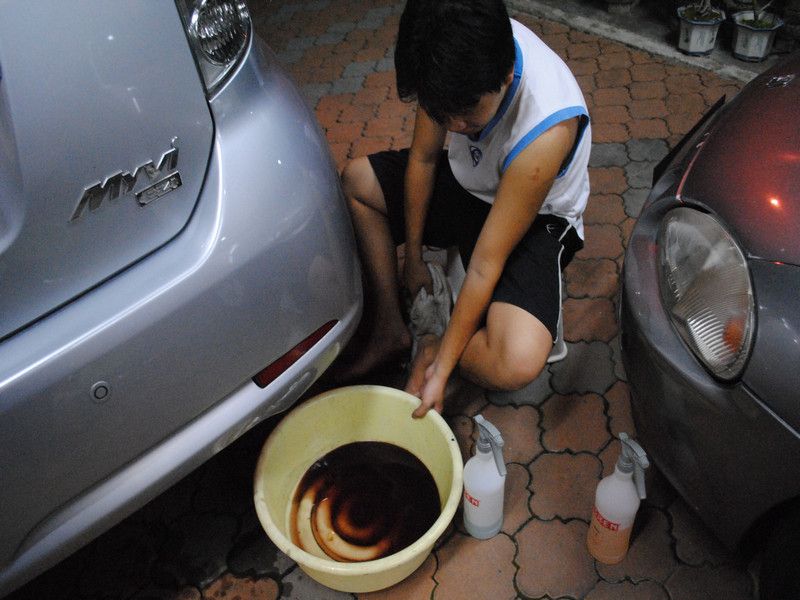
After bleeding the brakes..... this is how horrible it looks... kinda dirty fluid.
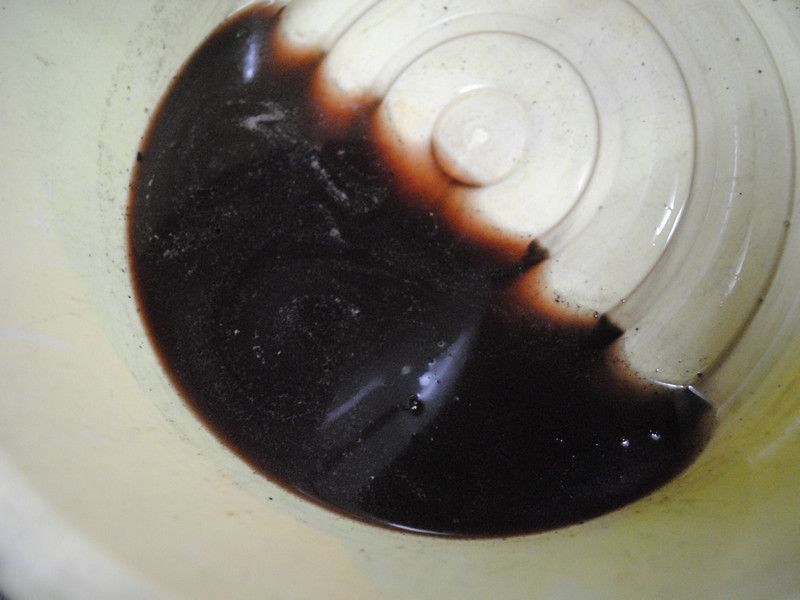
Looks like dark ribenna.... juice.
Final photos of the broken parts.... the cause was the rubber seals around the pin that probably have shrunk thus leaking pressure.
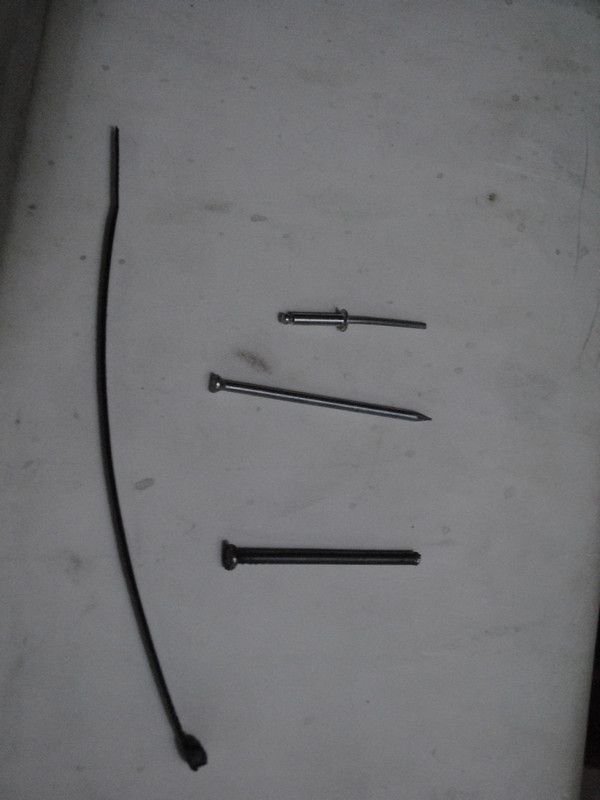
The not so conventional tools used..... The saw off nail is used to push the pin locking the reservoir and the master brake pump body. The cable tie was used to locate a nut that has fallen into the car's lower arm.
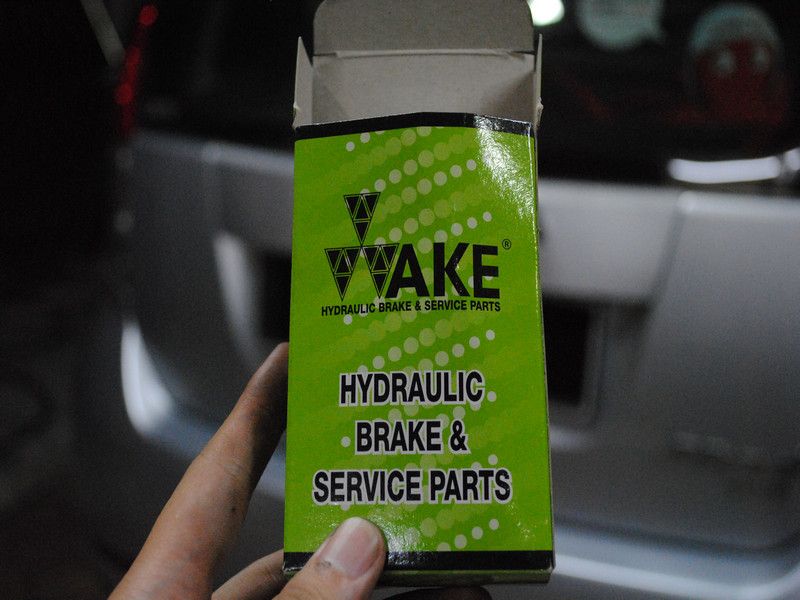
This is the kit used... RM65 at your friendly neighbourhood spare part shop.
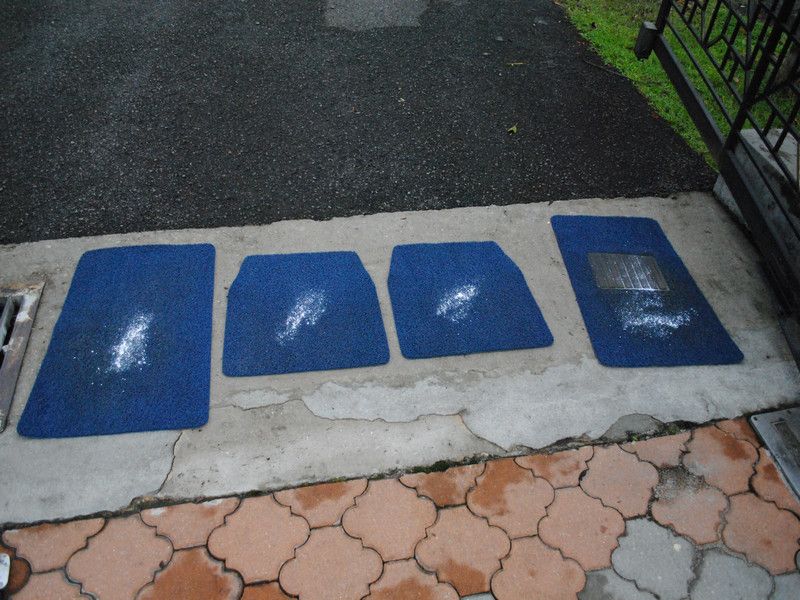
End of the Master Brake Pump servicing.... i decided to do a bit of cleaning.
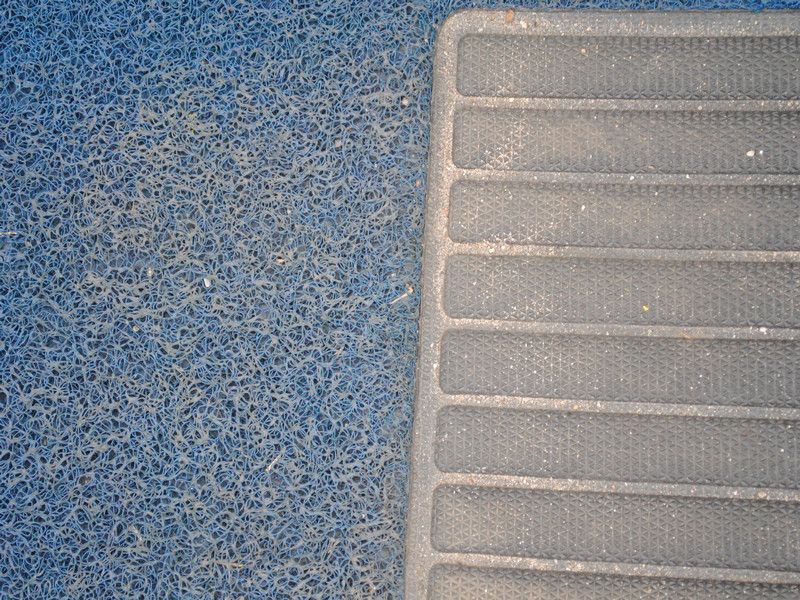
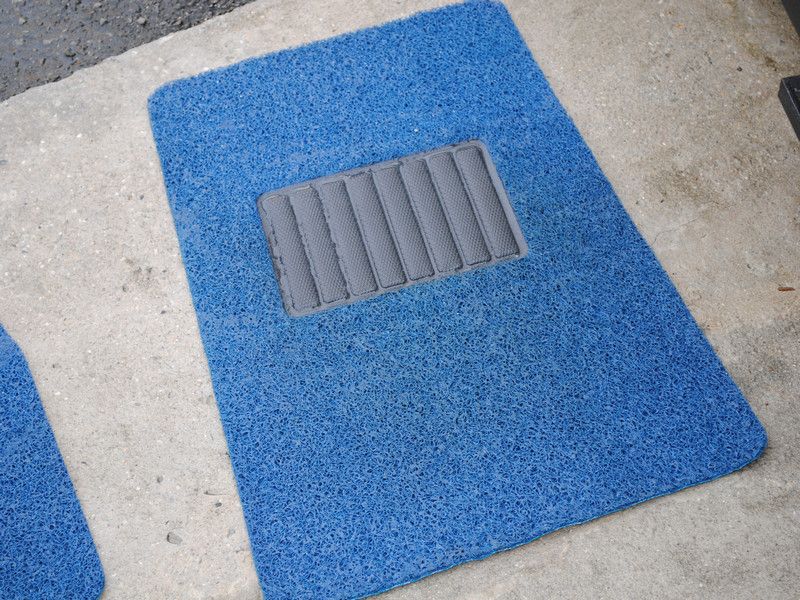
Carpet that has been stepped on for 5 years.... sure got dirt that is hard to remove.
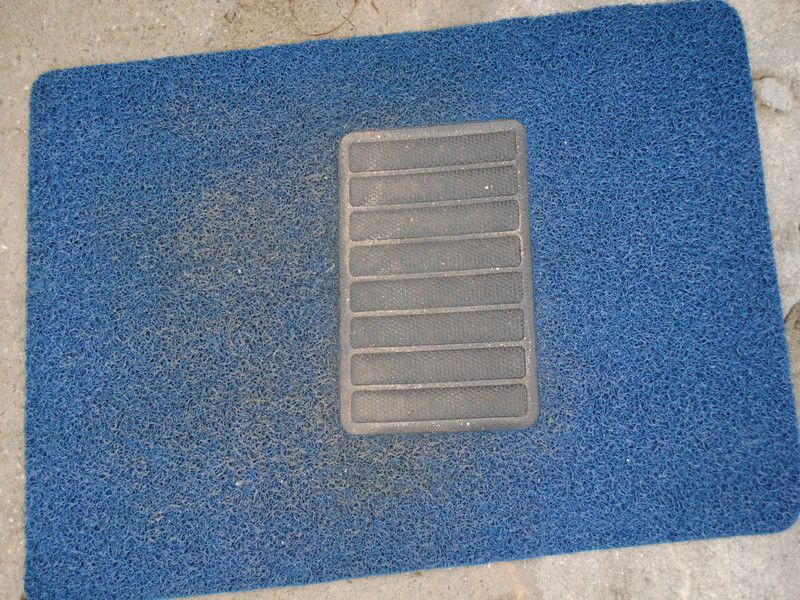
Closer look on the dirt and you see that it is all around the rubber weaves.
Cleaning was done with powder soap used for clothes washing.
Put more washing powder on the severely affected portion
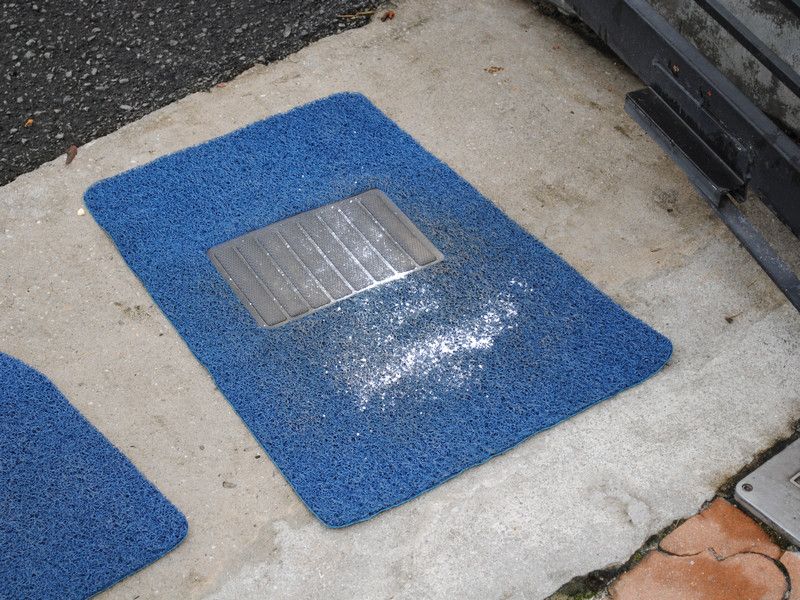
Shoot it with a high pressure cleaner on circular mode and you get the below results... not perfect but at least restored bout 80% of the color.... something I could not do with a brush.
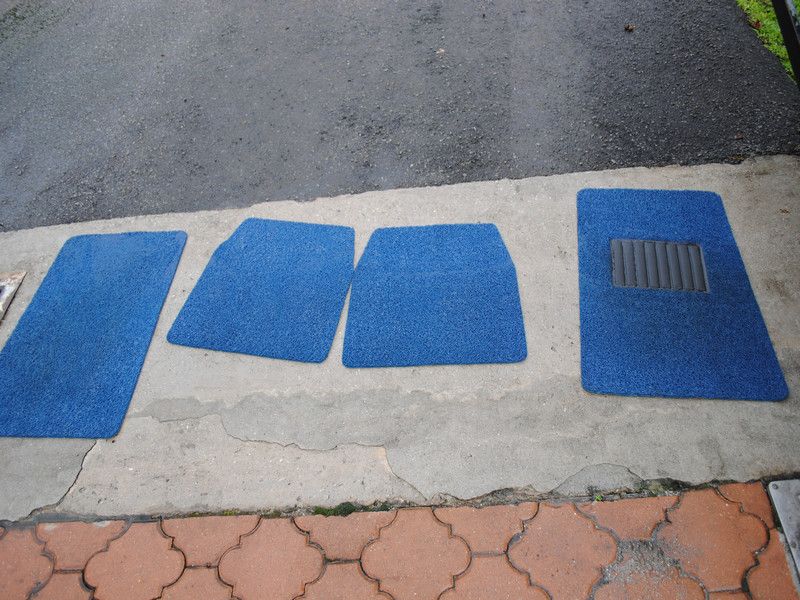
Not bad but took me awhile to set up the high pressure cleaner and all.....
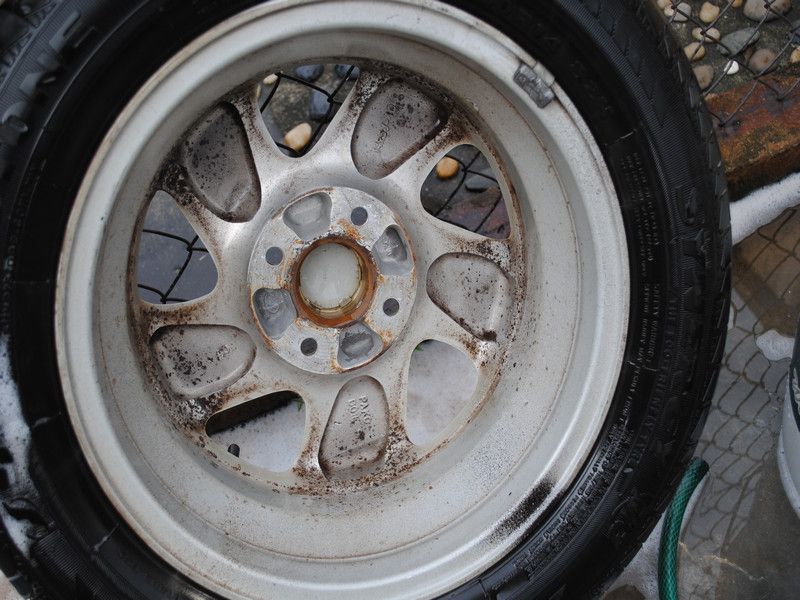
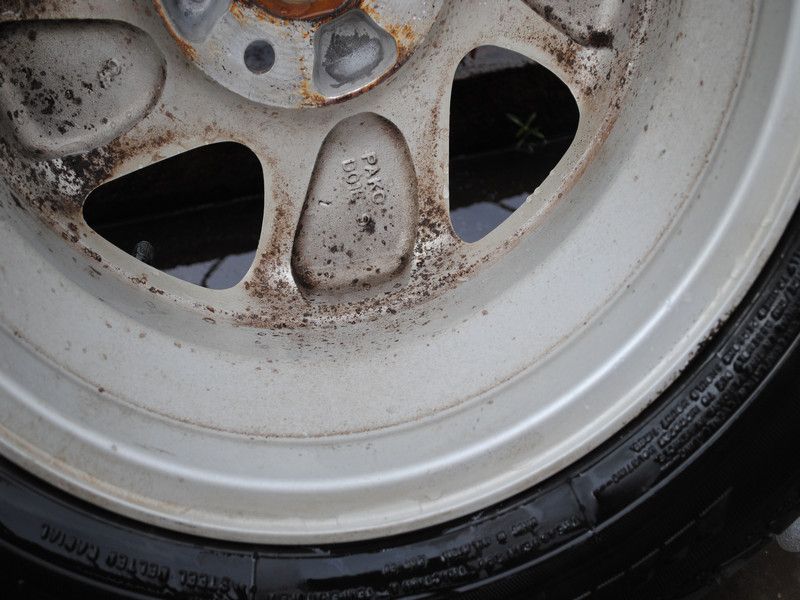
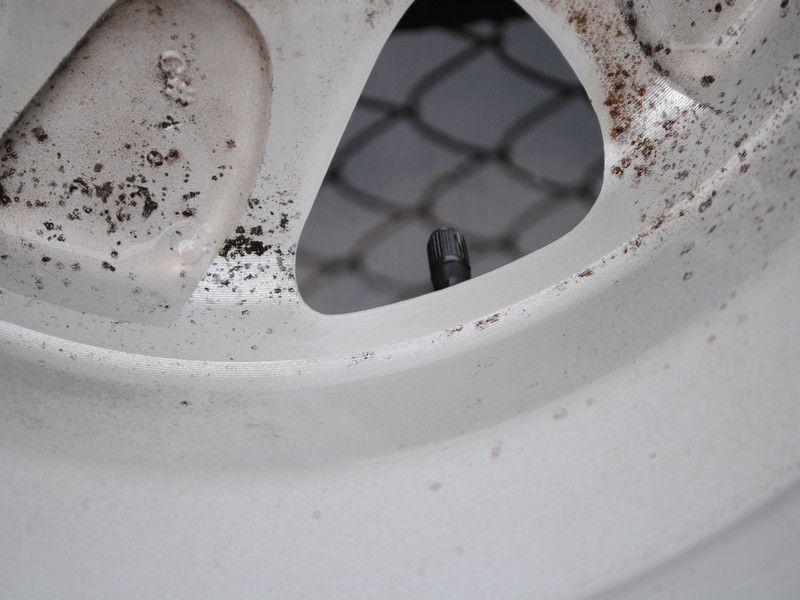
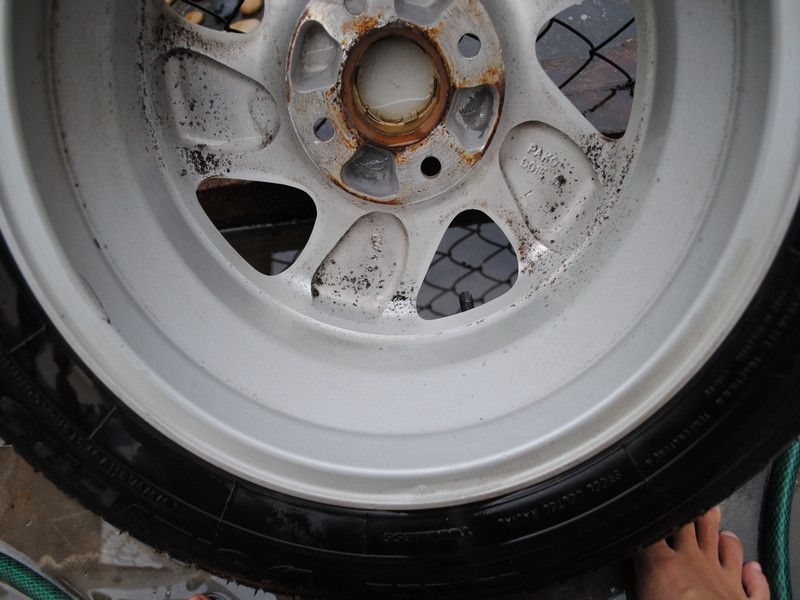
While the rims were out during the brake fluid bleeding.... I might as well wash the rims for fun.....
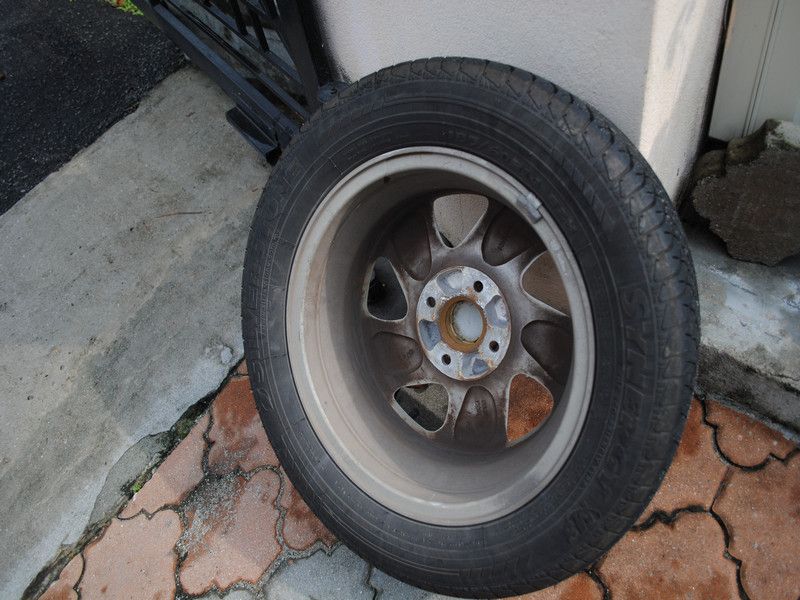
Looks simple enough............
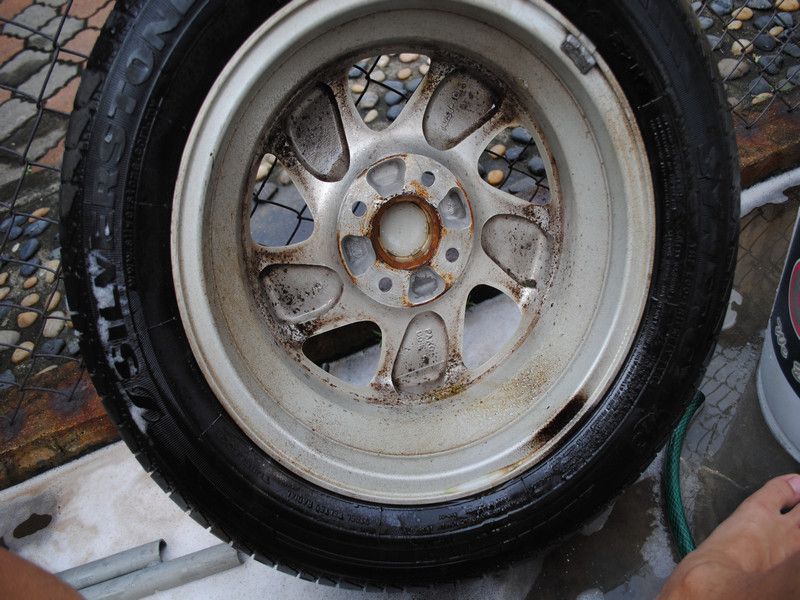
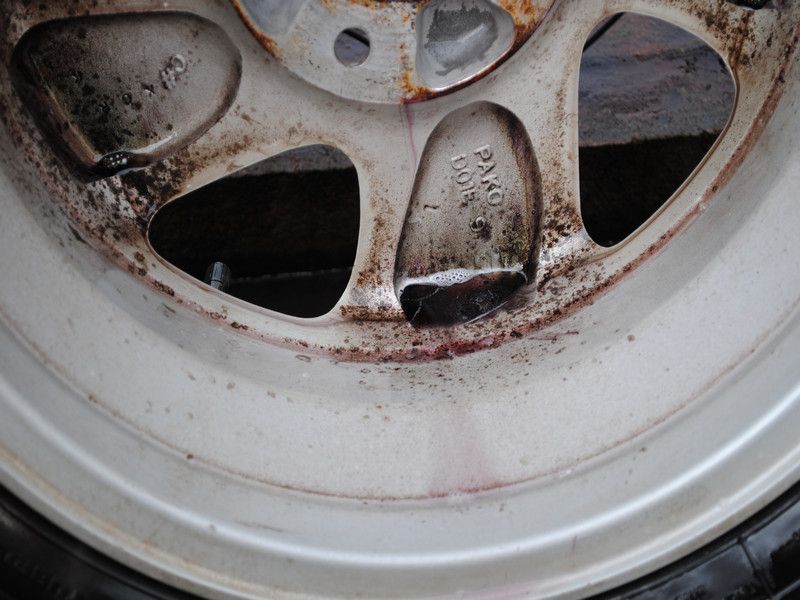
After a round of Osren Bubble and Wash.....
AHHHH, some all too familiar sights .........
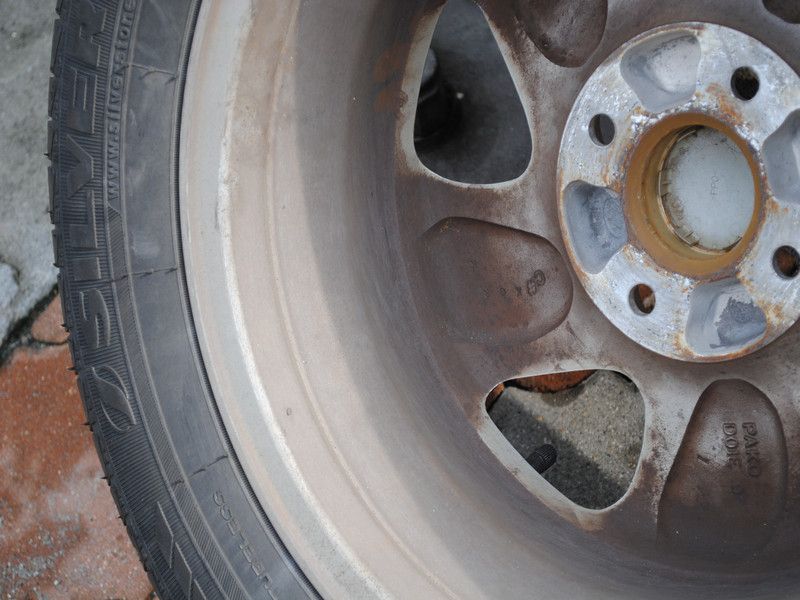
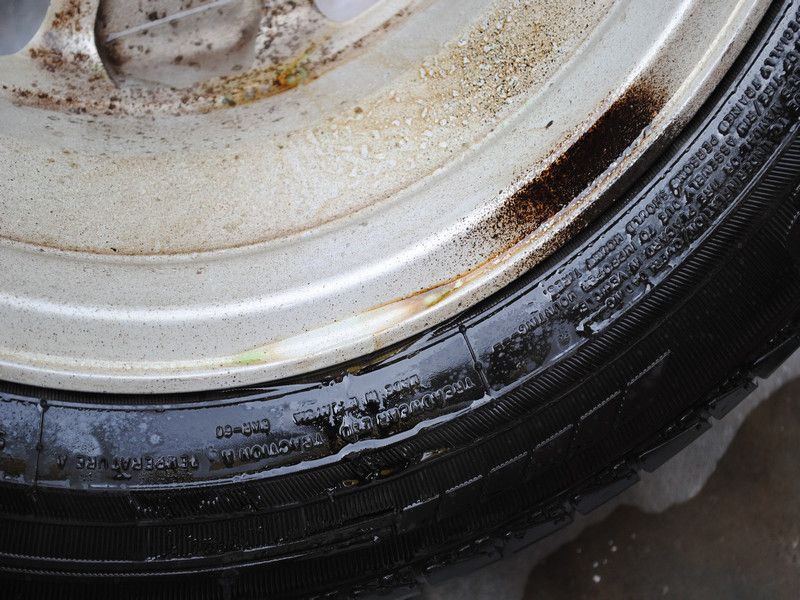
Shot it with TarX.... lemon scented which actually smells pretty delicious...
Closer look at how tar is being dissolved...
After letting it sit for bout 30 seconds..... gave it a wipe with a microfiber.... obviously i use those that I am gonna throw away soon..... no way am I gonna use a new micro fiber here.
Holy mackerel.... its gone.... but what about the rest.........
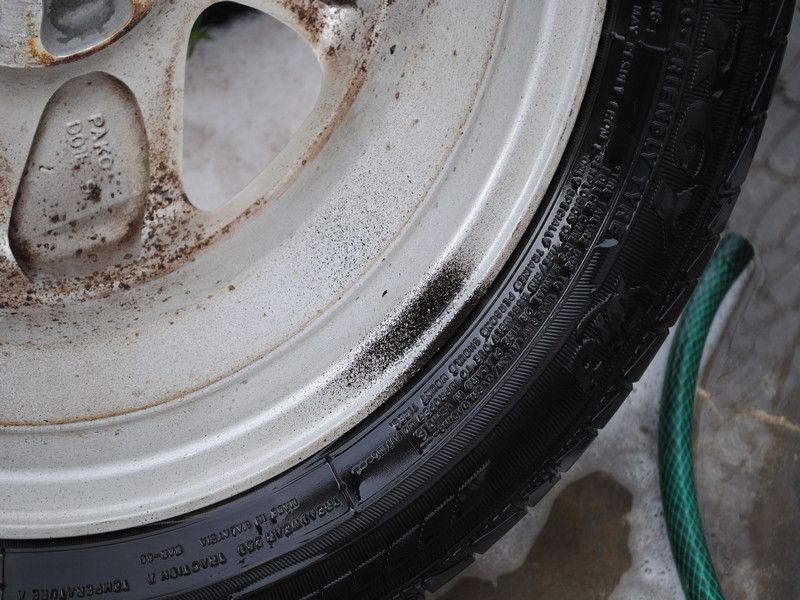
Spray the rims with IronX now...... letting it soak...
No matter how long, I still do not like this smell.......
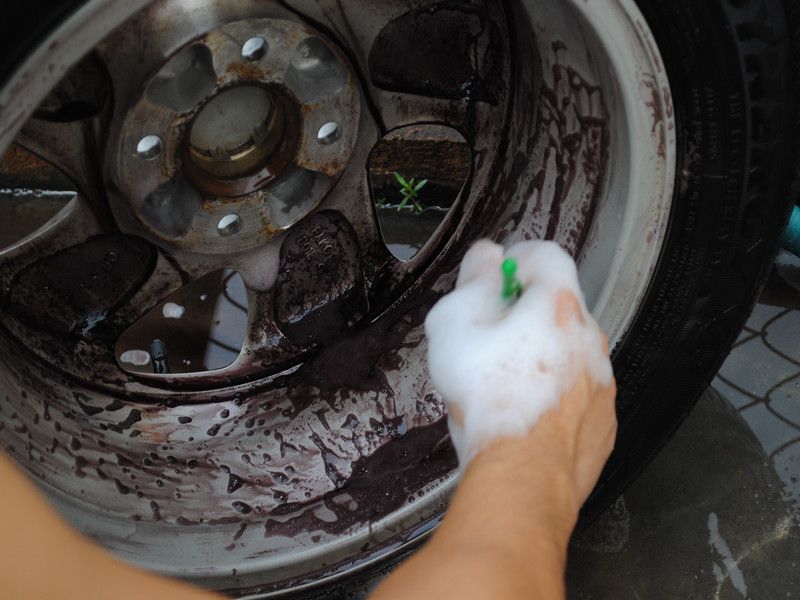
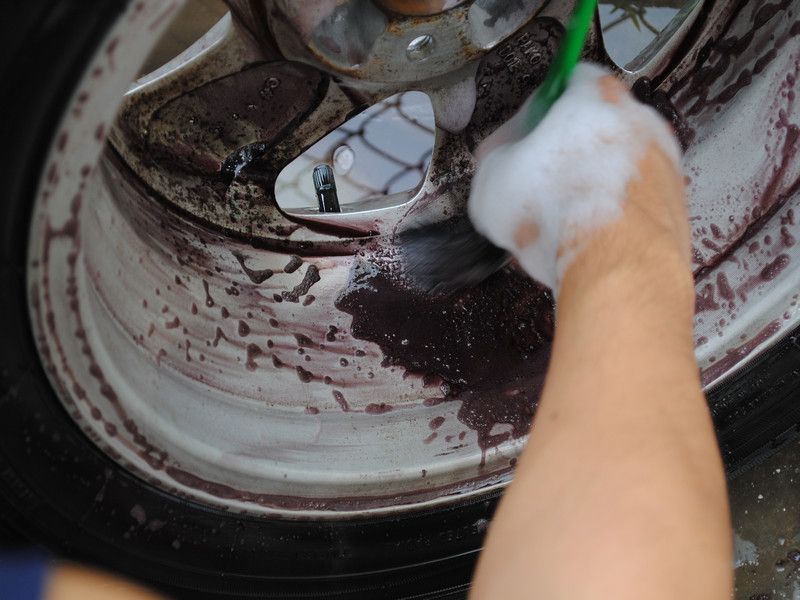
Agitate with a brush..... hmm... plenty of purplish thingy..
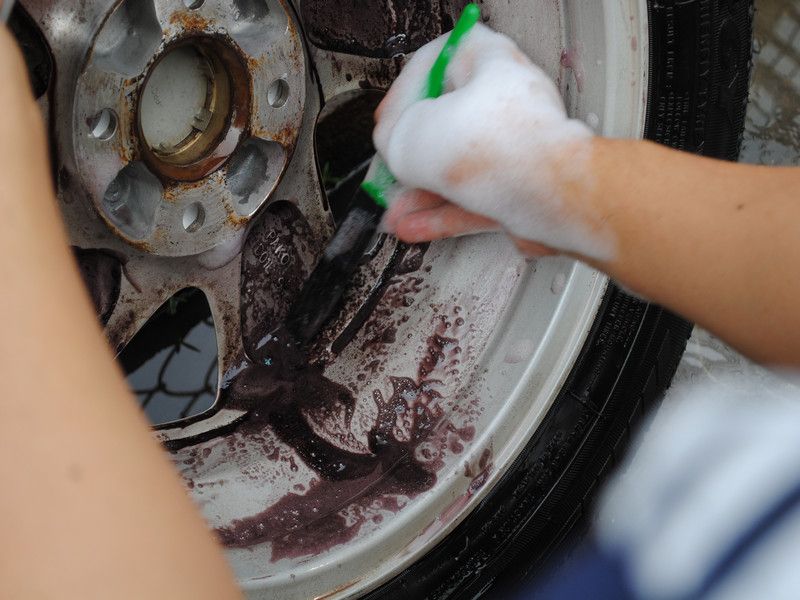
Agitate somemore for more thicker purplish thingy....
Okay, I am getting bored of agitating it so after this i rinse it with lots of water.
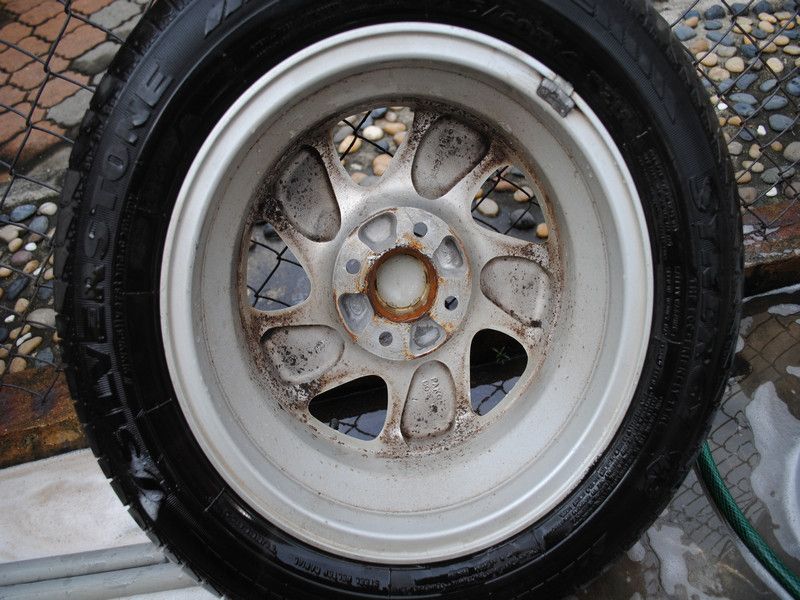
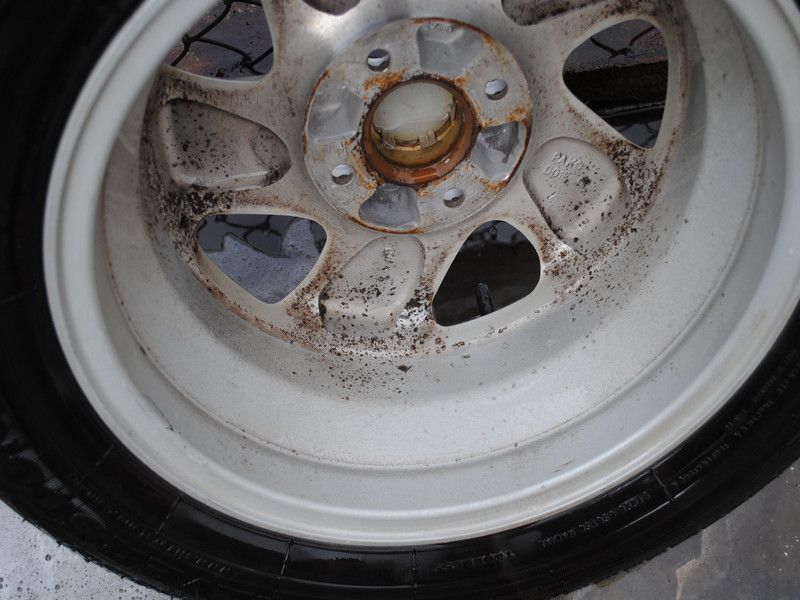
Not perfect but it is still better than how it looks like when first started.
Took out secret weapon..... wipe and you can see the amount of dirt lifted...
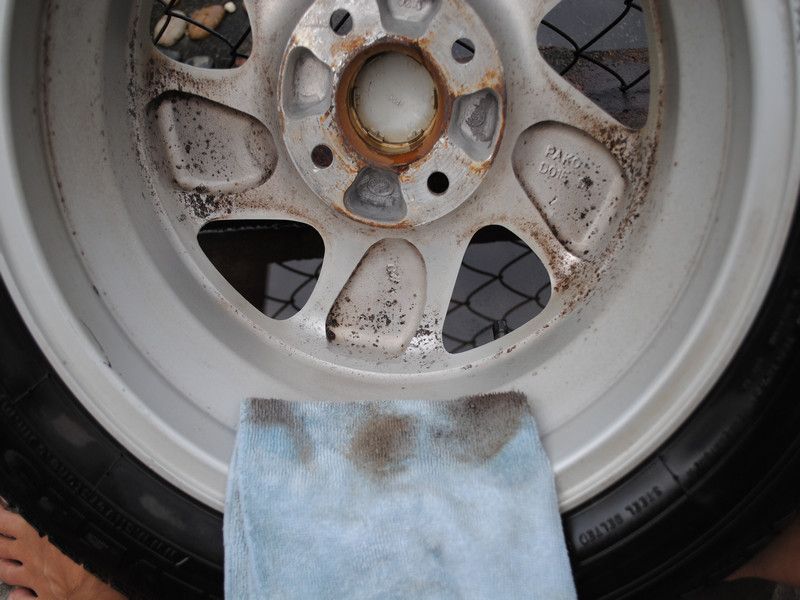
I only cleaned the area just in front of the tube..... got lazy at this point of time and it was going to rain.
Not perfect but a far cry from when it first started.
Notes:
- Myvi uses DOT 4 brake fluid but DOT 3 works as well if you flushed the entire system to ensure there is no mixture.
- When bleeding the brakes, make sure you start from the one furthers away from the pump to ensure the bleeding is done properly...... i had to bleed twice cause I did not follow this rule.
- Change your brake fluid routinely if you do not want it to turn as black as this Myvi's brake fluids.
Any questions, please feel free to let me know. Thanks.
Nice write up bro. Better version than mine
ReplyDeletehello brooo...can u help me..i want to change brake pump...Area AMpang KL
ReplyDeleteI google on how to overhaul my master pump. Since its leaking i replaced it with a new one. N gonna use thw old one as backup. Came across your blog and no regrets bro. Your blog is awesome
ReplyDeleteI google on how to overhaul my master pump. Since its leaking i replaced it with a new one. N gonna use thw old one as backup. Came across your blog and no regrets bro. Your blog is awesome
ReplyDeleteNice knowledge gaining article. This post is really the best on this valuable topic. brake repair brandon fl
ReplyDelete