Hi Folks,
Sorry that I been missing awhile. Been busy with the Delsol, life, holiday, life, office work, life and a few other things.
Ehem ehem, ok, lets get down to it shall we.
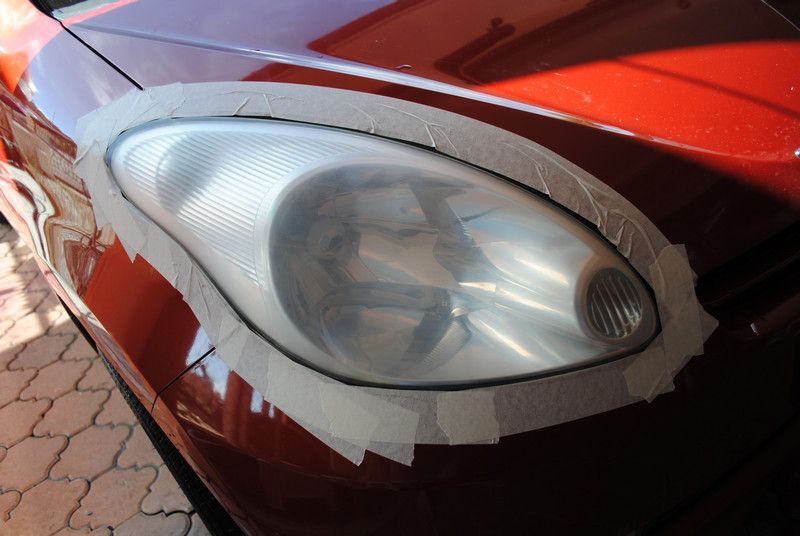
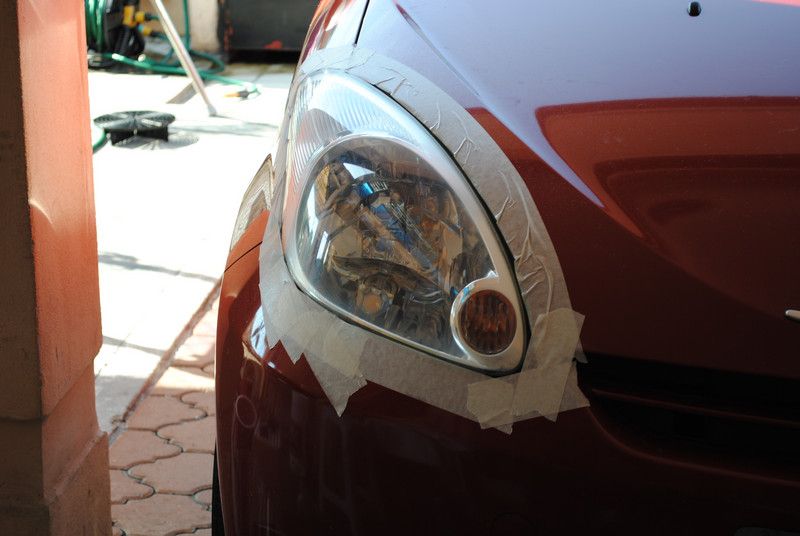
Upon arrival, the headlamps were blurry, yellowish and having the typical symptoms of a failing headlamp.
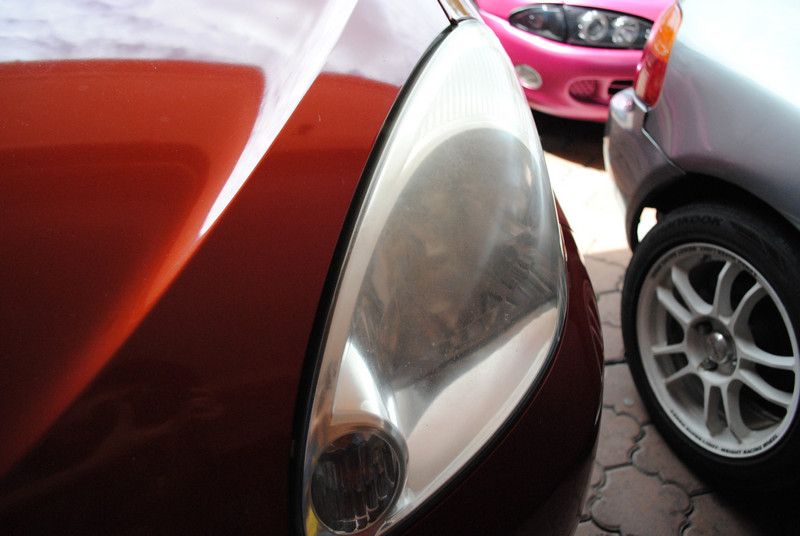
The top part that is exposed to sun the longest.
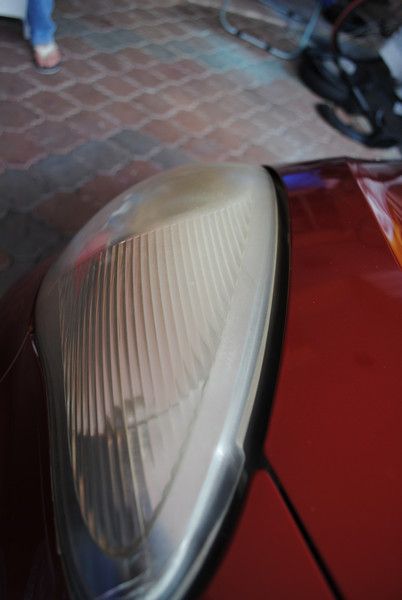
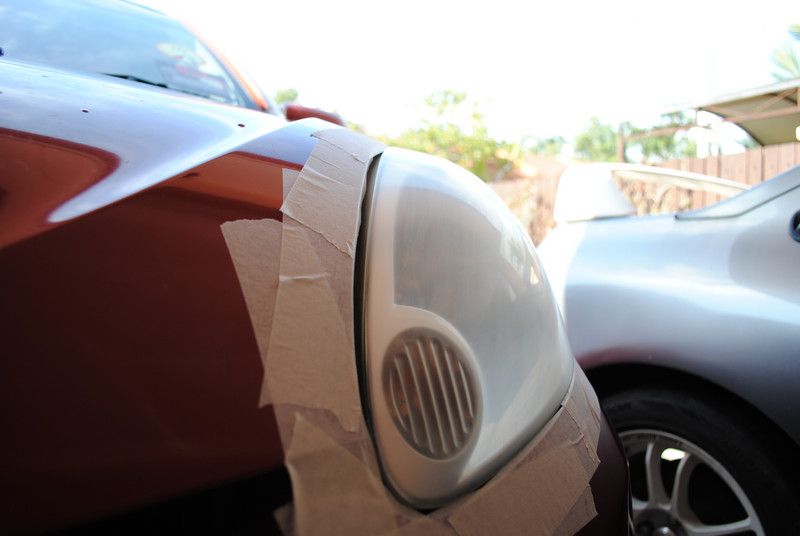
As usual, the same can be seen on the other side of the headlamp
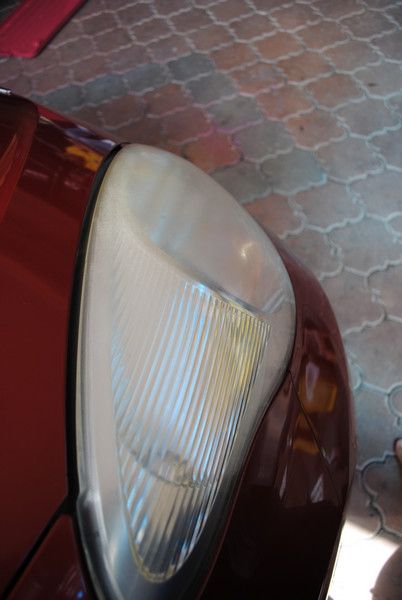
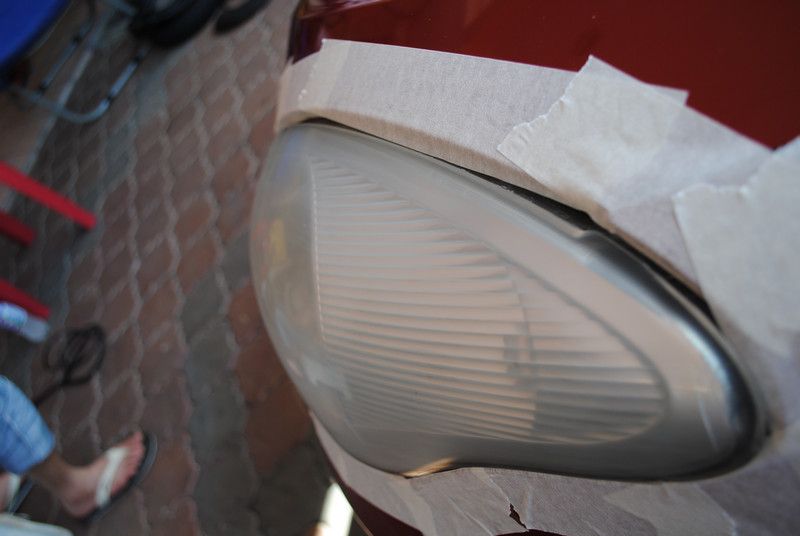
Closer look.... yeap, its definitely blurry. It feels rough to the touch as well.
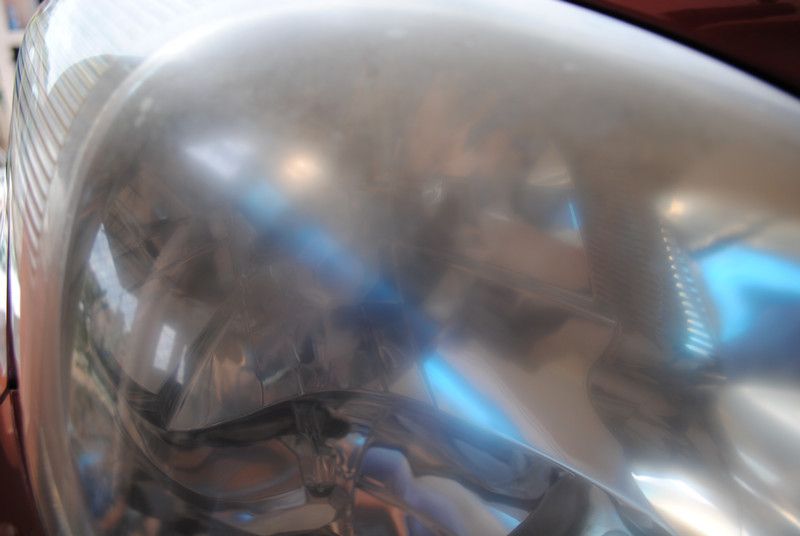
And so... we started off with sanding.
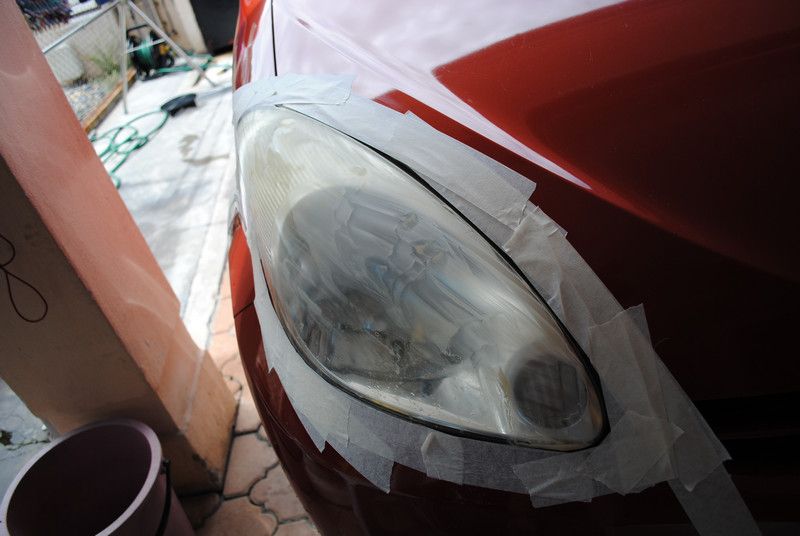
Starting with 1500 grit wet sanding.
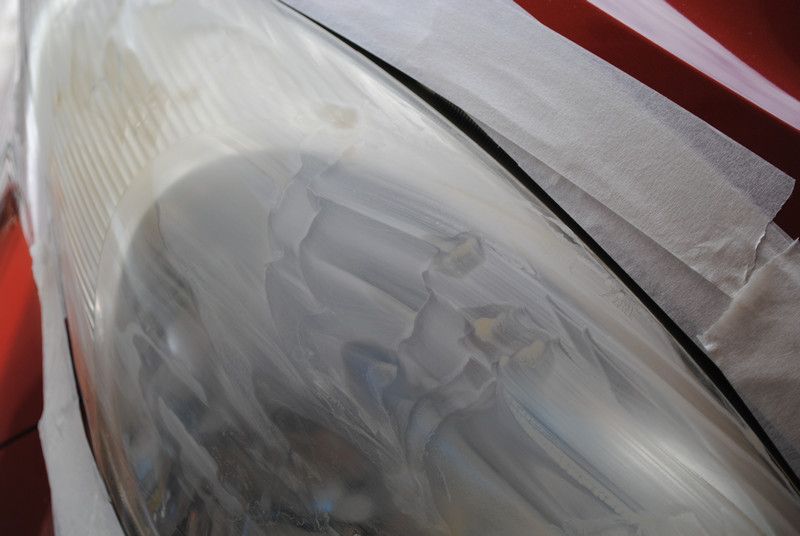
I sand one side, owner sands the other side
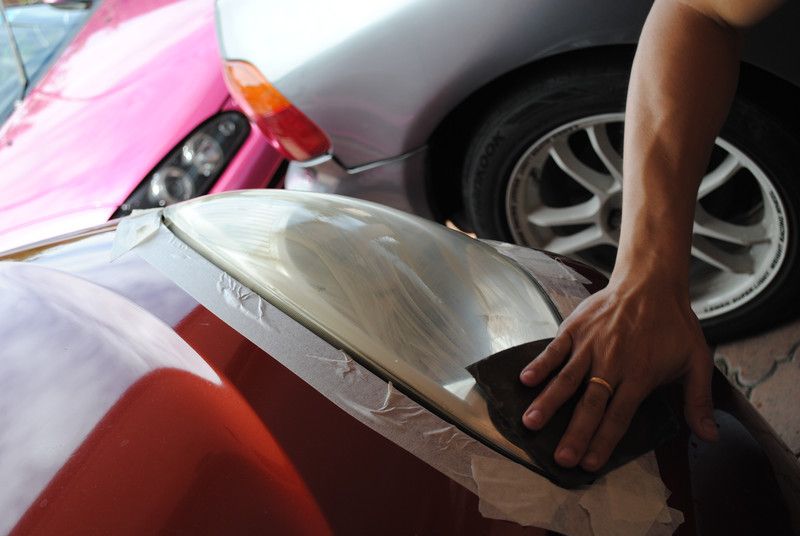
After done sanding with 1500 grit sandpaper...... u get a blurry mess
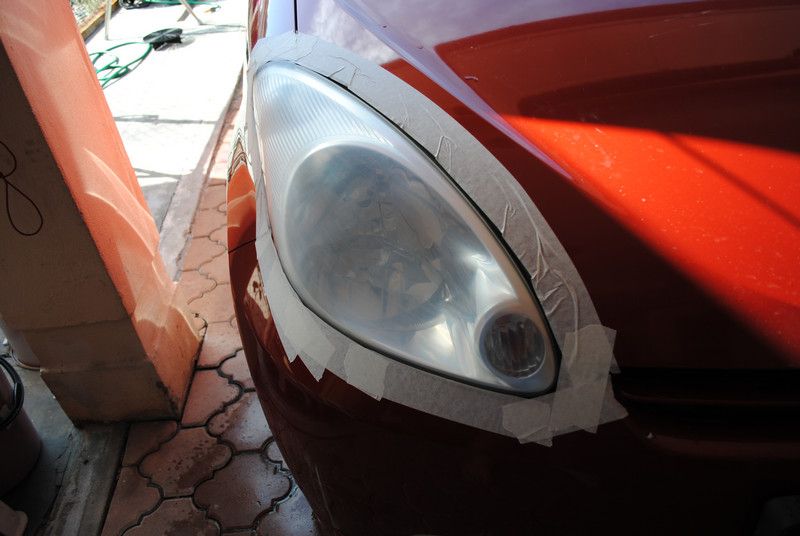
More refinement is done with 2000 grit sandpaper. Can see here that the hazing from the sanding is more even and lighter.
The passenger side which was done by the owner.
No more yellowing.
So.... after all those sanding, we move on to Compounding. This is after 1 pass of Optimum Hyper Compound + Optimum Double Sided Wool Pad on a Makita 9227c at speed......fast.
Can you see tell the difference?
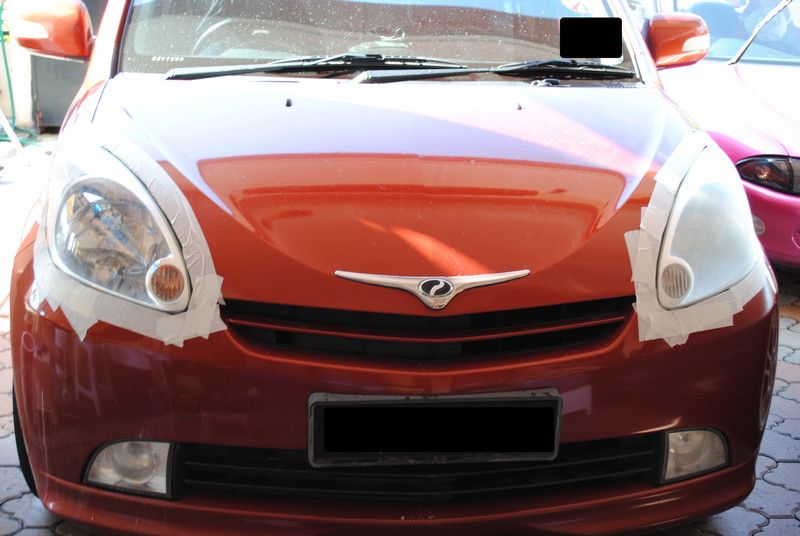
Done for both side and it looks more even.
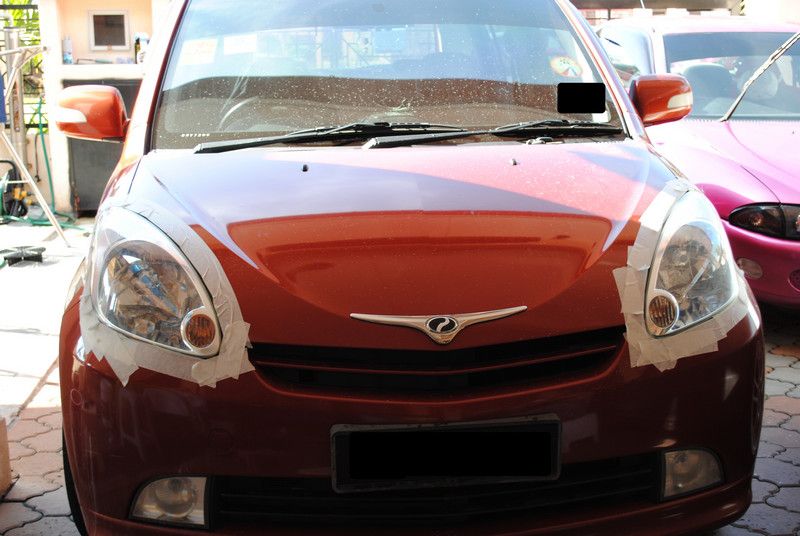
What about the foglamp....
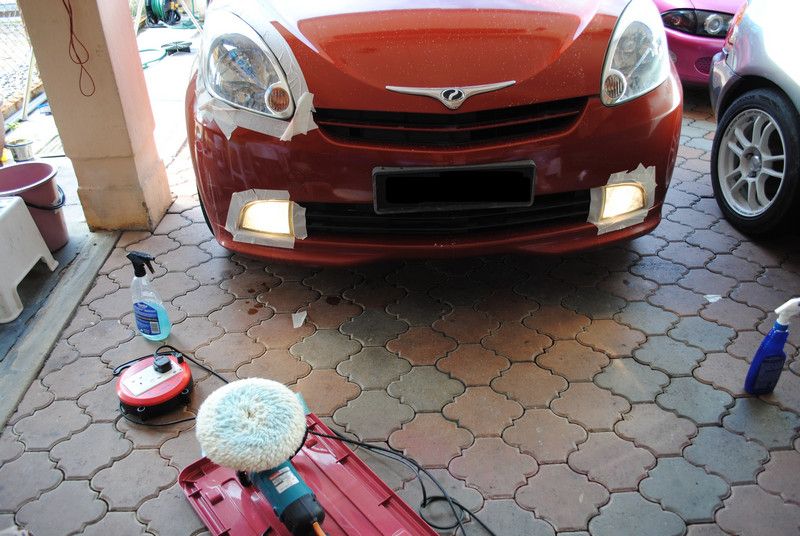
Taped it up and start compounding. We did not sand the foglamp..... cause we didn't want to.
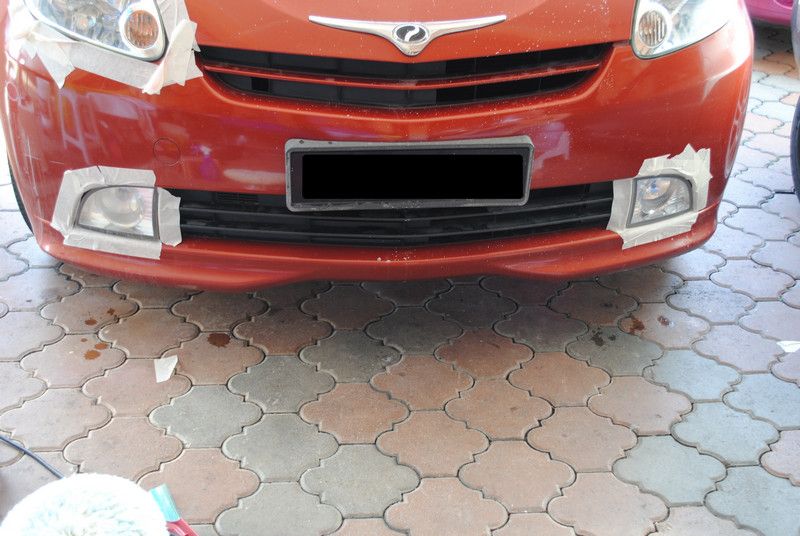
And it turns out... pretty decent....
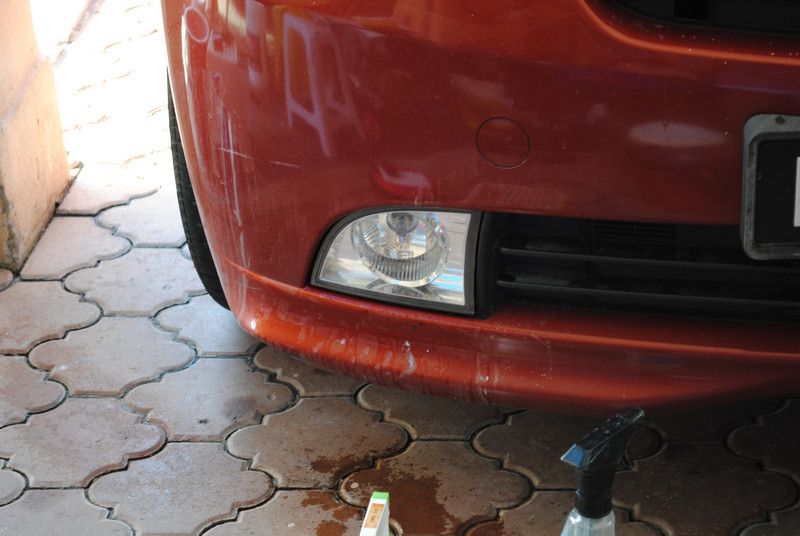
AND WE ARE DONE.............
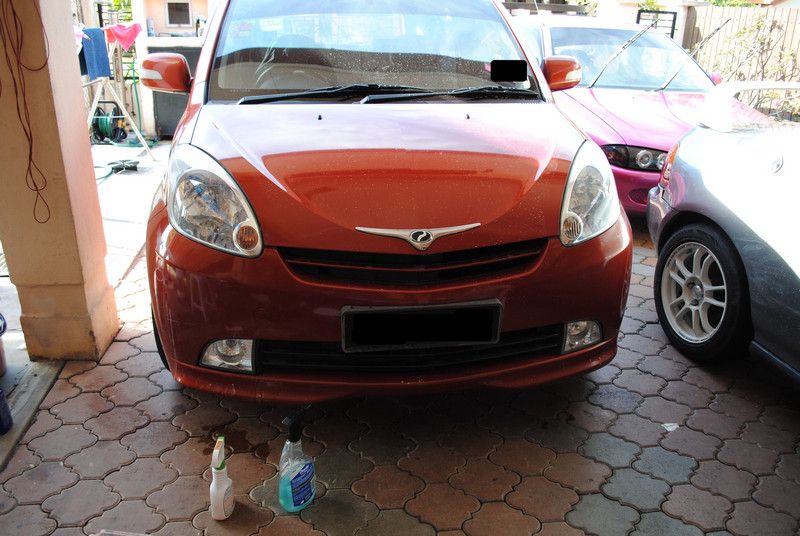
NO more hazing, yellowish thingy.
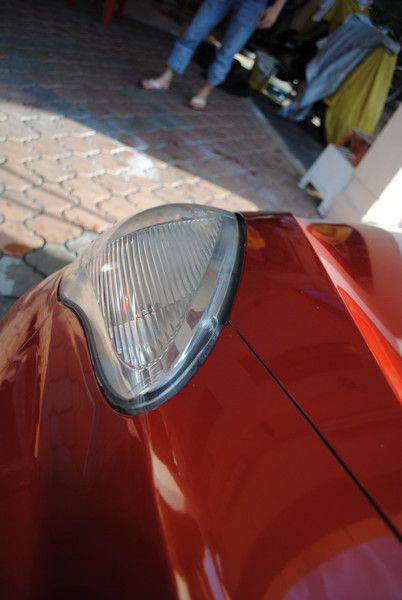
The difference between before and after........ is like heaven and hell.........
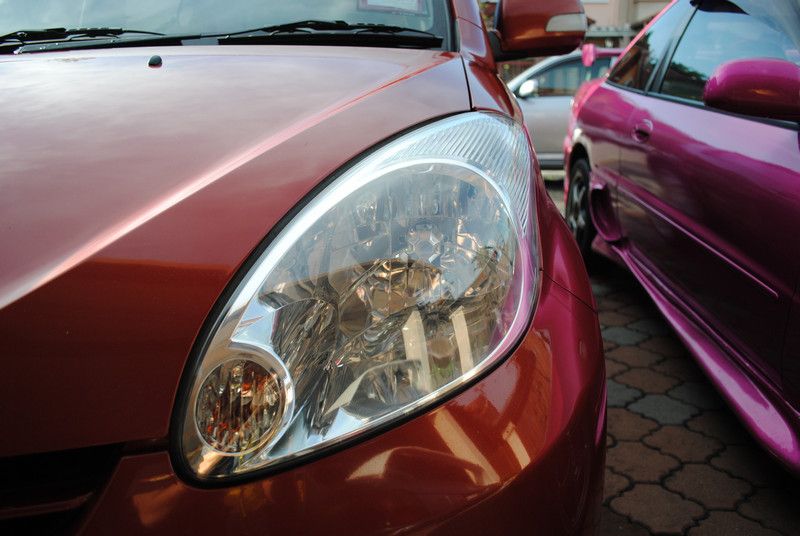
Notes:
- Headlamp was restored to near perfect condition. Only thing left was the cracks on the headlamp.
- Reason for restoration instead of replacement of a cracked headlamp..... water not seeping into the headlamp so no need to replace.
- Foglamp, even if it looks good on the photos, but closer inspection will tell you that only the yellowing was removed. It still feels rough and stone chips can easily be felt.
- I reckon sanding the foglamps would yeild better results but heck owner is gonna change to Passo bodykit.
- Some people asked me why spend so much to coat the headlamp when they can pay RM50 to RM120 to those cuci kereta boys to polish their headlamps each year and some even every other month............ well answer to that is...... can you see the amount of plastic removed from your headlamp with just one time restoration? Look at the white powder on my floor and you will understand.
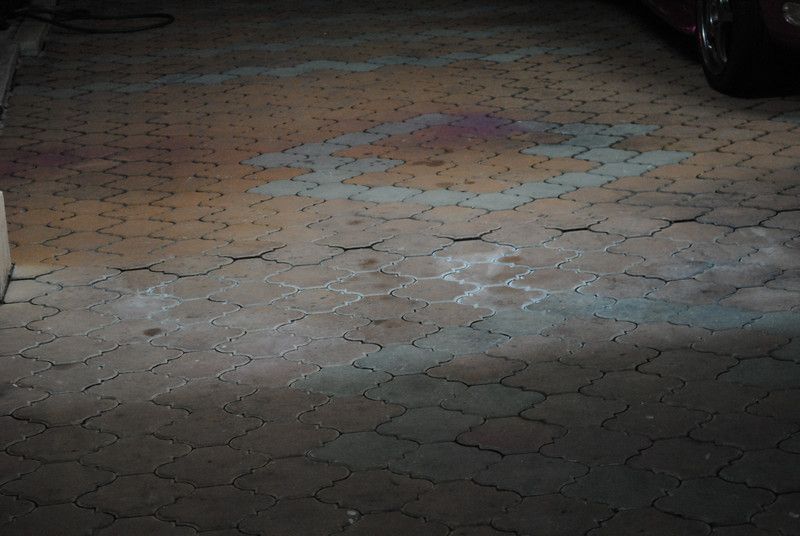
- So what happens if it removes a lot of the plastic? Well, you risk thinning your headlamp and if you do hit a stone/pebble/a very big bug while driving at speeds, the headlamp may just break. Your headlamp, your choice.
Time Spend: bout 4 hours (owner did help me sand one of the headlamps which saves me a lot of time.)
Product used: 1500 and 2000 grit sand paper, ONR as lubrication, water...duh, Optimum Hyper Compound, Optimum Hyper Polish, Optimum Double Sided Wool Pad, Optimum Double Sided Foam Pad, Opti-Coat 2.0.
Satisfaction level: Sweetly done.... owner satisfaction level was beyond.
Please do leave your comments as it is much appreciated.
No comments:
Post a Comment