This is one of my DIY adventures with the White Knight.
So my fingers and wallet were itchy and was tempted to try those space saver tyres (AKA Sotong Tyres). Purchase a pretty good one as per advice by the chop shop fella and man was I in for a surprised on the work needed.
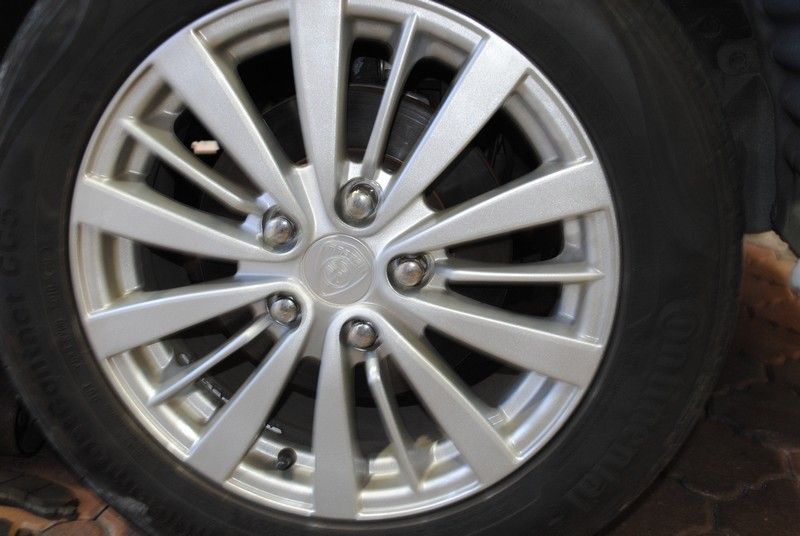
I took the space saver home and started to test if it fits (chop shop fella assured me that it will fit) so off I went taking out all 5 lugs from my wheel.
Manage to open 4 lugs when the 5th was stuck. Kasi power sikit and..... disaster happened, the stud snapped and i was left with 4 lugs......
Ah well, wheel was off so I might as well test if the space saver works..... to another shocking surprised..... IT DOES NOT. Did a bit more researched and found that the space saver I bought belongs to BMW E46 which is 5 lugs PCD 120 whereas Inspira is 5 lugs PCD 114.3. (It is for sale now, http://www.zerotohundred.com/newforums/chassis-and-wheels/410396-e46-space-saver-tyre-for-sale.html)
Damn was I pissed.
So next day I bawa the Inspira to proton and was quoted between RM 50 to RM100 to have the lug replaced. Sad but not happy with the price, I went and research more on wheel lug replacement.
Tada, found the workshop manual for Lancer Evo X. Seems fairly simple and went to spare part shop to get the wheel lug. TADA, 1 lug = RM 2.50. So I bought 5 lugs. HOHOHO, take that Proton.
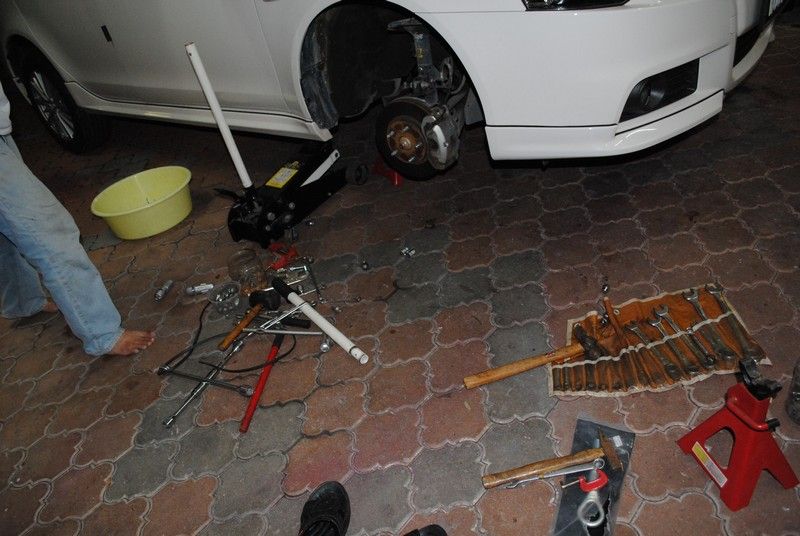
Got home and got to work on it and below is what you get.
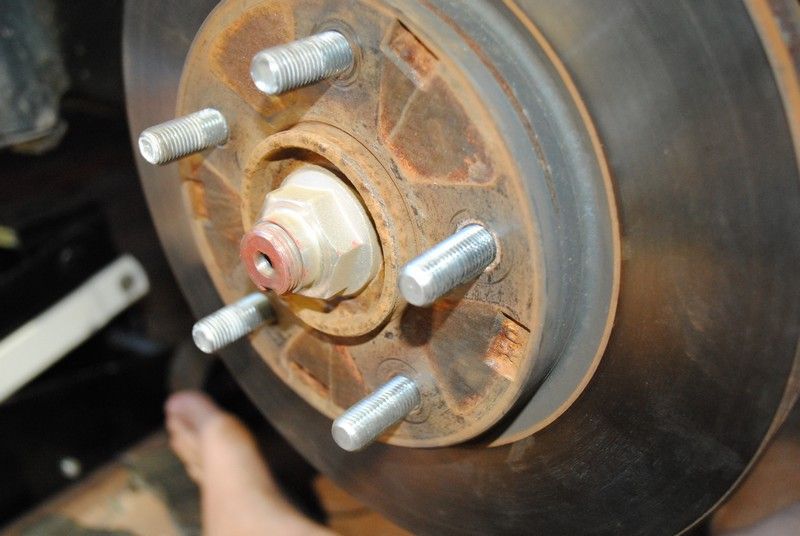
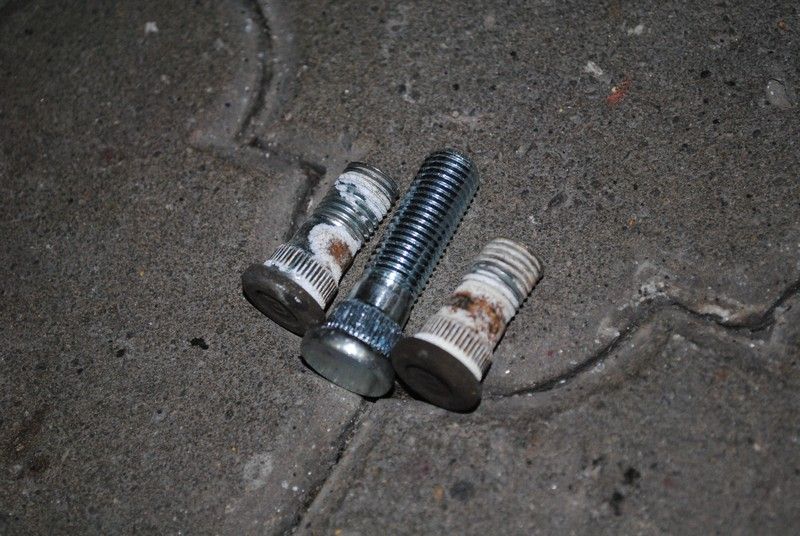
Something odd bout this picture.... why TWO wheel lug patah wan.... well, another one broke when I was opening the wheel again.
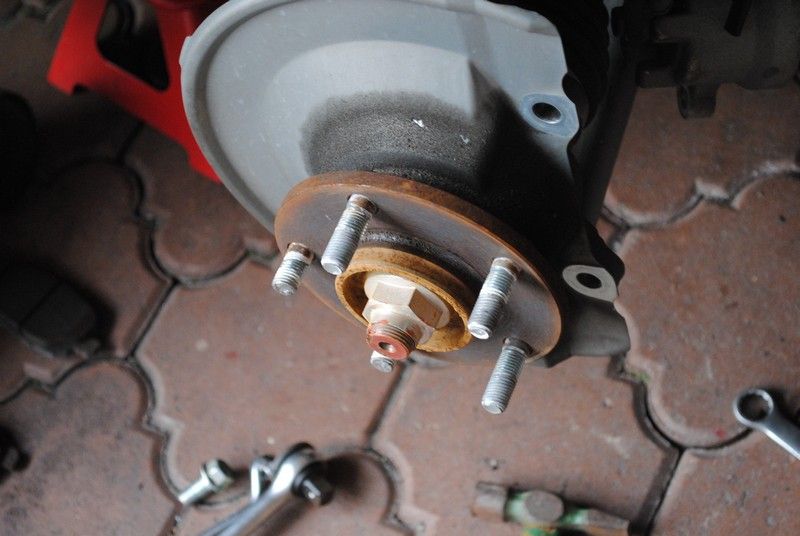
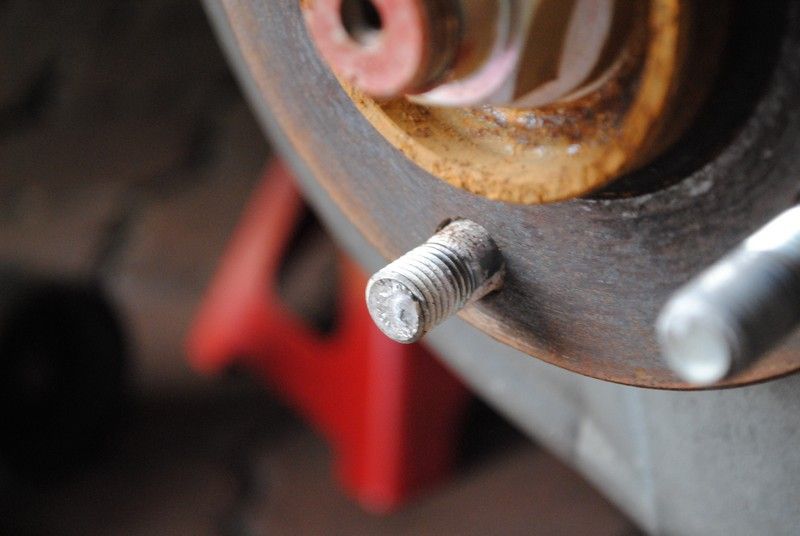
Snapped clean.....
BOTH OF IT, lesson learned..... going to gym too much causes disaster to your beloved car.
That is the brake caliper bracket that took a while to get it out. Had to use a mallet.
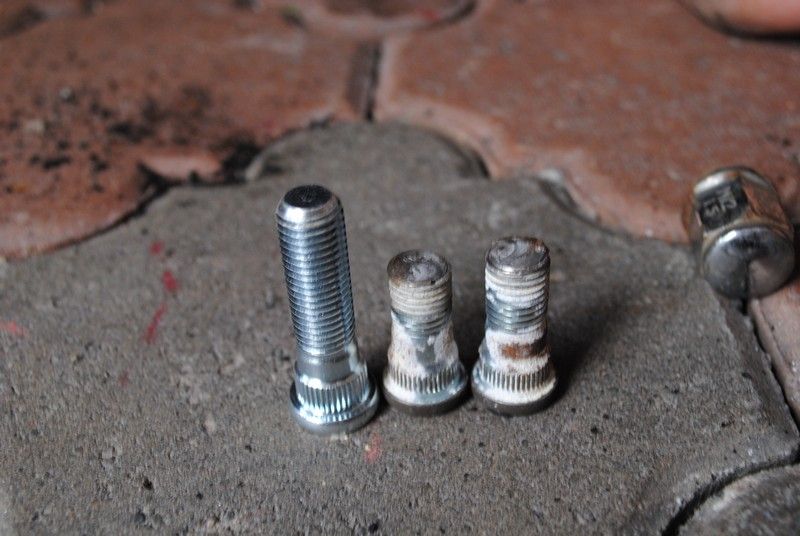
These are the new lugs.... shiny leh
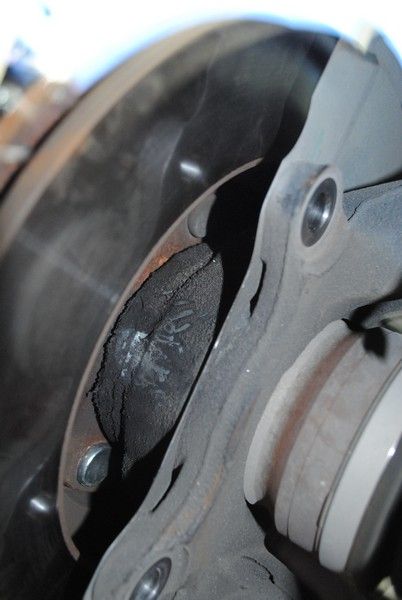
Inspira brake pads after 1 year 4 months use.... still got plenty of pad left.
After taking out the lugs and compare it with the new one.... you can see how much have snapped off.
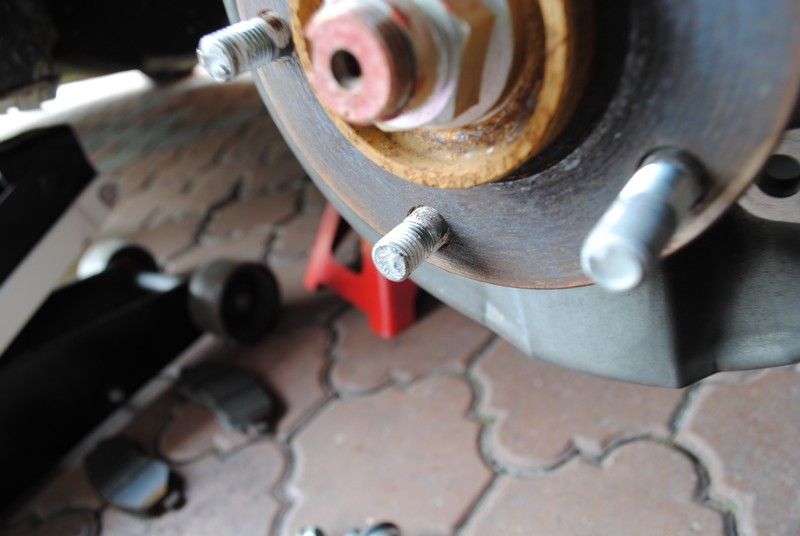
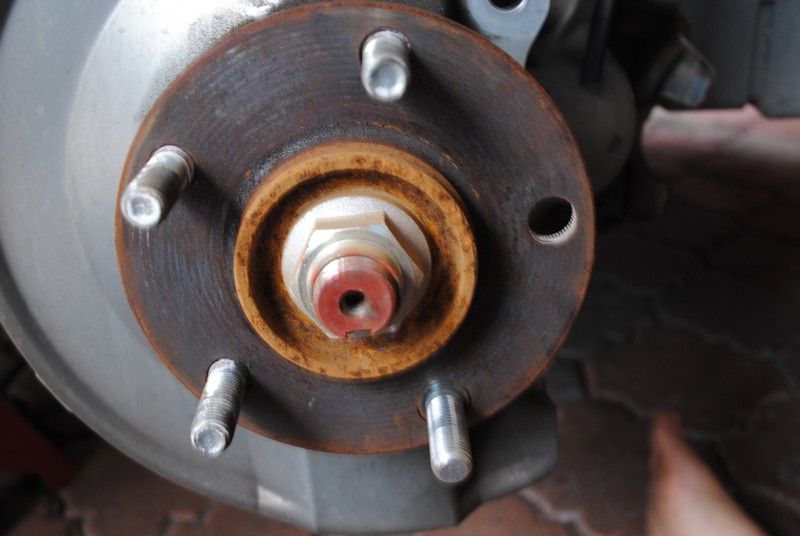
Replaced one of the lugs already, another one waiting to be replaced.
This is how I initially tighten it cause I do not have proper thick washers to do the job.... lesson learned, this destroy spanners too.... I really need to de-buff my muscles.
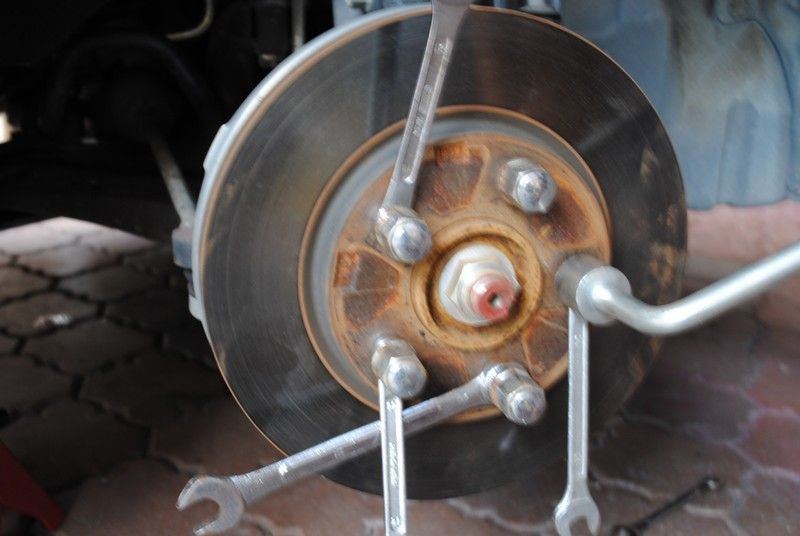
Then I figured out.... why not just use the brake disk and rims as washers..... (forget red calipers, no calipers is the way to go now)
Can see that the new lugs have been tighten nicely into the groove.
Did not replace all 5 lugs, just the two broken ones, so I got spare lugs in case I need it again.
Caliper installed back and...... too tired to actually clean anything.

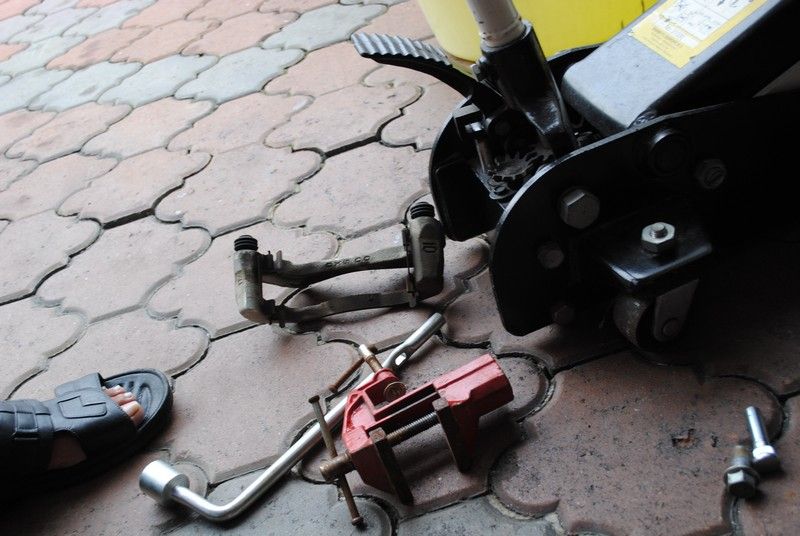
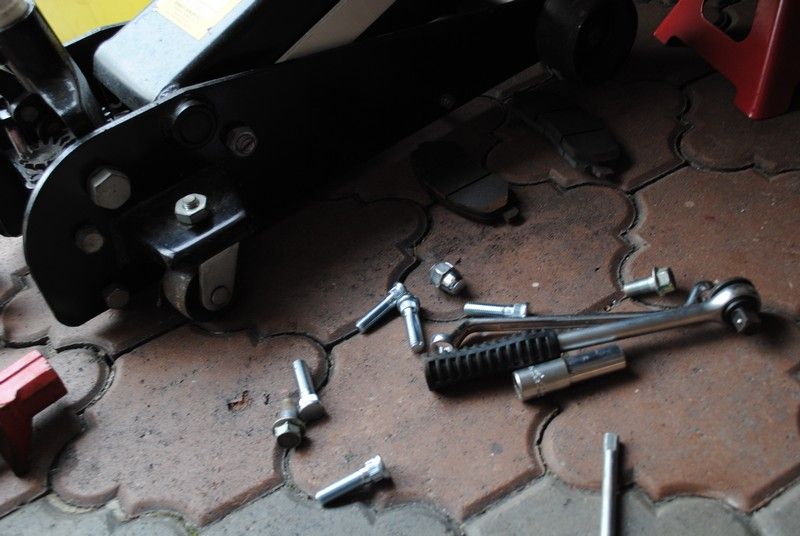
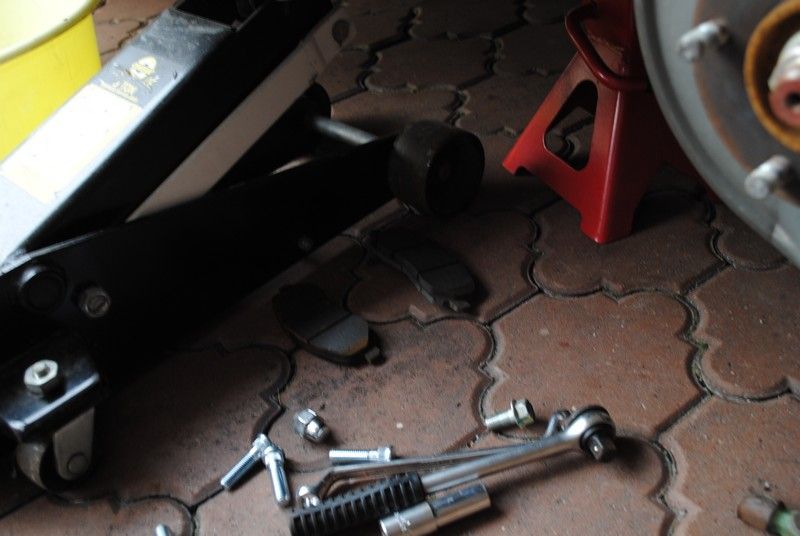
How messy my workspace was.
Last pic of the day, see how much corrosion on the old lugs...
Lesson learned:
- too much gym (to be honest, I never go gym) will break your car.
Steps/ guidance:
- Ensure you loosen the wheel nuts before jacking the car up.
- Once you have jacked the car up, make sure to secure it with A-Stands (can be bought at hardware shops for like RM 29.90 each)
- the nut to release the caliper is size 14 and is easy to take out.
- the nut to release the caliper bracket is size 17 and is a pain in the ass to take out (i resorted to mallet and brute force.)
Thank you for reading thru all my rambling and if any feedback (good or back), it is much appreciated.
No comments:
Post a Comment